Cinematic Headshot
A Step-By-Step Approach To Shooting a Timeless Cinematic Headshot
Written on the 3rd of February, 2023
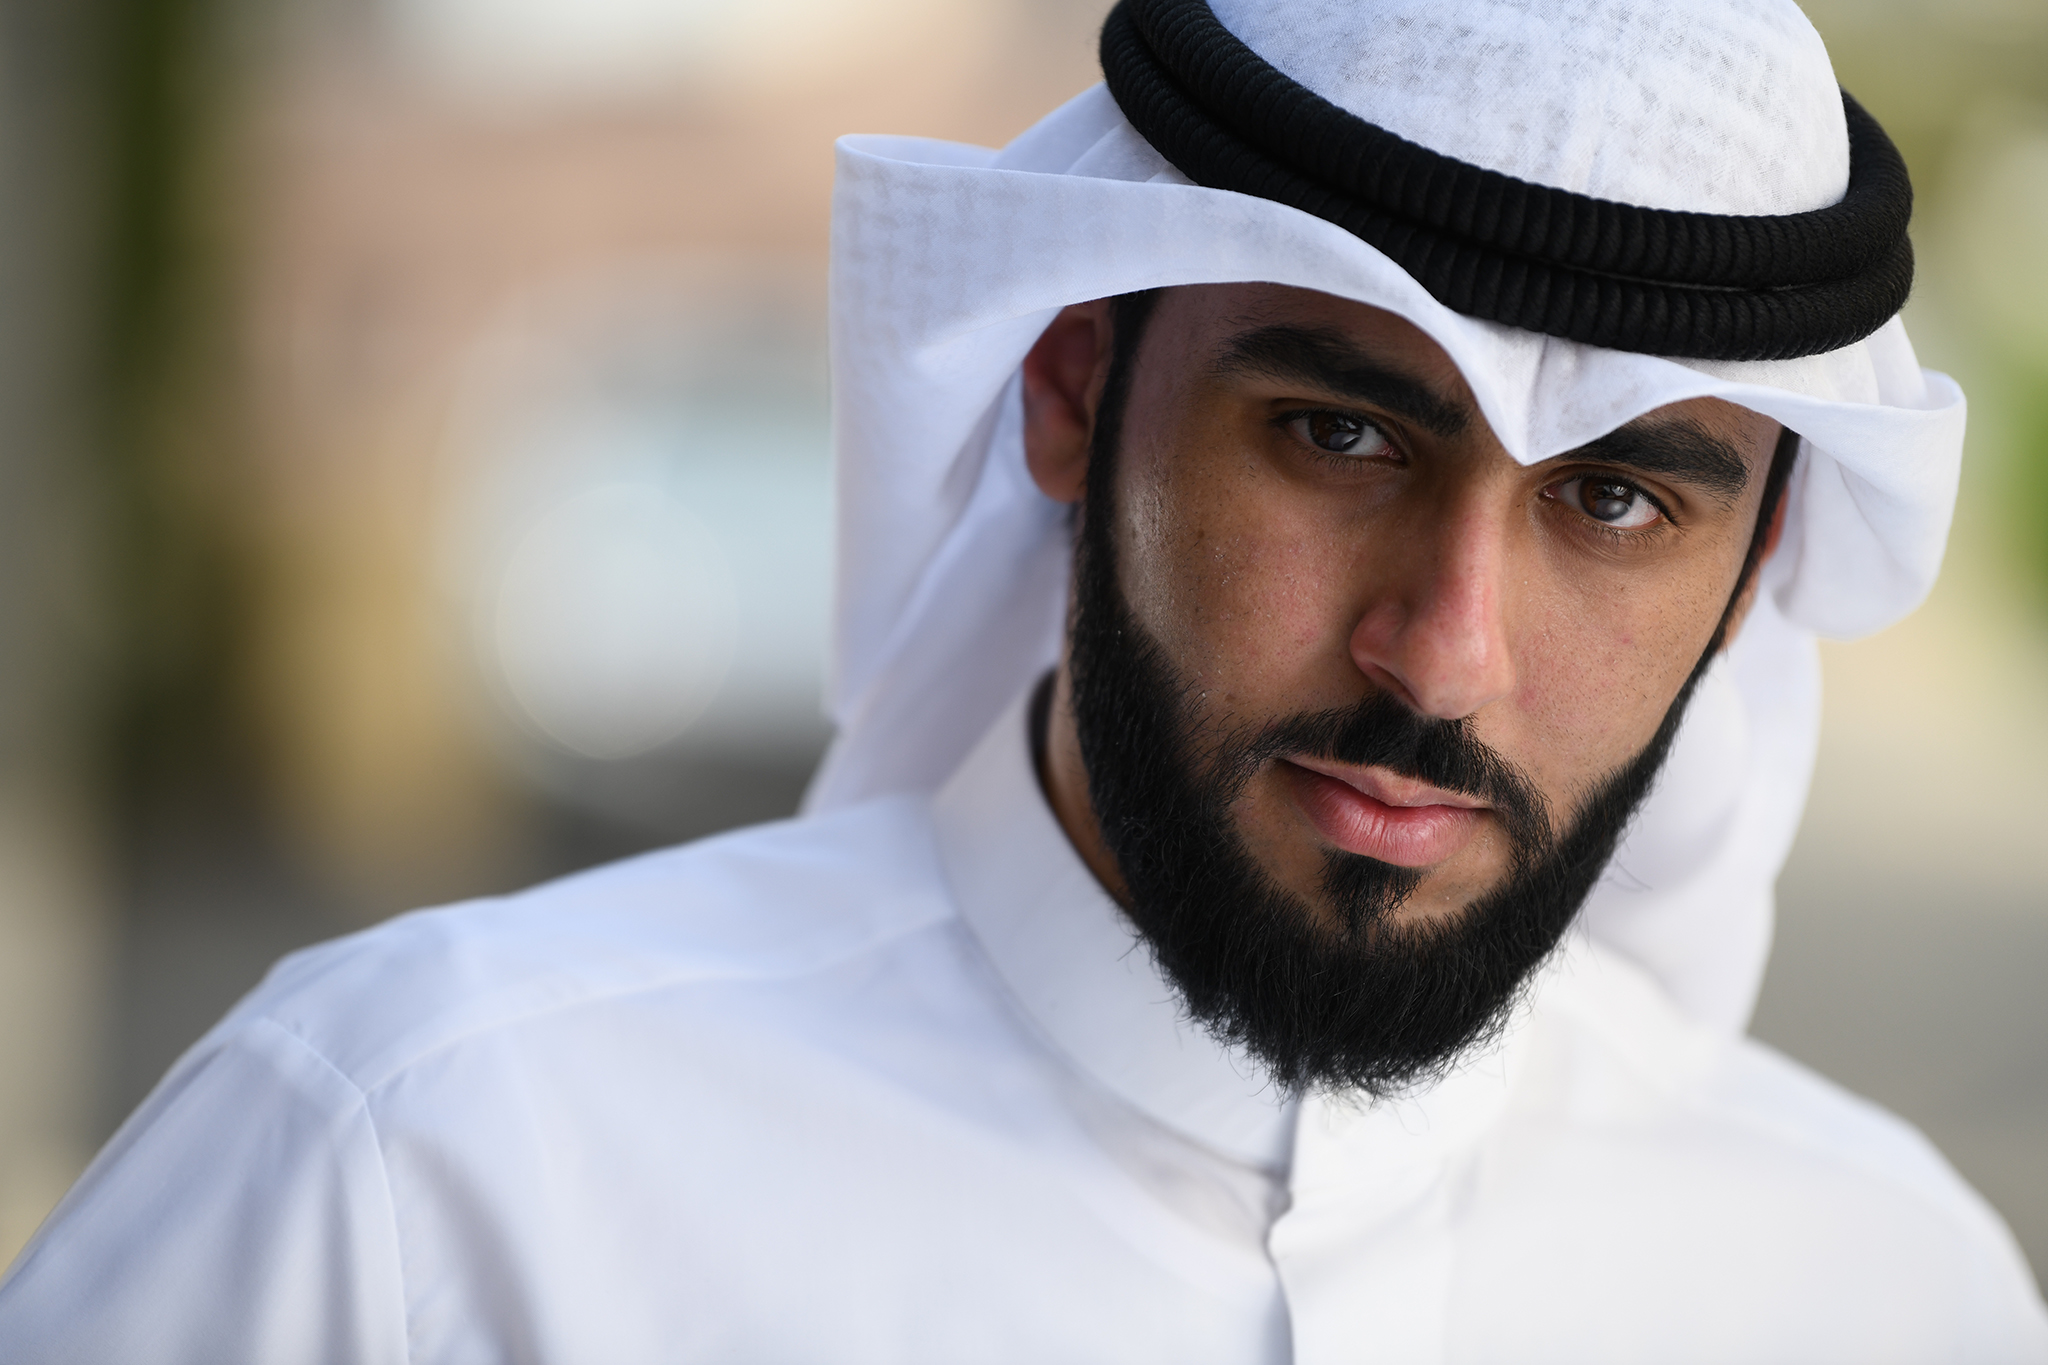
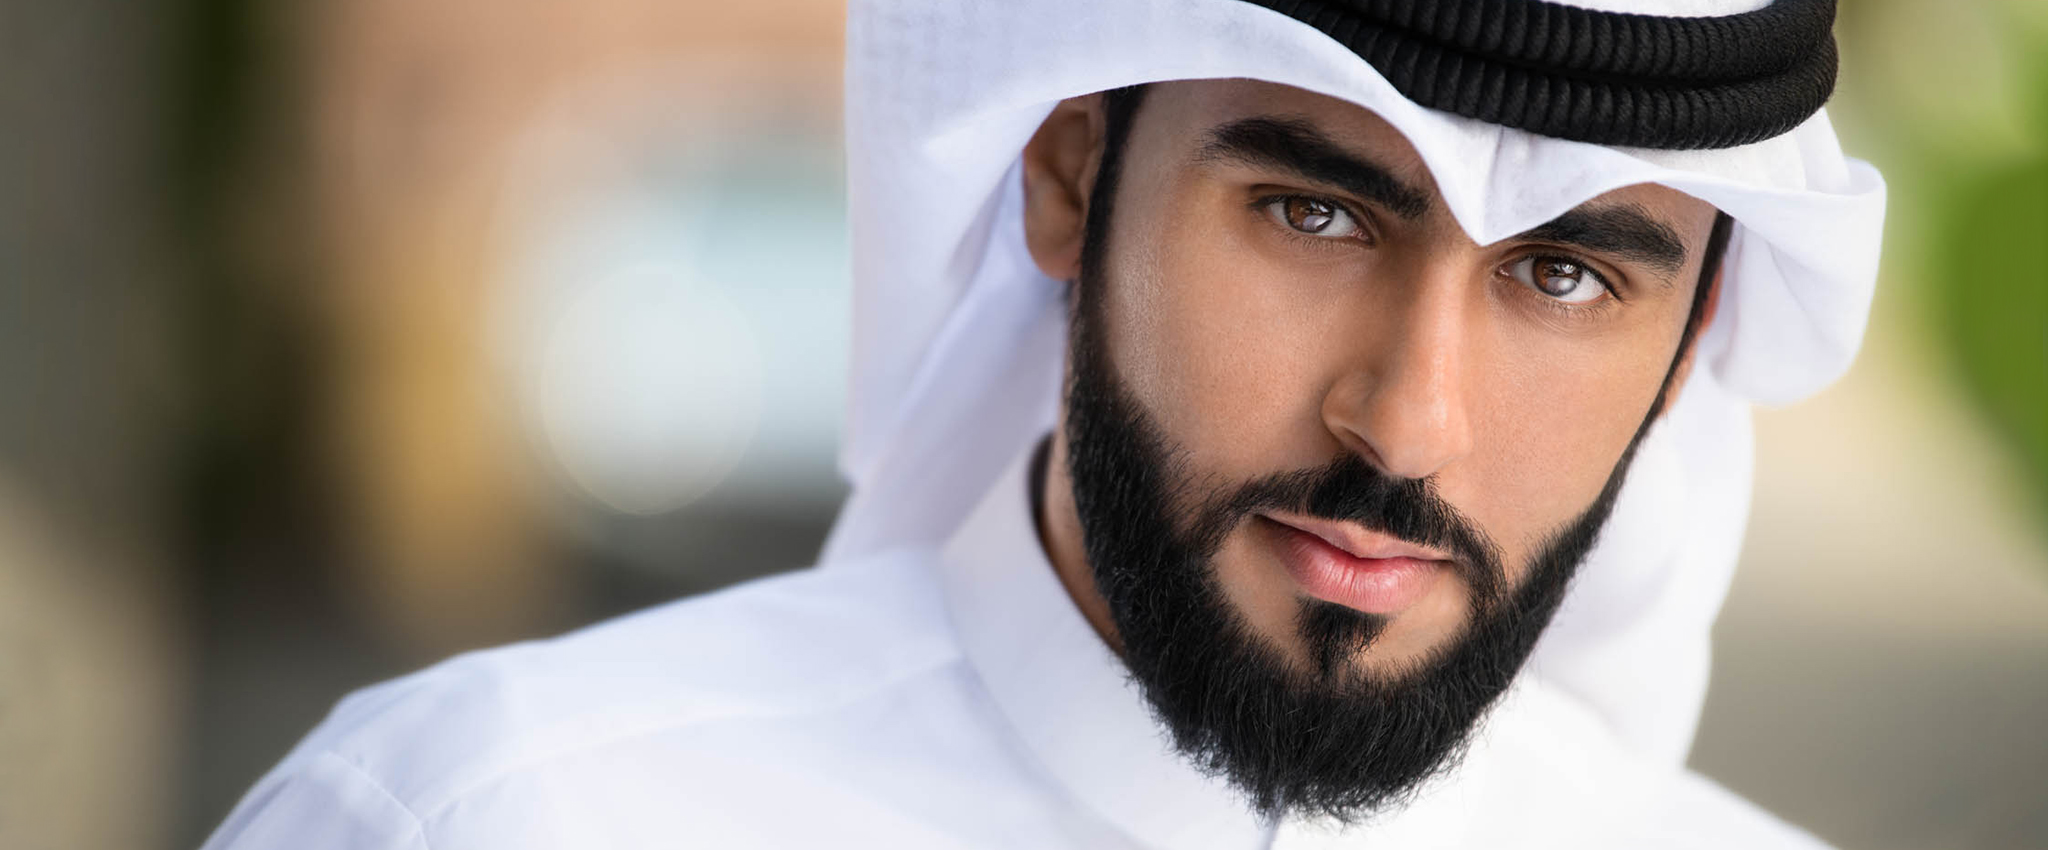
Several people asked for a step-by-step guide on how I shoot my cinematic headshots. In this post, I will detail each step I took to deliver a natural-looking, timeless cinematic headshot for my friend Talal AlDuaij.
Location
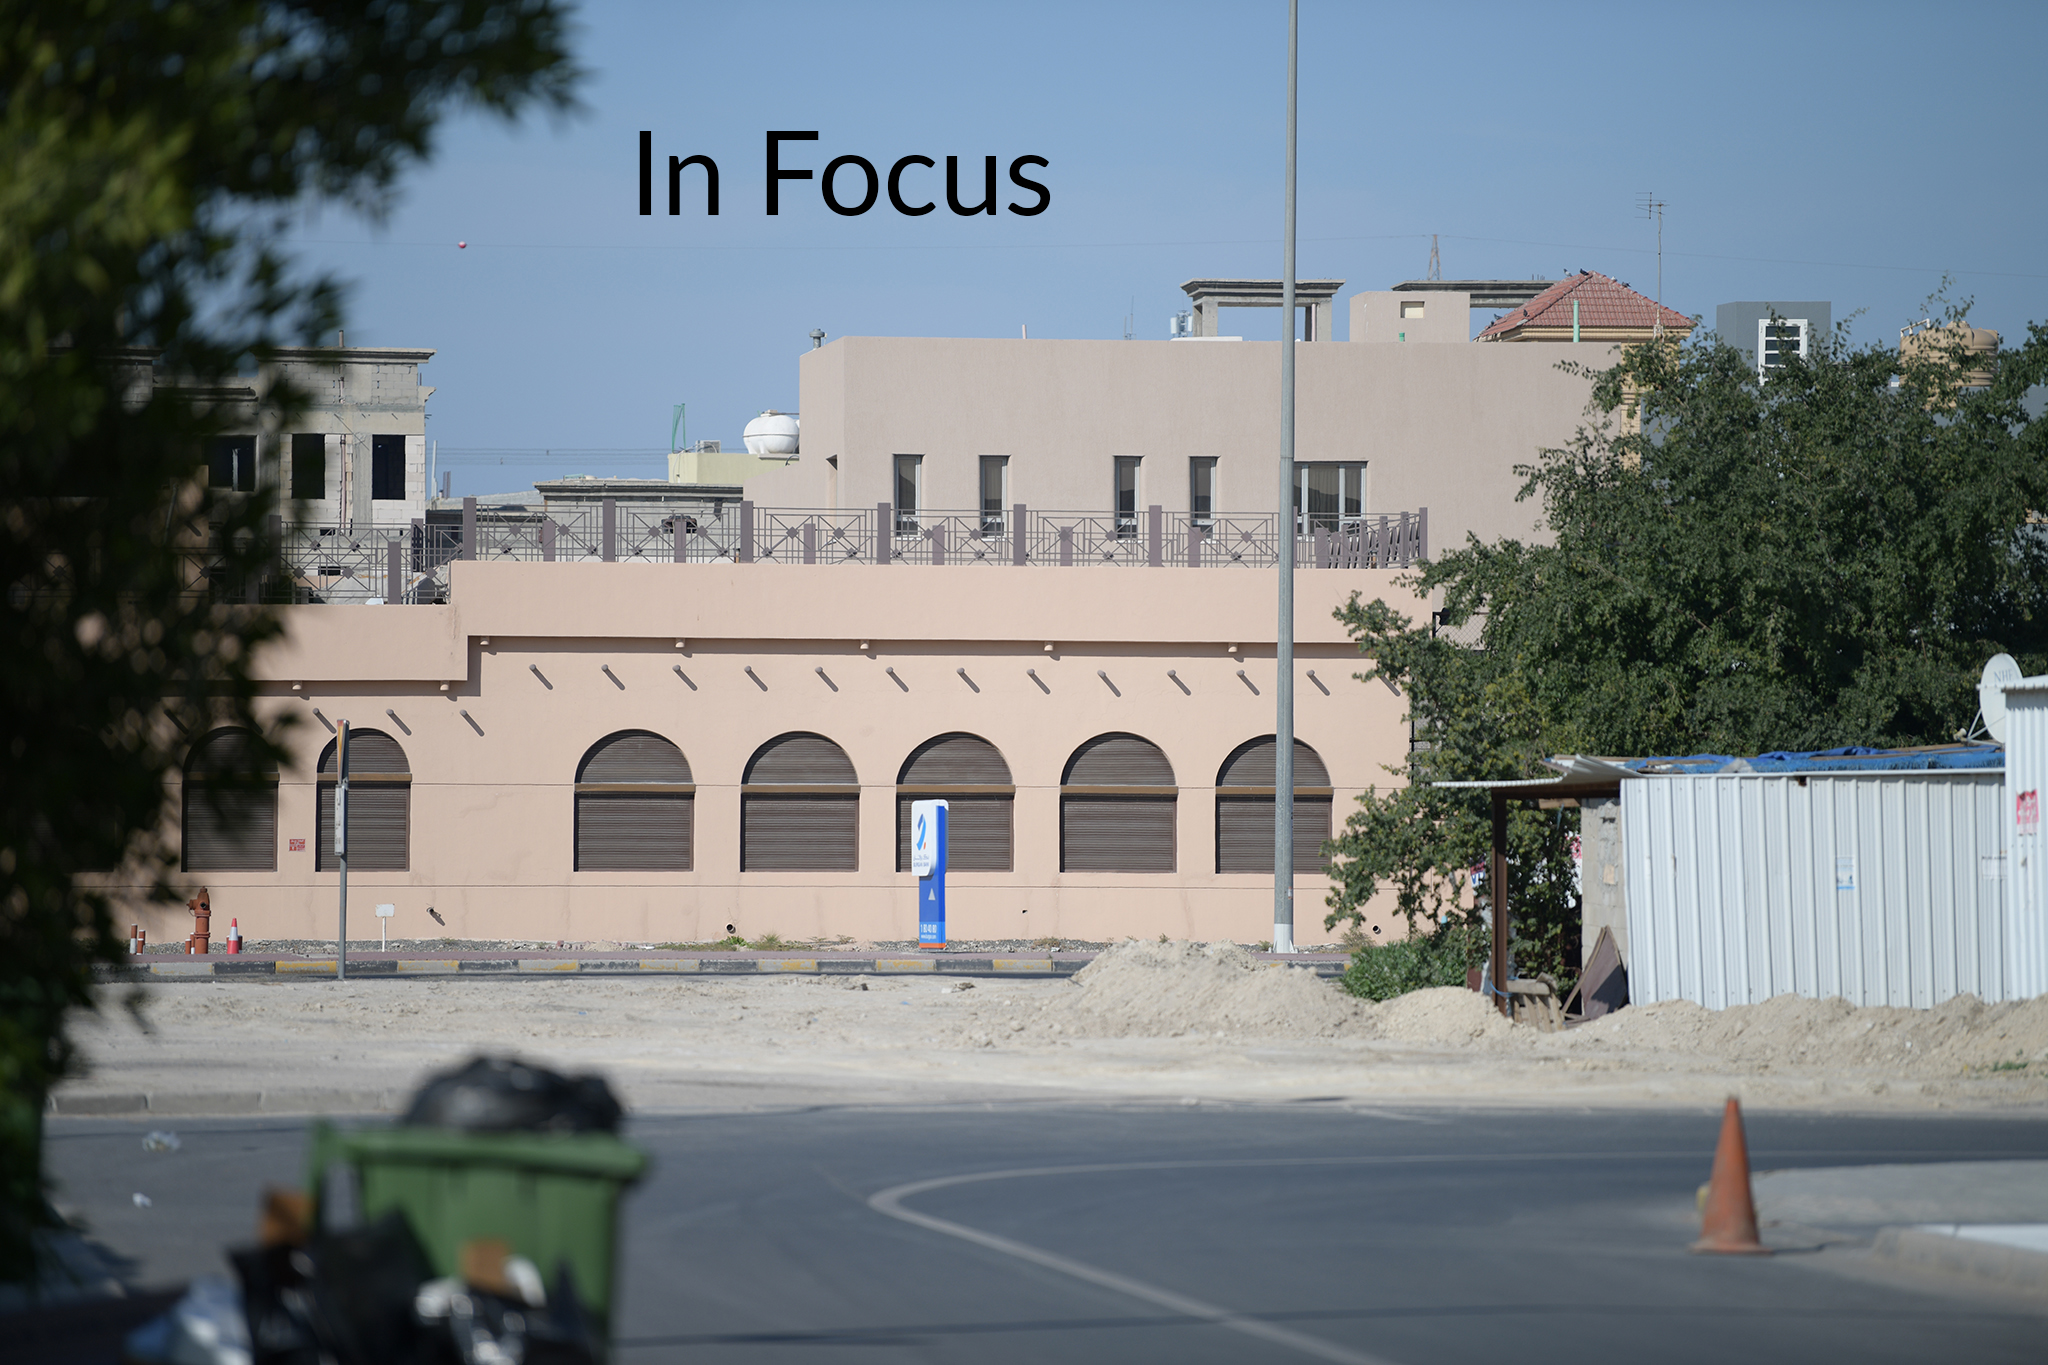
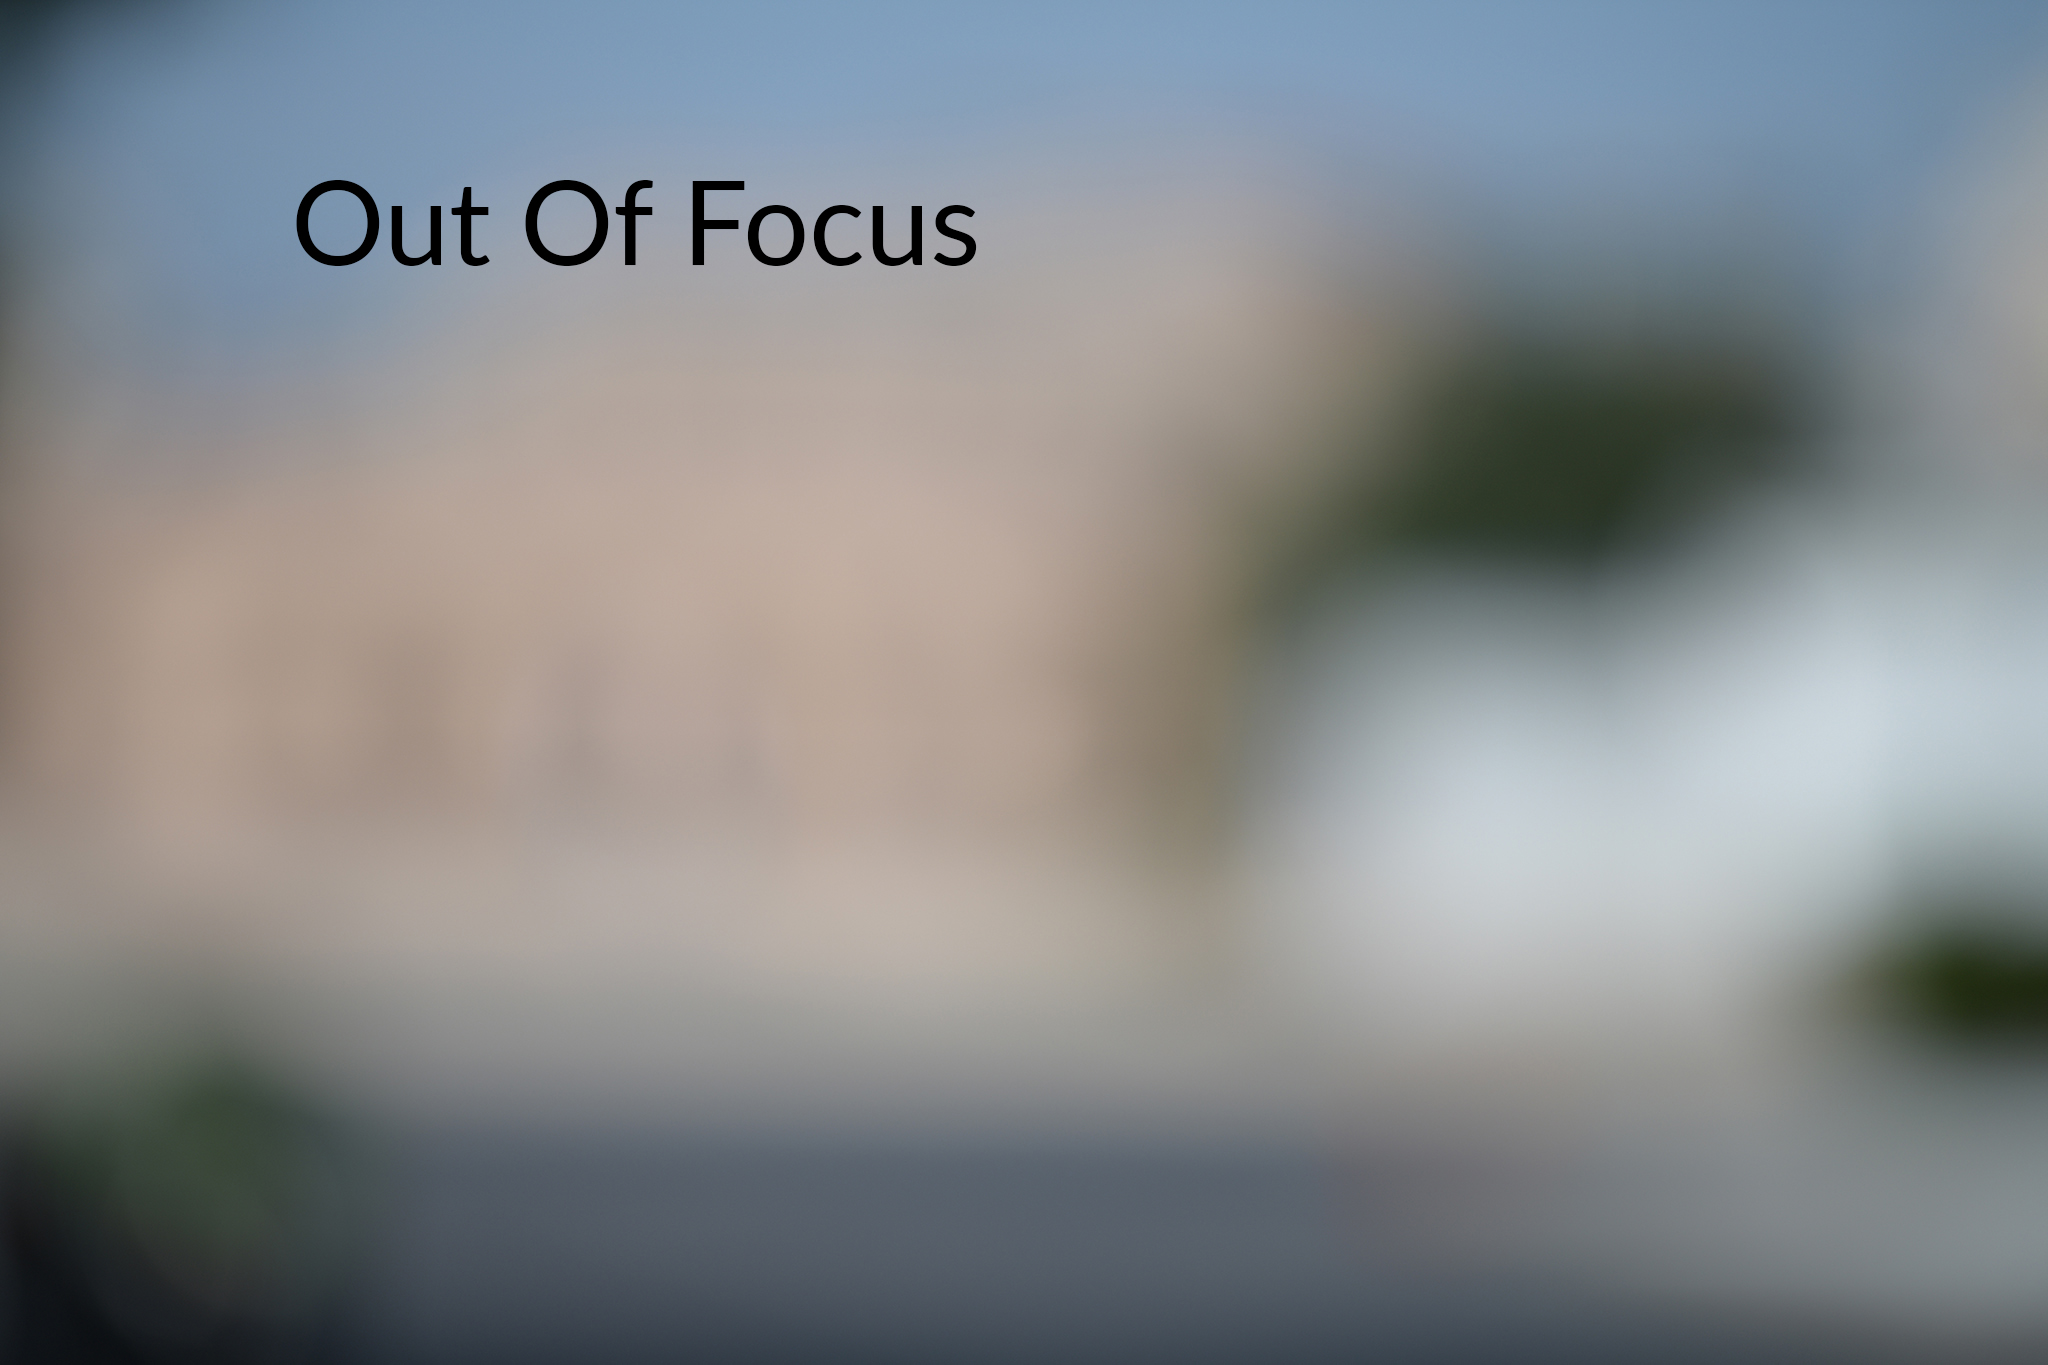
The first step in capturing cinematic headshots is to scout for a location. I focus on two key factors when choosing a spot. First, I look for a shaded area that is away from direct sunlight. The exception to this is when I want to employ one key light while using the sun as a rim light. Second, I seek a location that, when blurred or out of focus, offers beautiful colours that will harmonize well with my subject's clothing and skin tone. It's not a problem if the location has some undesirable elements, like a garbage bin, in the background.
In the images below, you can see that I took the photo on the left with the background in focus. I then blurred the background using manual focus to assess the colours it provided and determine if this location is suitable for cinematic headshots. You might notice a green garbage bin on the left side, but that doesn't matter since it will be blurred out. My primary interest is the colours it produces when blurred.
Gear
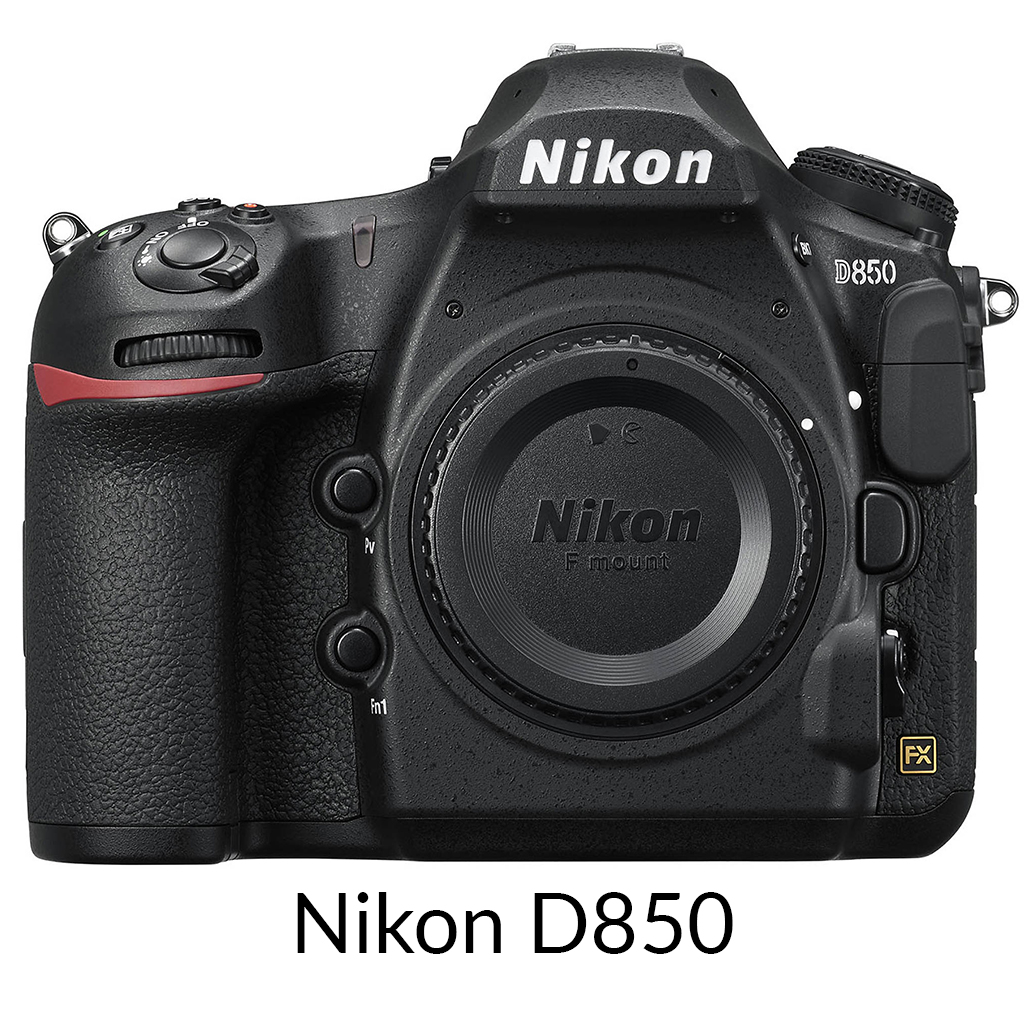
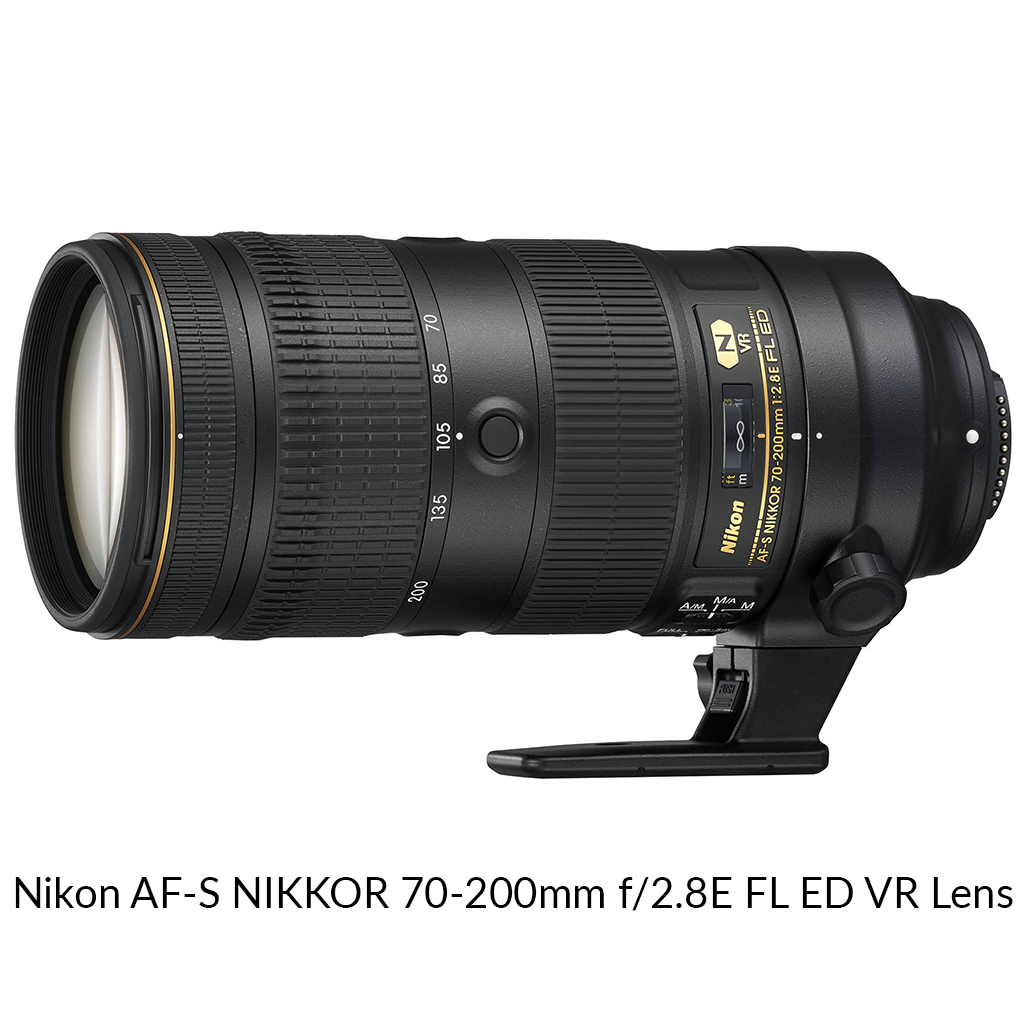

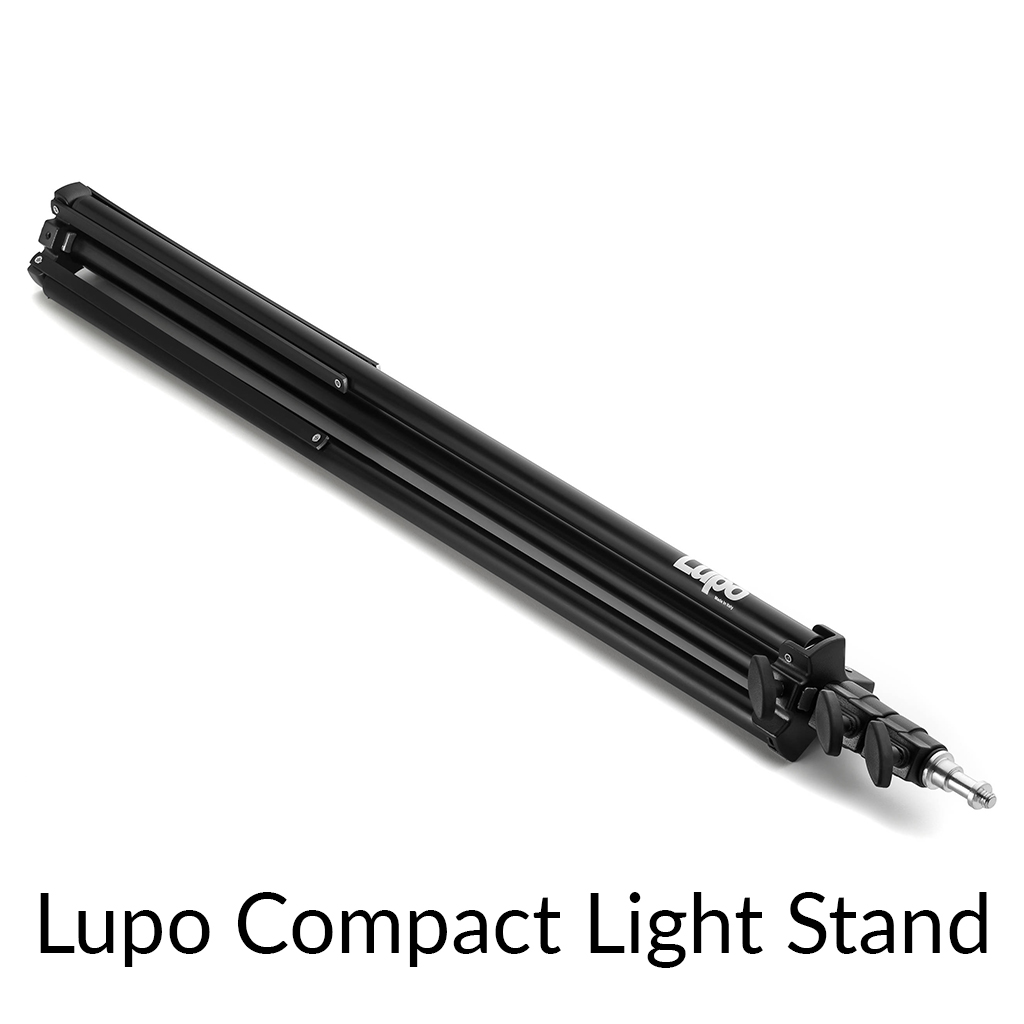
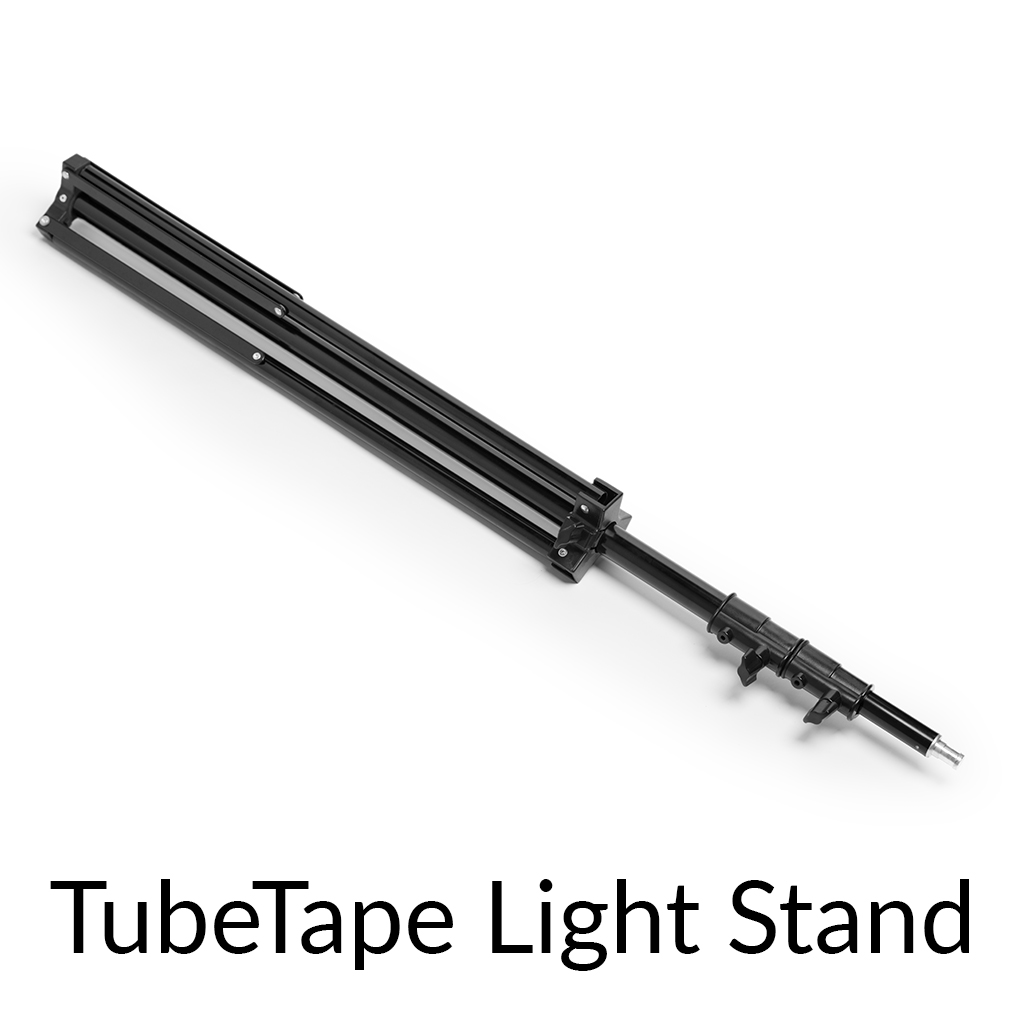
These are the pieces of equipment I use for producing my cinematic headshots. I rely on the Nikon D850 for several reasons, primarily because of its high-sync speed capability and its ability to create stunning colours without editing. I also use the Nikon 70-200mm f/2.8 lens, which, at 200mm with a wide aperture, achieves a narrow depth of field that beautifully blurs the background while compressing it without distorting my subject.
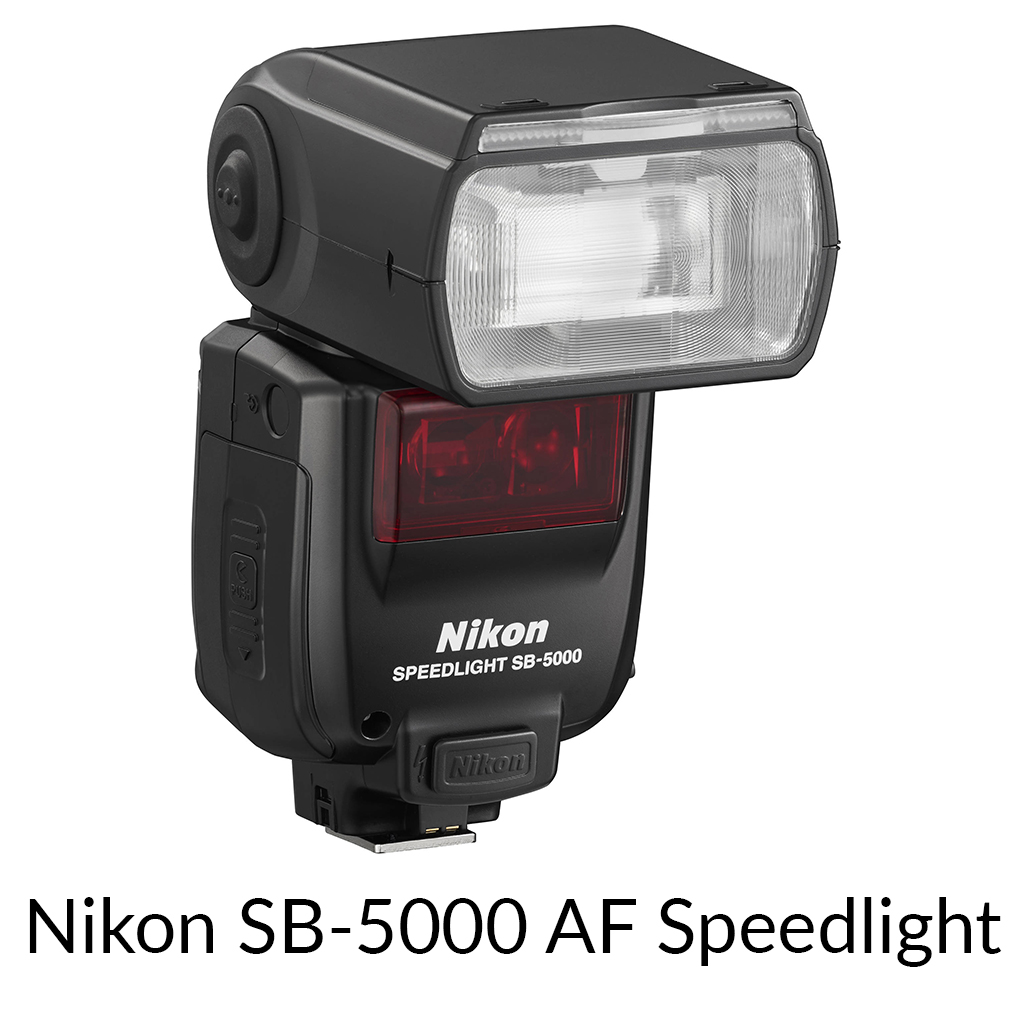
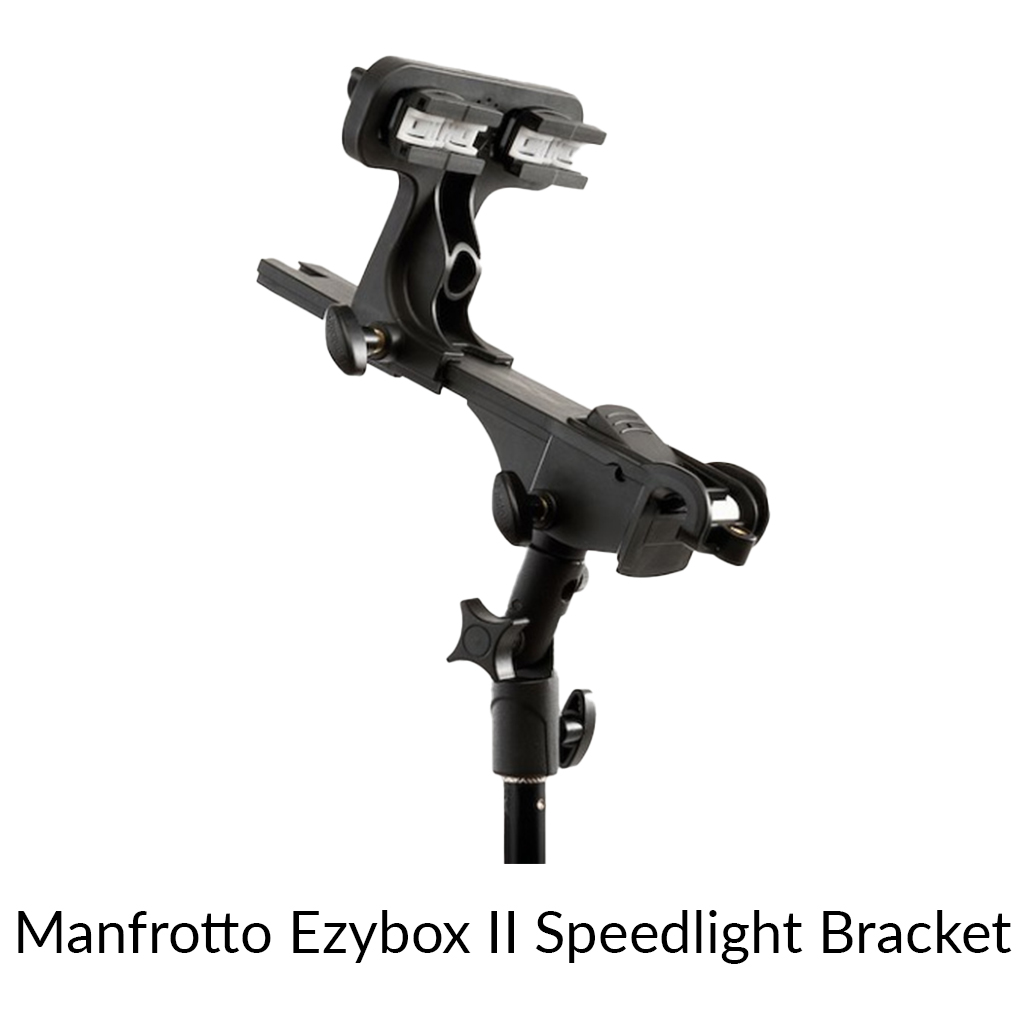
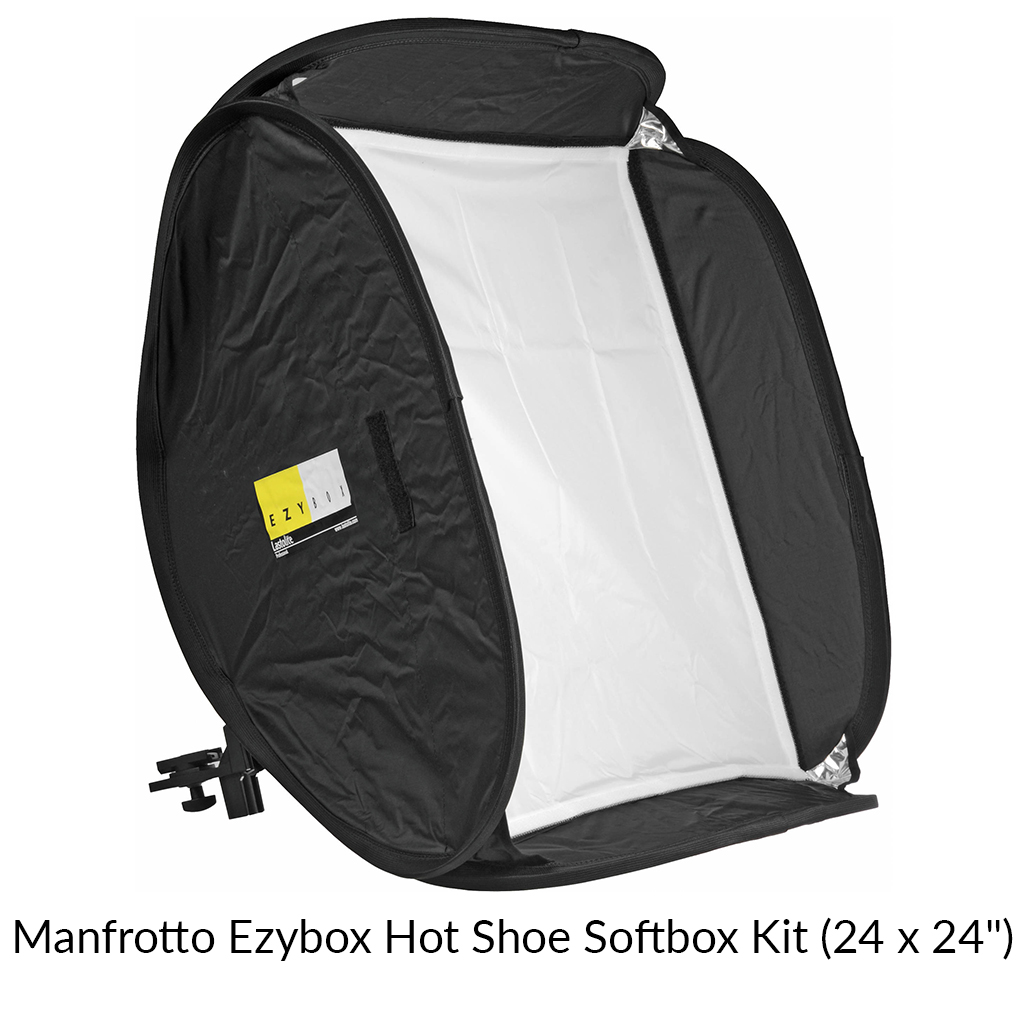
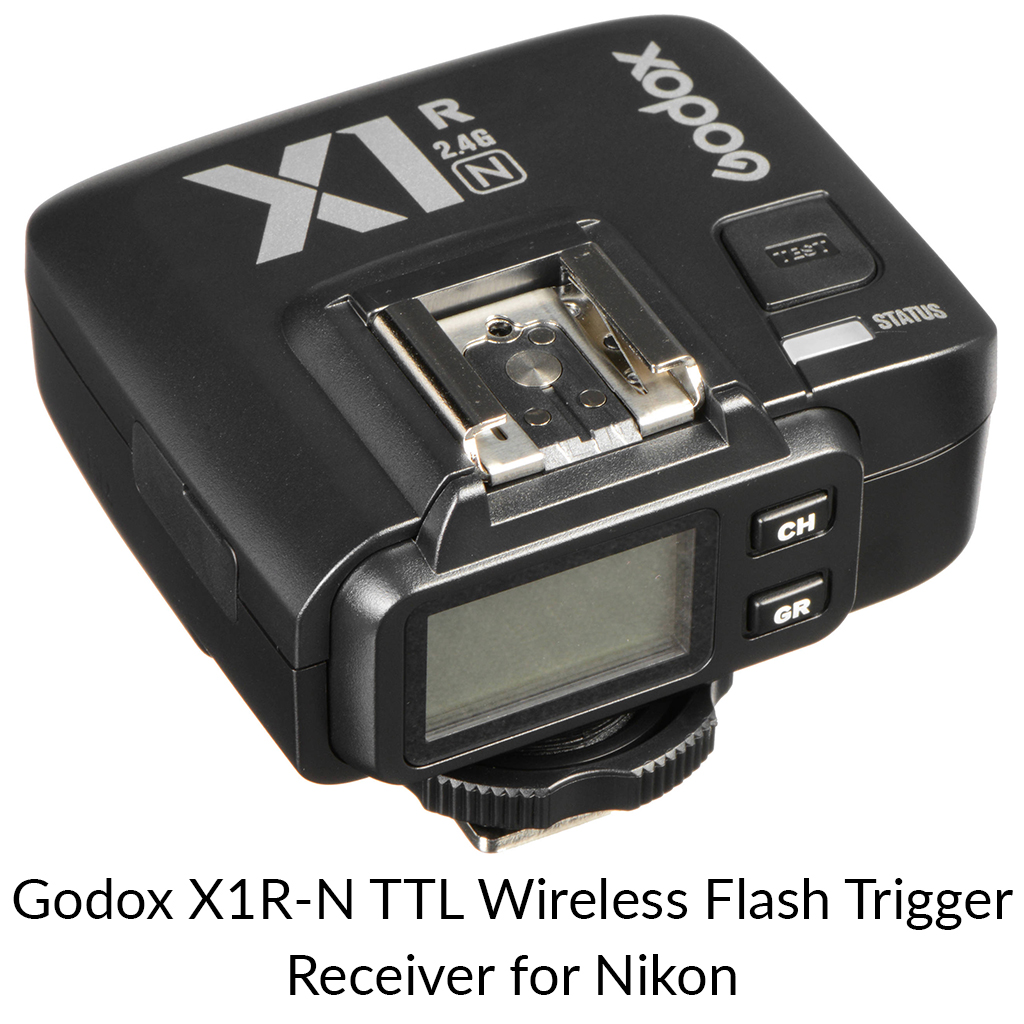
The two Speedlights I use are the Nikon SB-5000 because of their high-sync capabilities and ease of use. I connect my Speedlights with my camera using Godox X1T-N for Nikon because of its ease of use and reliability. I use Manfrotto softboxes because they're easy to assemble, given that I usually shoot my cinematic headshots outdoors.
Wardrobe
I always ask my subjects to wear tops that match or complement the background colours using a colour harmony scheme. For this cinematic headshot, I asked my friend Talal to wear traditional Arabian attire.
Makeup and Hairstyle
I appreciate the natural look of a person without makeup or with only minimal makeup, as it reflects authenticity. However, it's essential to think about the type of cinematic headshots you are aiming for. For instance, a beauty cinematic headshot photoshoot typically requires a significant amount of makeup, ideally applied by a professional makeup artist.
Camera Settings
I typically use an ISO between 100 and 400. For the aperture, I prefer an aperture between f/3.2 and f/4 because an aperture of f/2.8 results in a very narrow depth of field, that even the slightest movement from the subjects can blur their features.
The shutter speed varies based on the background. If I want a darker background, I increase the shutter speed; conversely, if I want a brighter background, I decrease the shutter speed.
White balance is not a significant concern for me since I shoot in RAW format. However, I find the Auto white balance to be satisfactory.
For Talal's image, I used the following settings:
| Aperture | Shutter Speed | ISO | Focal Length | White Balance | Metering |
|---|---|---|---|---|---|
| f2.8 | 1/1600th | 250 | 200 | AUTO | Matrix |
Process
The key light should be positioned at a 45-degree angle from your subject and elevated. Be careful not to raise it too high, as this could cause you to lose the catchlight in the eyes.
The rim light should be placed 180 degrees from the key light to add definition to the shadowed side of the subject and help separate it from the background.
Below is a diagram of the lighting setup I used:

First, I adjust the background exposure using the shutter speed. Once I am satisfied with the background, I turn on my Speedlights and adjust their power as needed, or I use a light meter to expose my subject properly.
Posing
I prefer to position my subjects on one side of the frame, capturing their head and shoulders while cropping the top of their heads. However, I also occasionally center them in the middle of the image. Sometimes, I tilt the camera to create interesting cinematic effects, as I did in Talal's picture.
Post-processing
Culling images can be the most challenging part of a photoshoot. There comes a moment when every photo feels magical, making it hard to choose the best ones.
During this shoot, I captured 74 images. I rated six of them as five stars and fifteen as four stars in Adobe Lightroom.
Here are the best 16 images presented side by side.
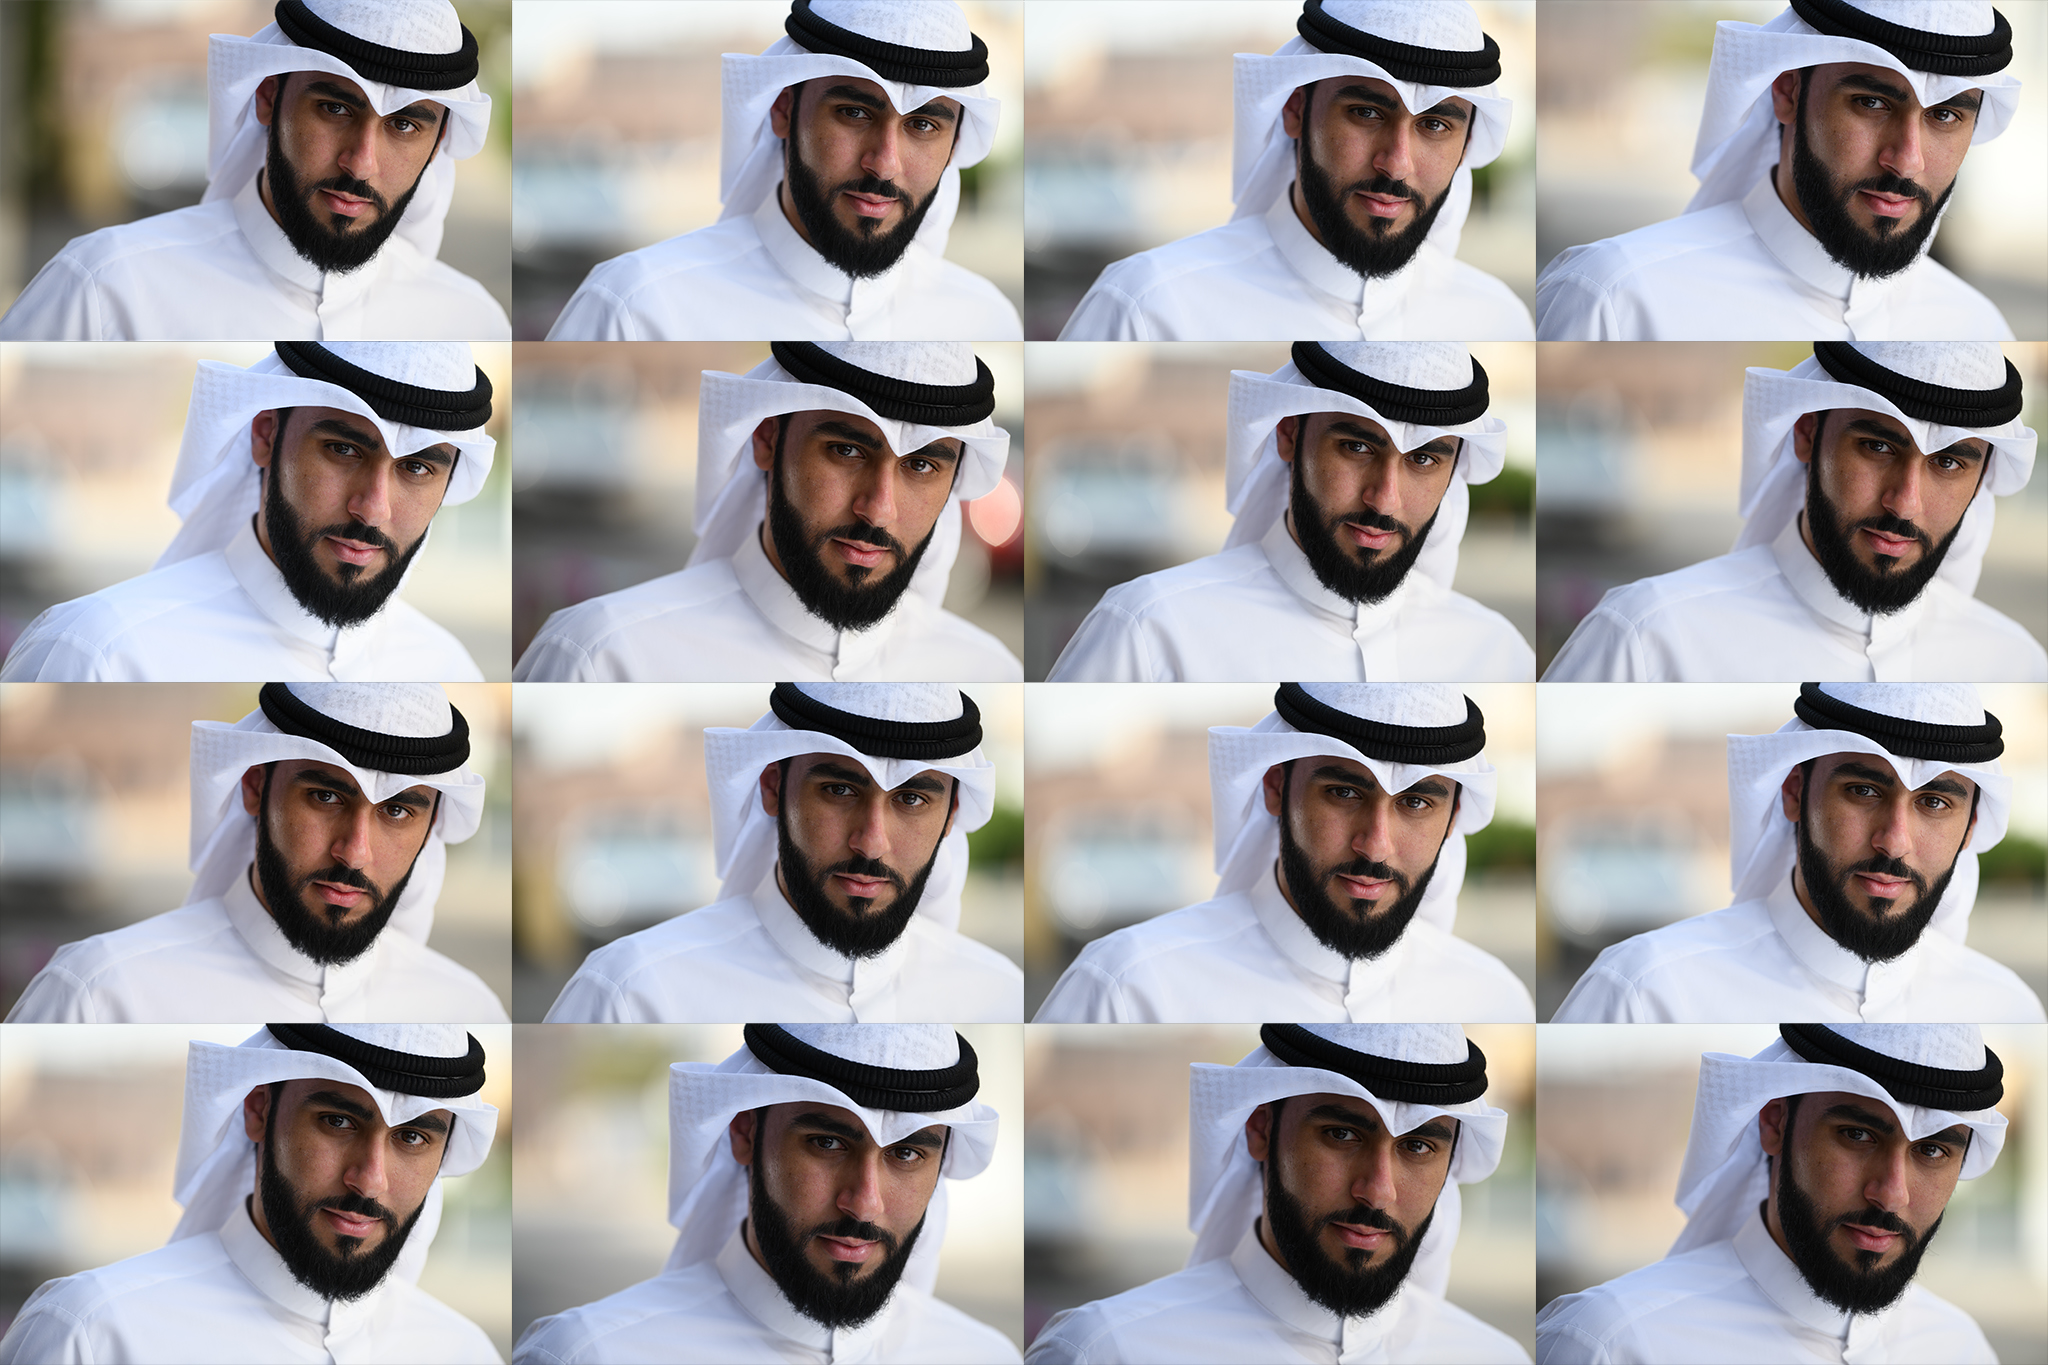
These images are straight out of the camera in JPEG format. As you can see, they can be delivered to your client without any post-processing if preferred. They look fabulous as they are. However, with post-processing, you can achieve a better cinematic look.
Adobe Lightroom
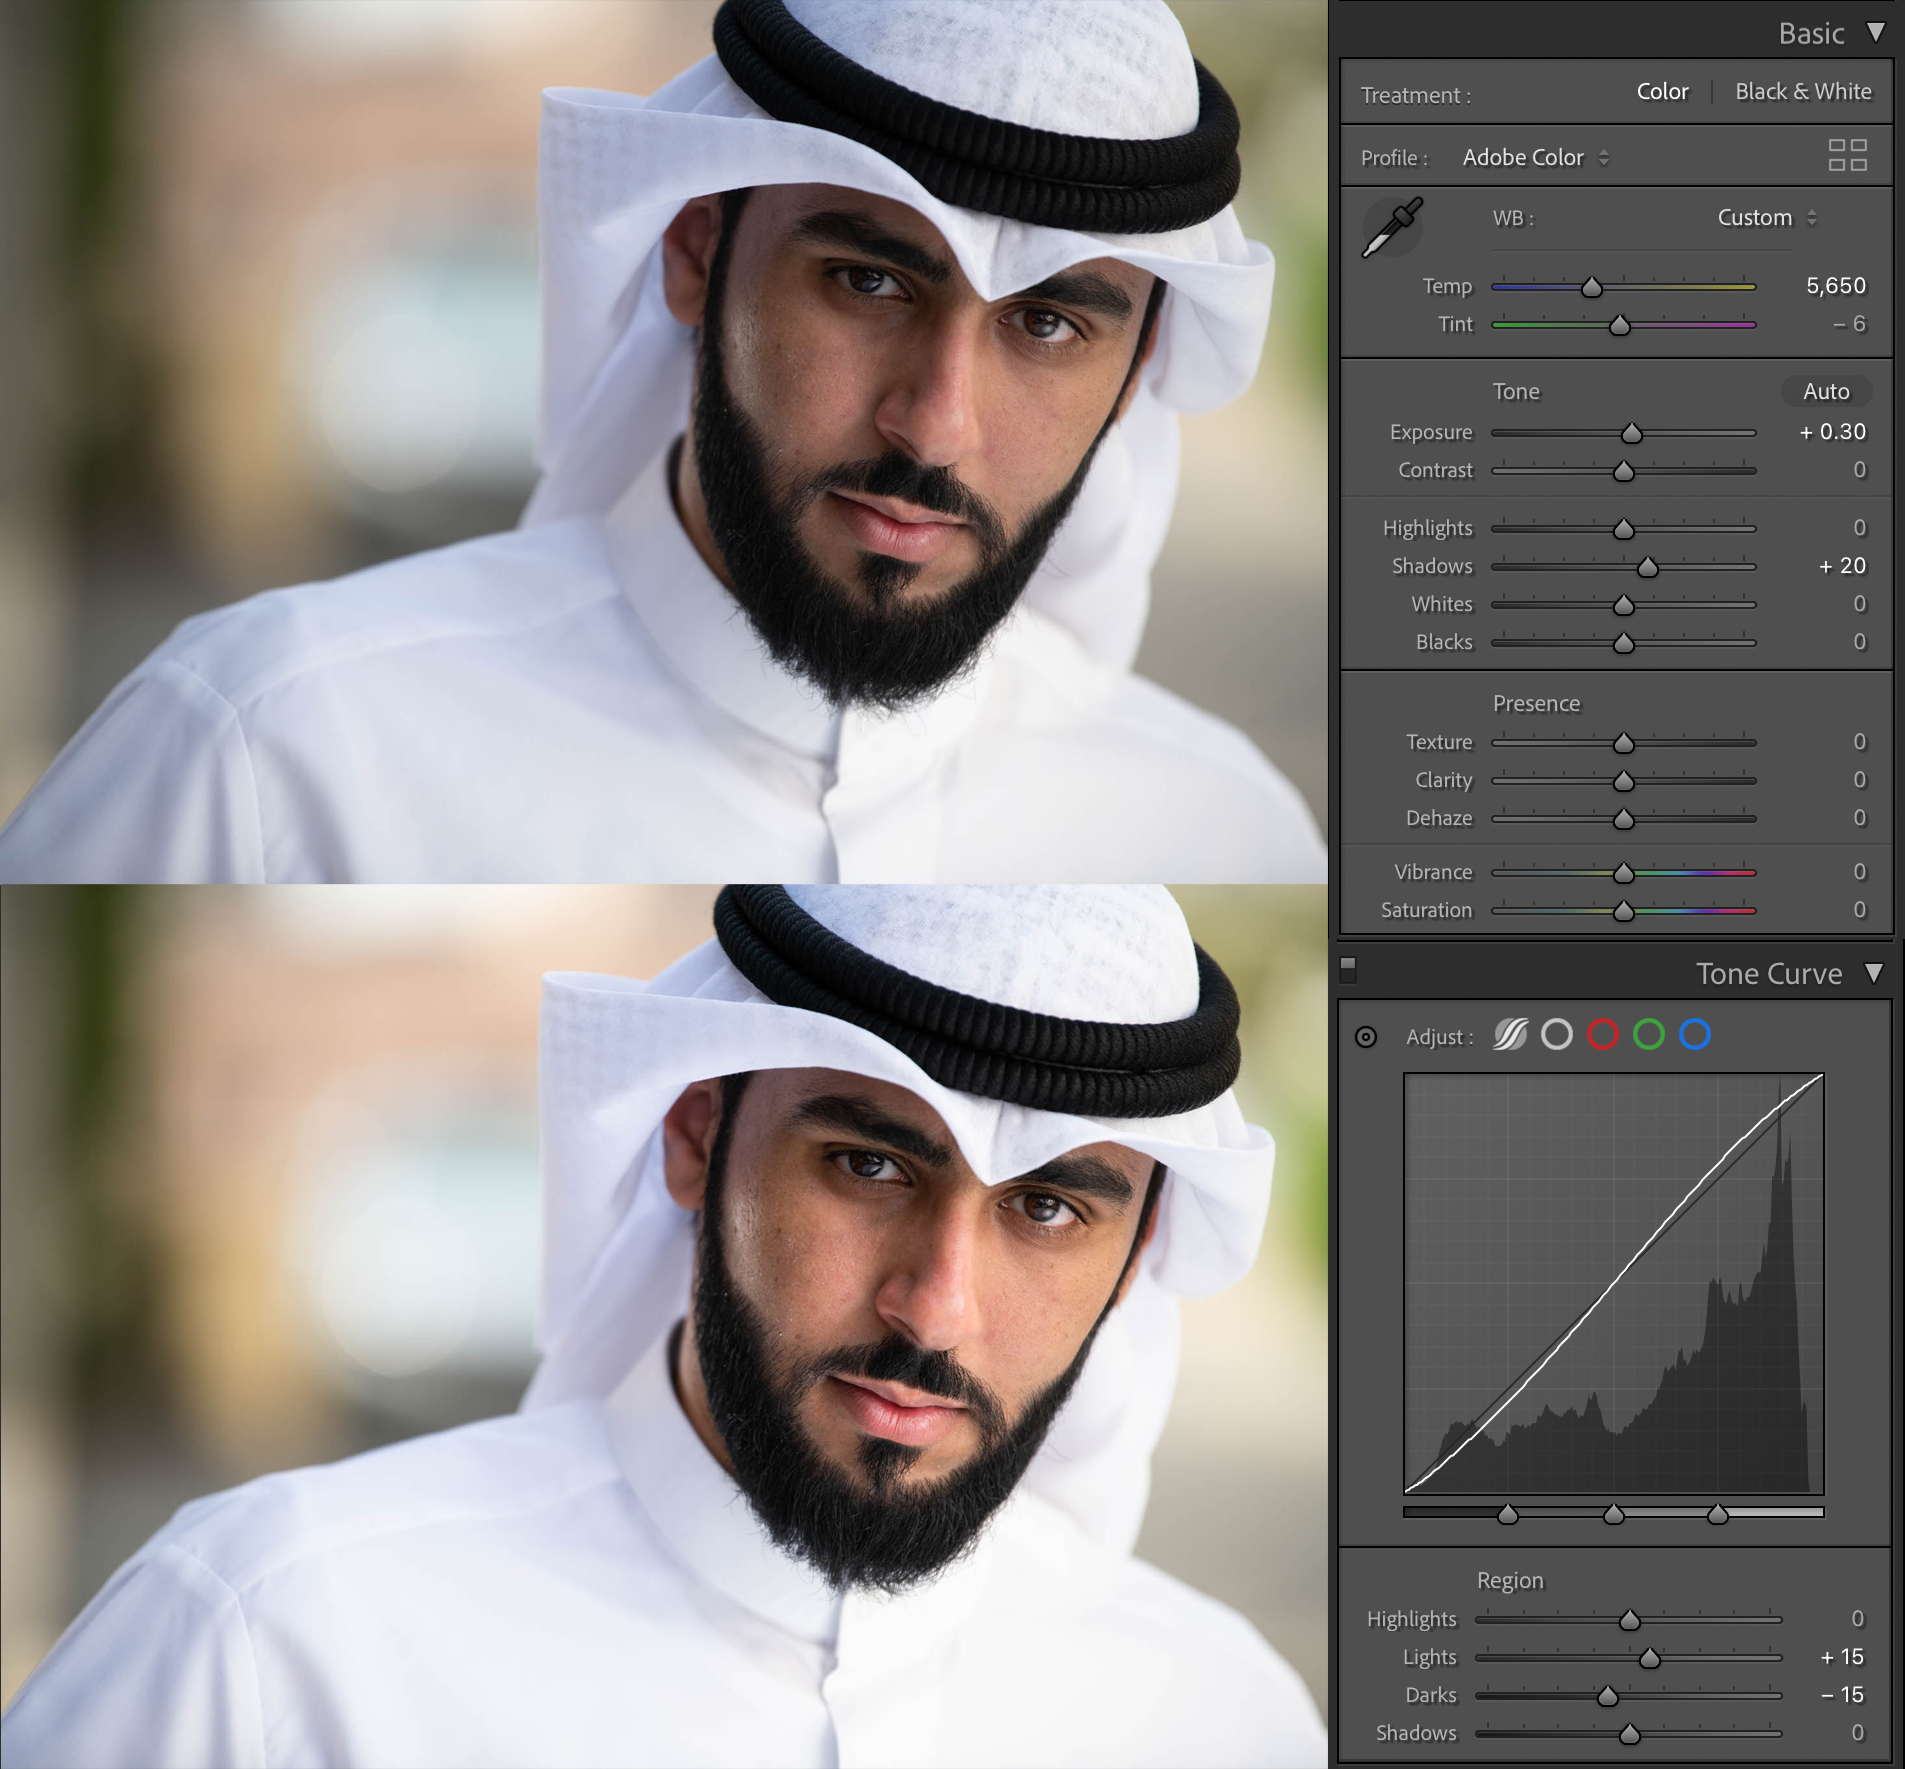
In the develop module, I do the following:
- Basic adjustments such as white balance, exposure, highlight, shadow, black, and white.
- Tone curve using lights and darks (If I find the image too contrasty, I postpone this step and later adjust it in Adobe Photoshop)
Once done with Adobe Lightroom, you can deliver the images to your client. However, I like to edit more in Adobe Photoshop to achieve a better cinematic look.
Adobe Photoshop
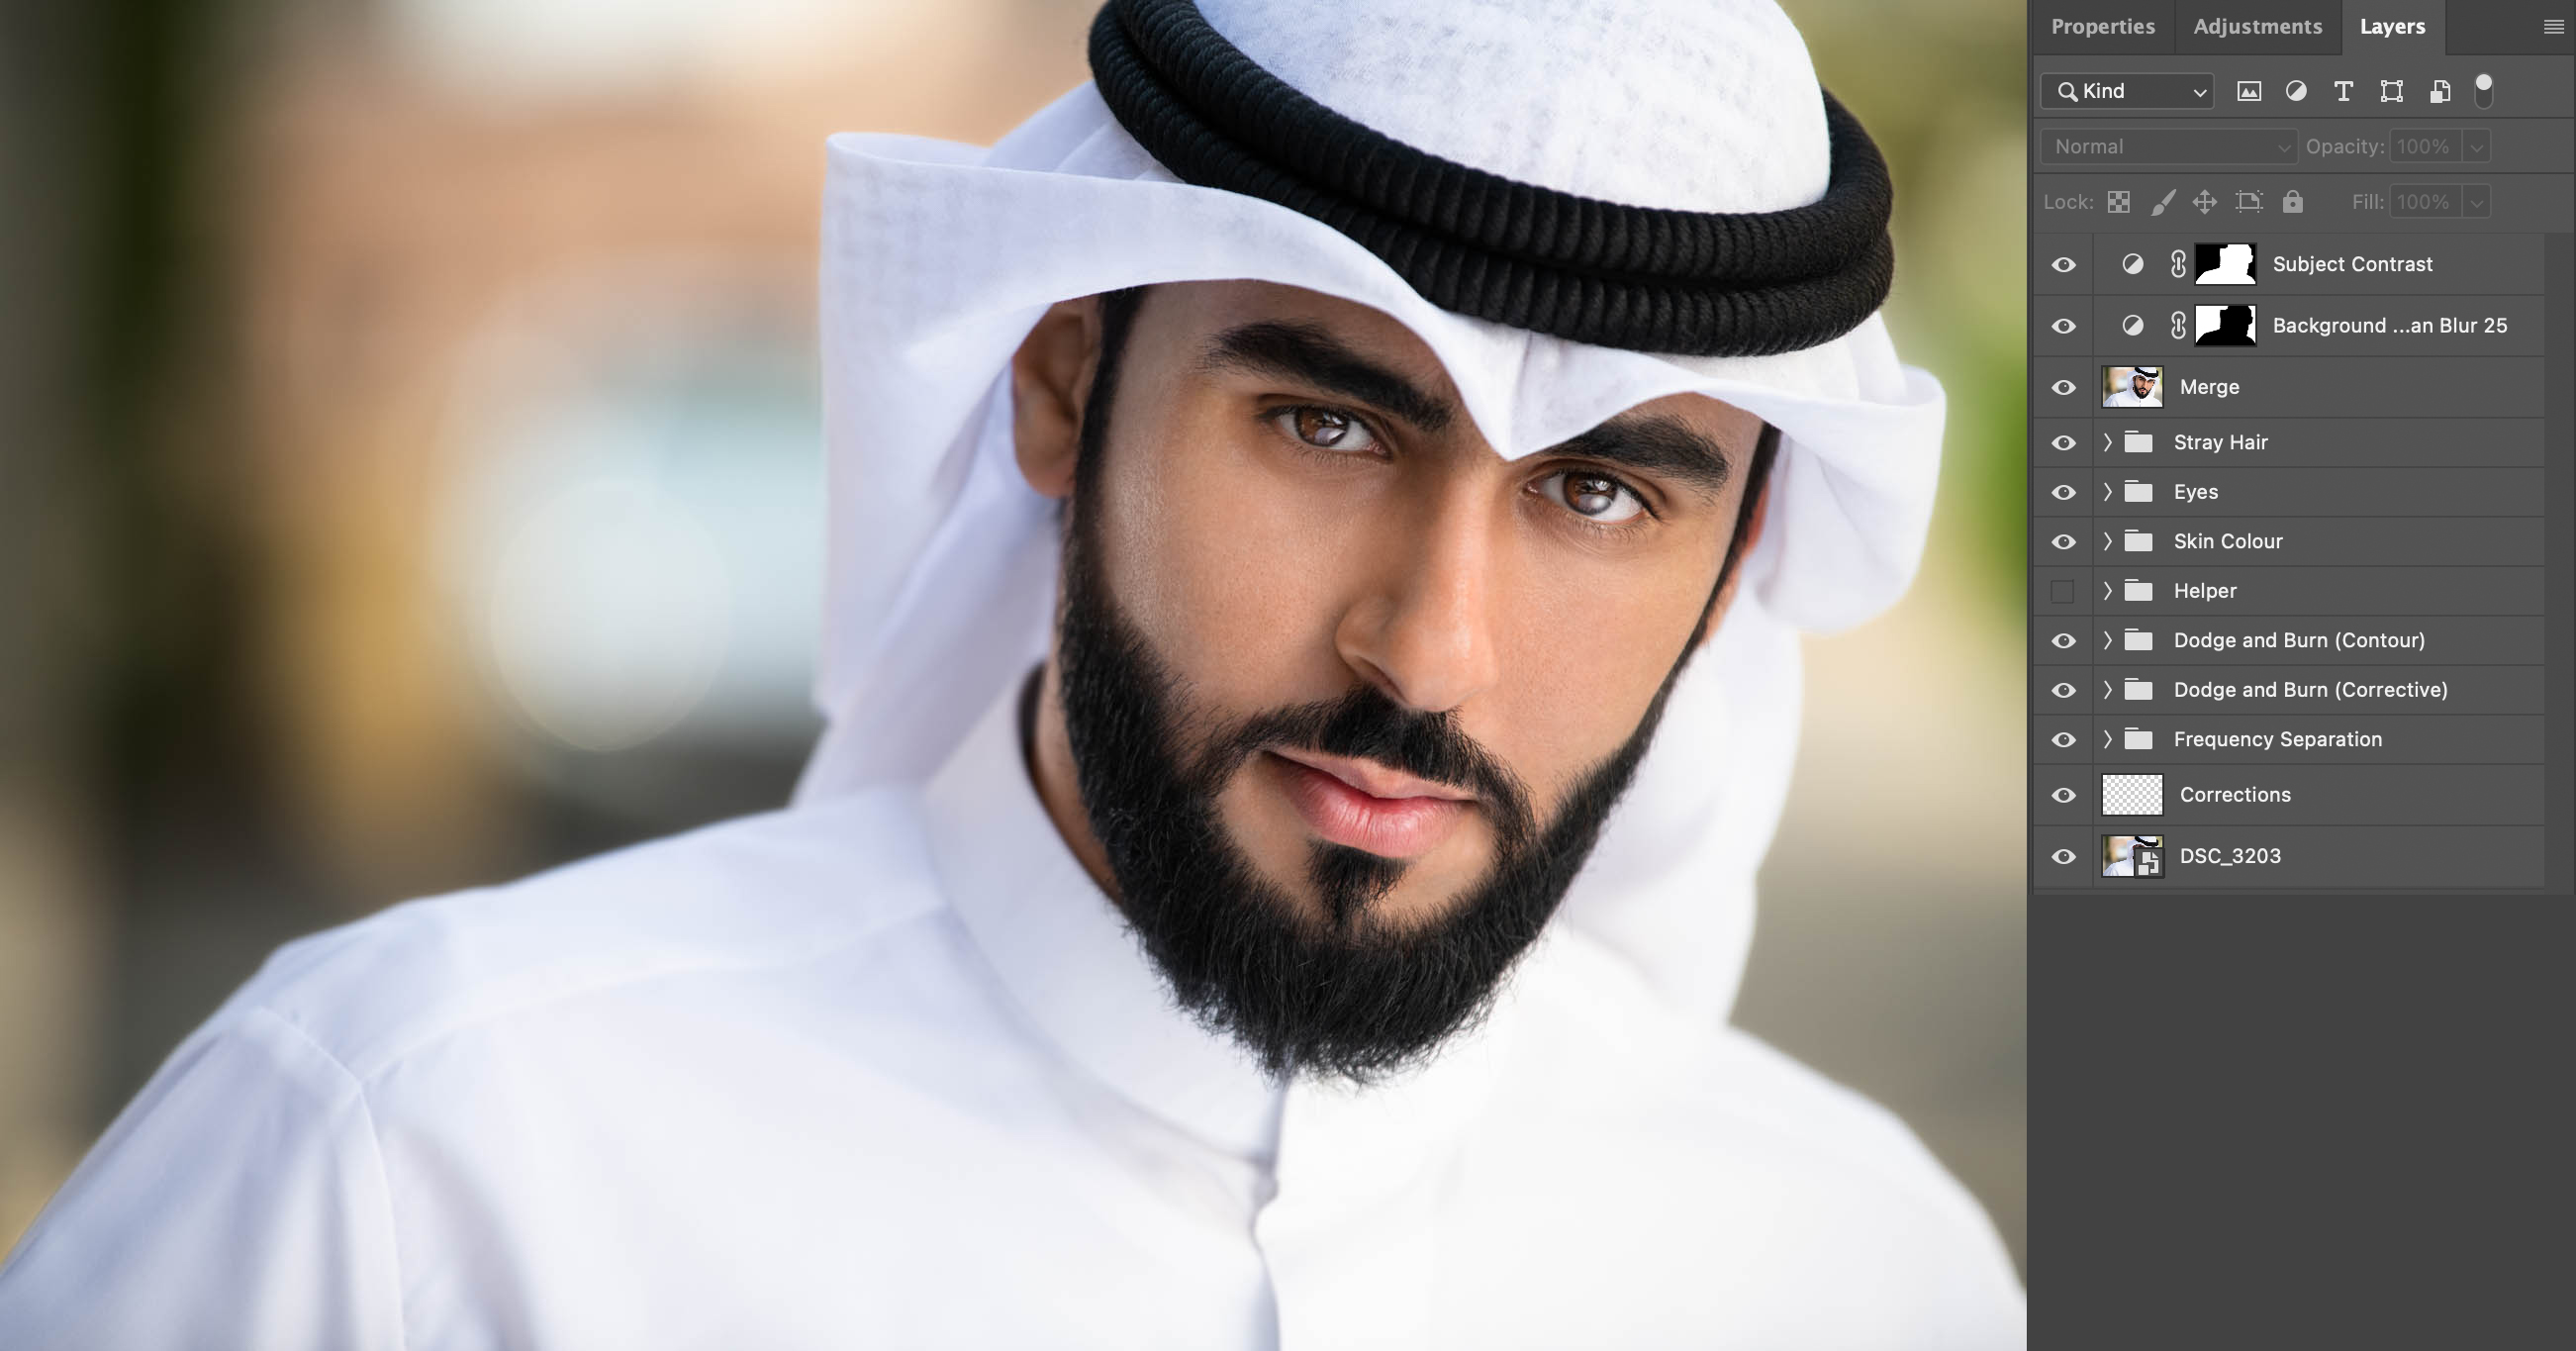
The final step of my post-processing takes place in Adobe Photoshop. I typically follow a non-destructive workflow during this process.:
- Correction Layer (Correct major distractions in the image)
- Frequency Separation (Correct colour toning and skin blemish healing, using a low flow brush for more natural results)
- Micro (corrective) Dodge and Burn, followed by Macro (contour) Dodge and Burn (this gives flawless natural skin tone)
- Skin Colour Adjustments
- Eyes Enhancement (using dodge and burn and high-pass filter to increase the sharpness)
- Further Corrections (e.g., Stray Hair)
- Merge all the layers
- Adjust the contrast using Adobe Photoshop's auto-contrast and/or curves
- Liquify, if needed (I rarely liquify the face in my cinematic headshot to keep it as natural as possible)
- Colour tone, if needed
Take a moment to appreciate the outcome of your efforts. Observe how your subject transforms into a captivating cinematic scene, radiating an alluring quality that draws the eye. The intricate details and vibrant colours come together to create a visual masterpiece that tells a story all on its own.
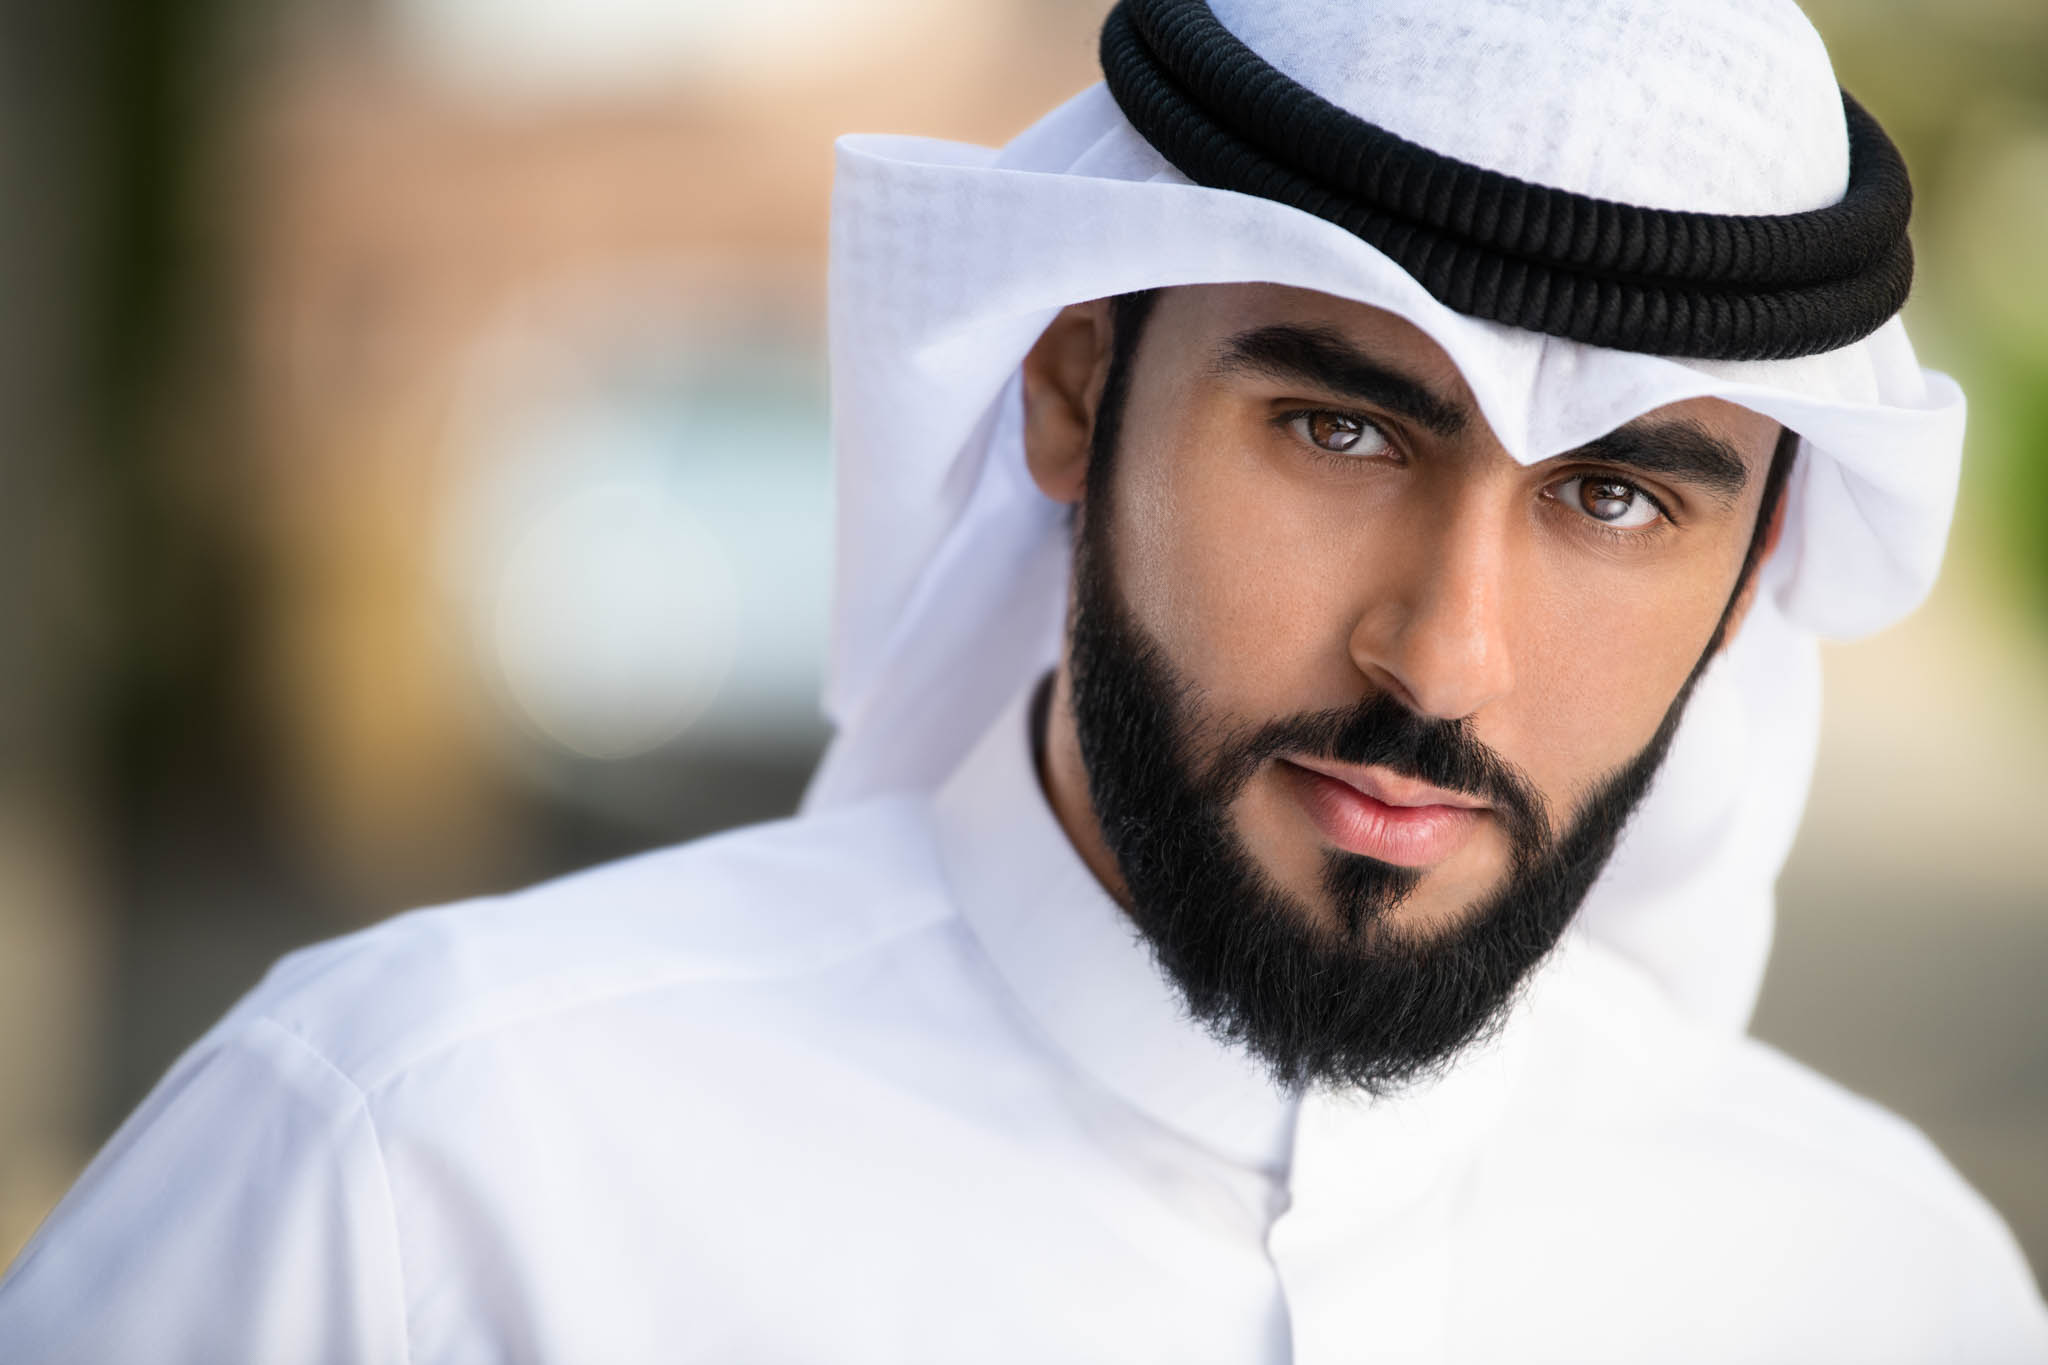
Here is a before-and-after comparison of the image, showing the final results clearly.