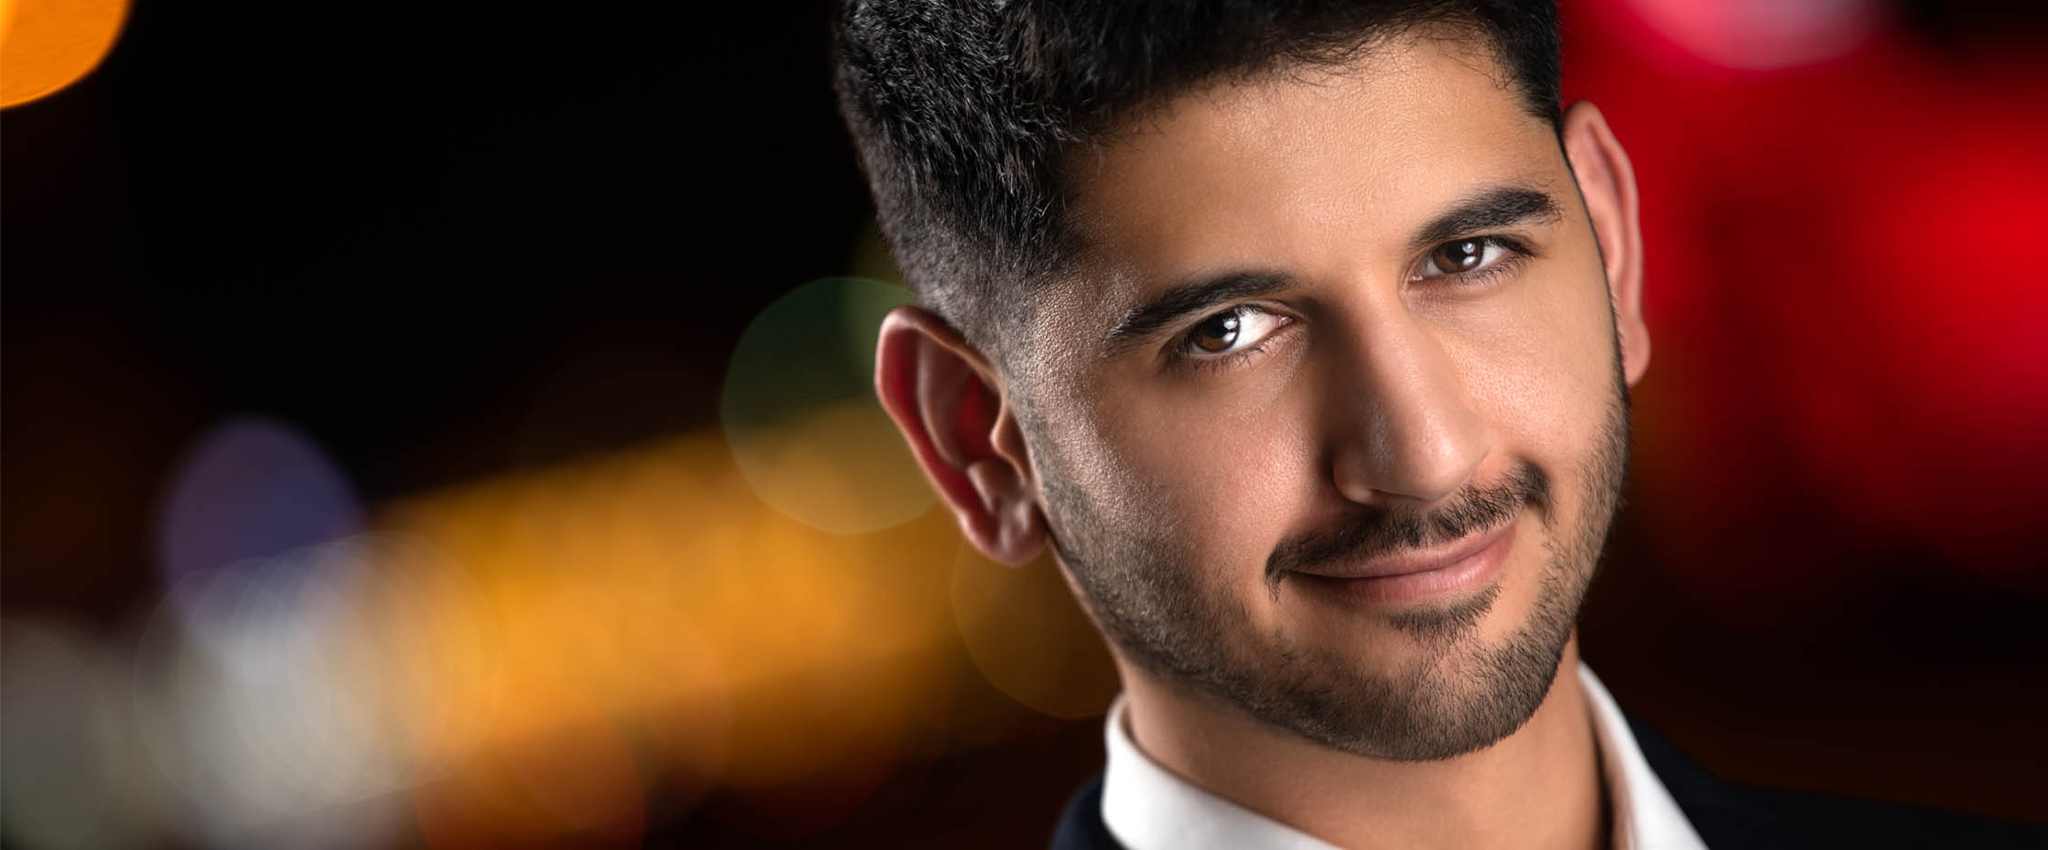
Cinematic Headshot at Night
A Step-By-Step Approach To Shooting a Timeless Cinematic Headshot at Night
Written on the 16th of March, 2023
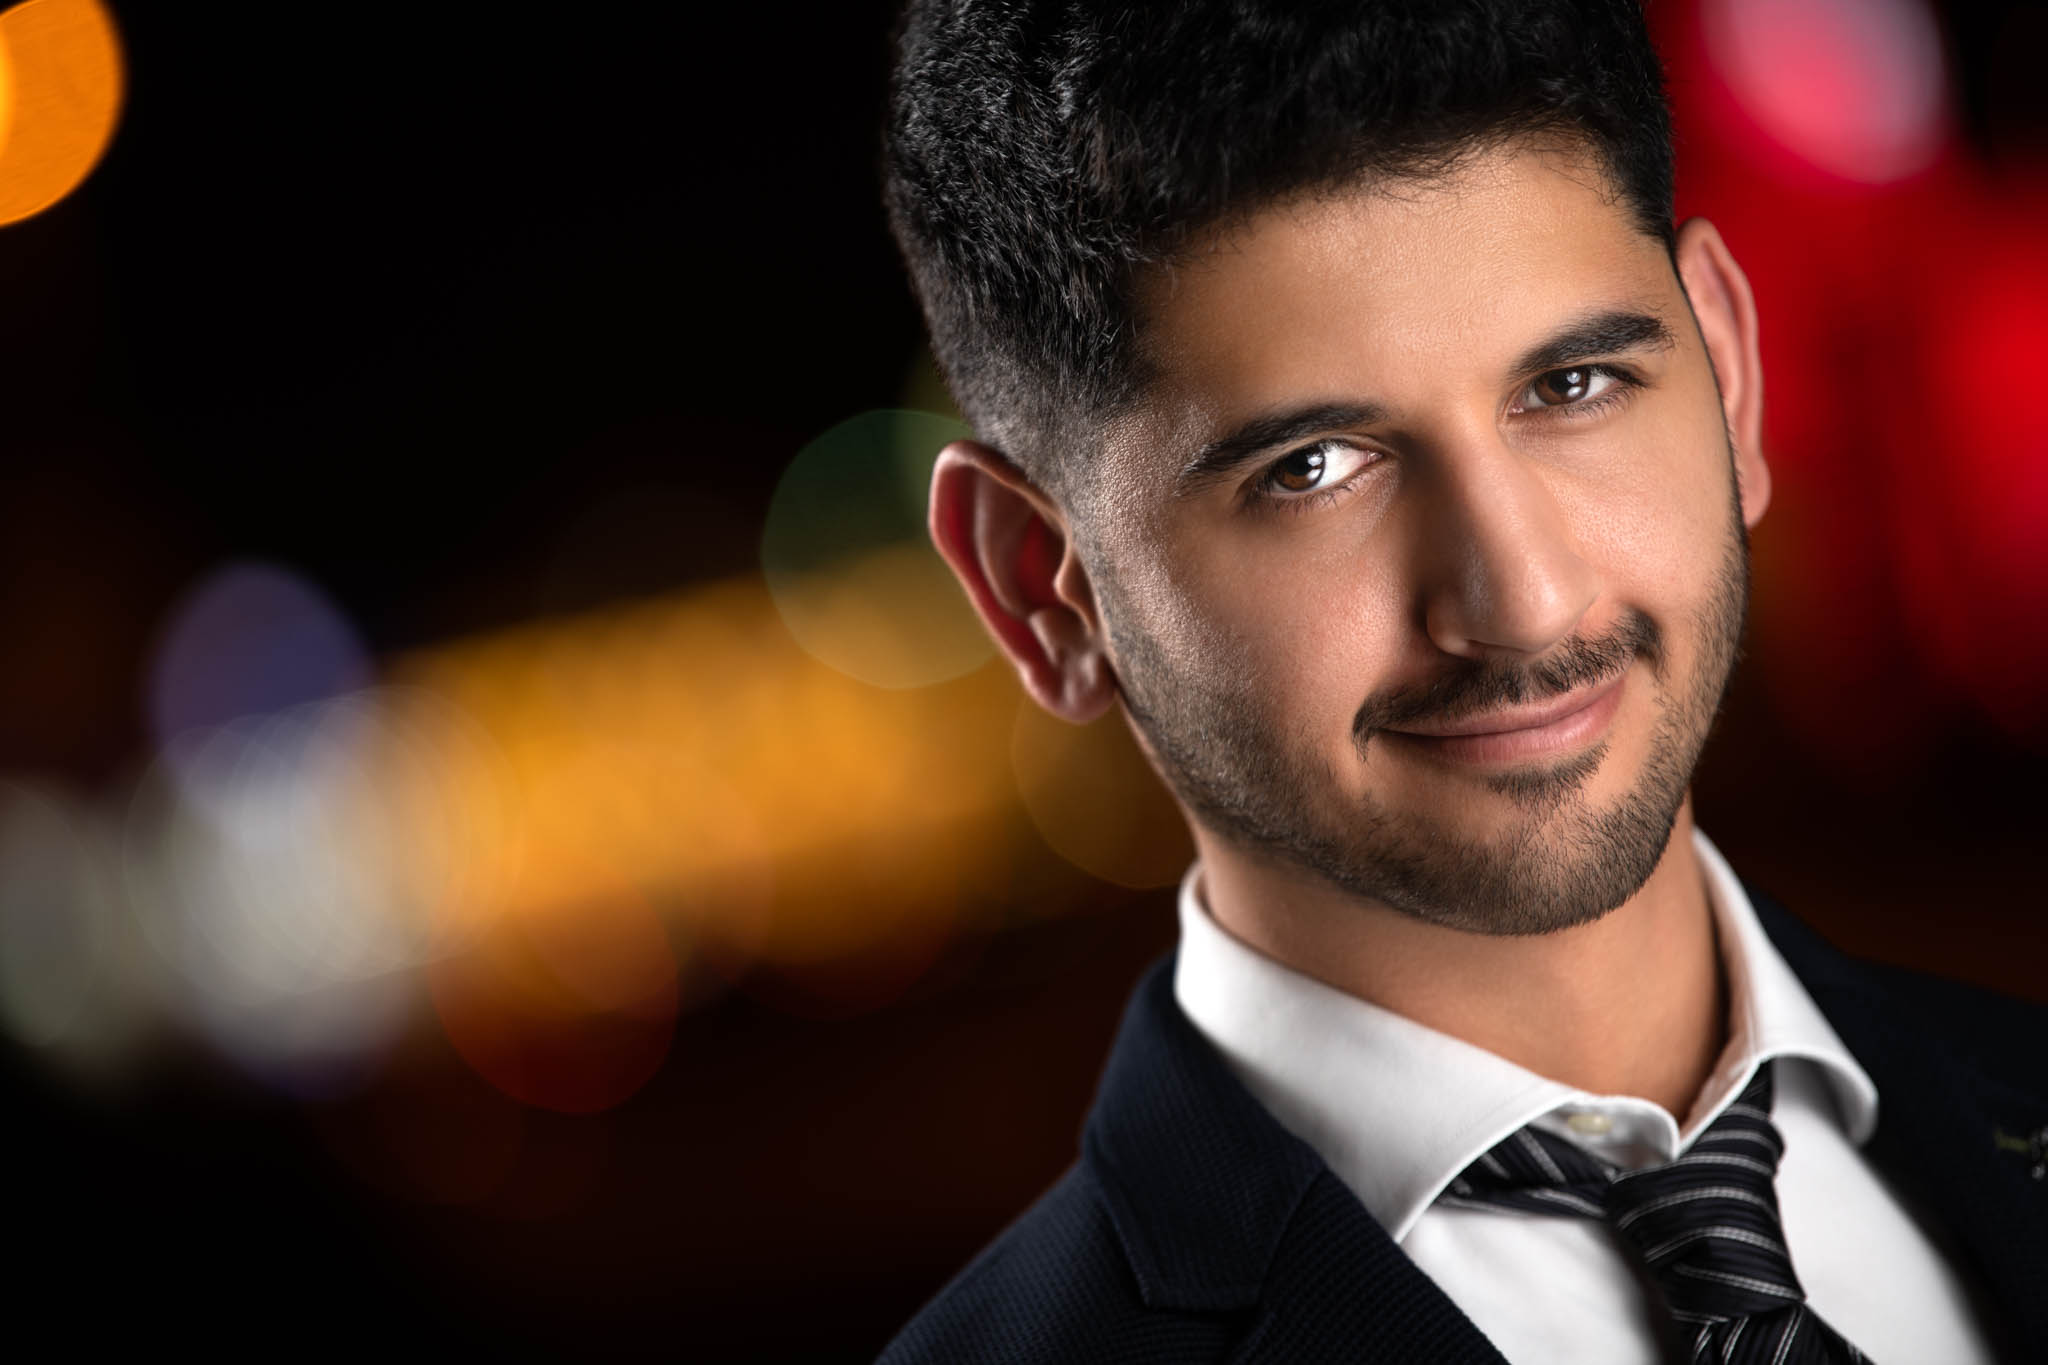
A few people requested a step-by-step on how I shoot my cinematic headshots at night. In this post, I will explain each step I took to deliver a natural-looking timeless cinematic headshot at night for my cousin Khaled AlMutawa.
Location
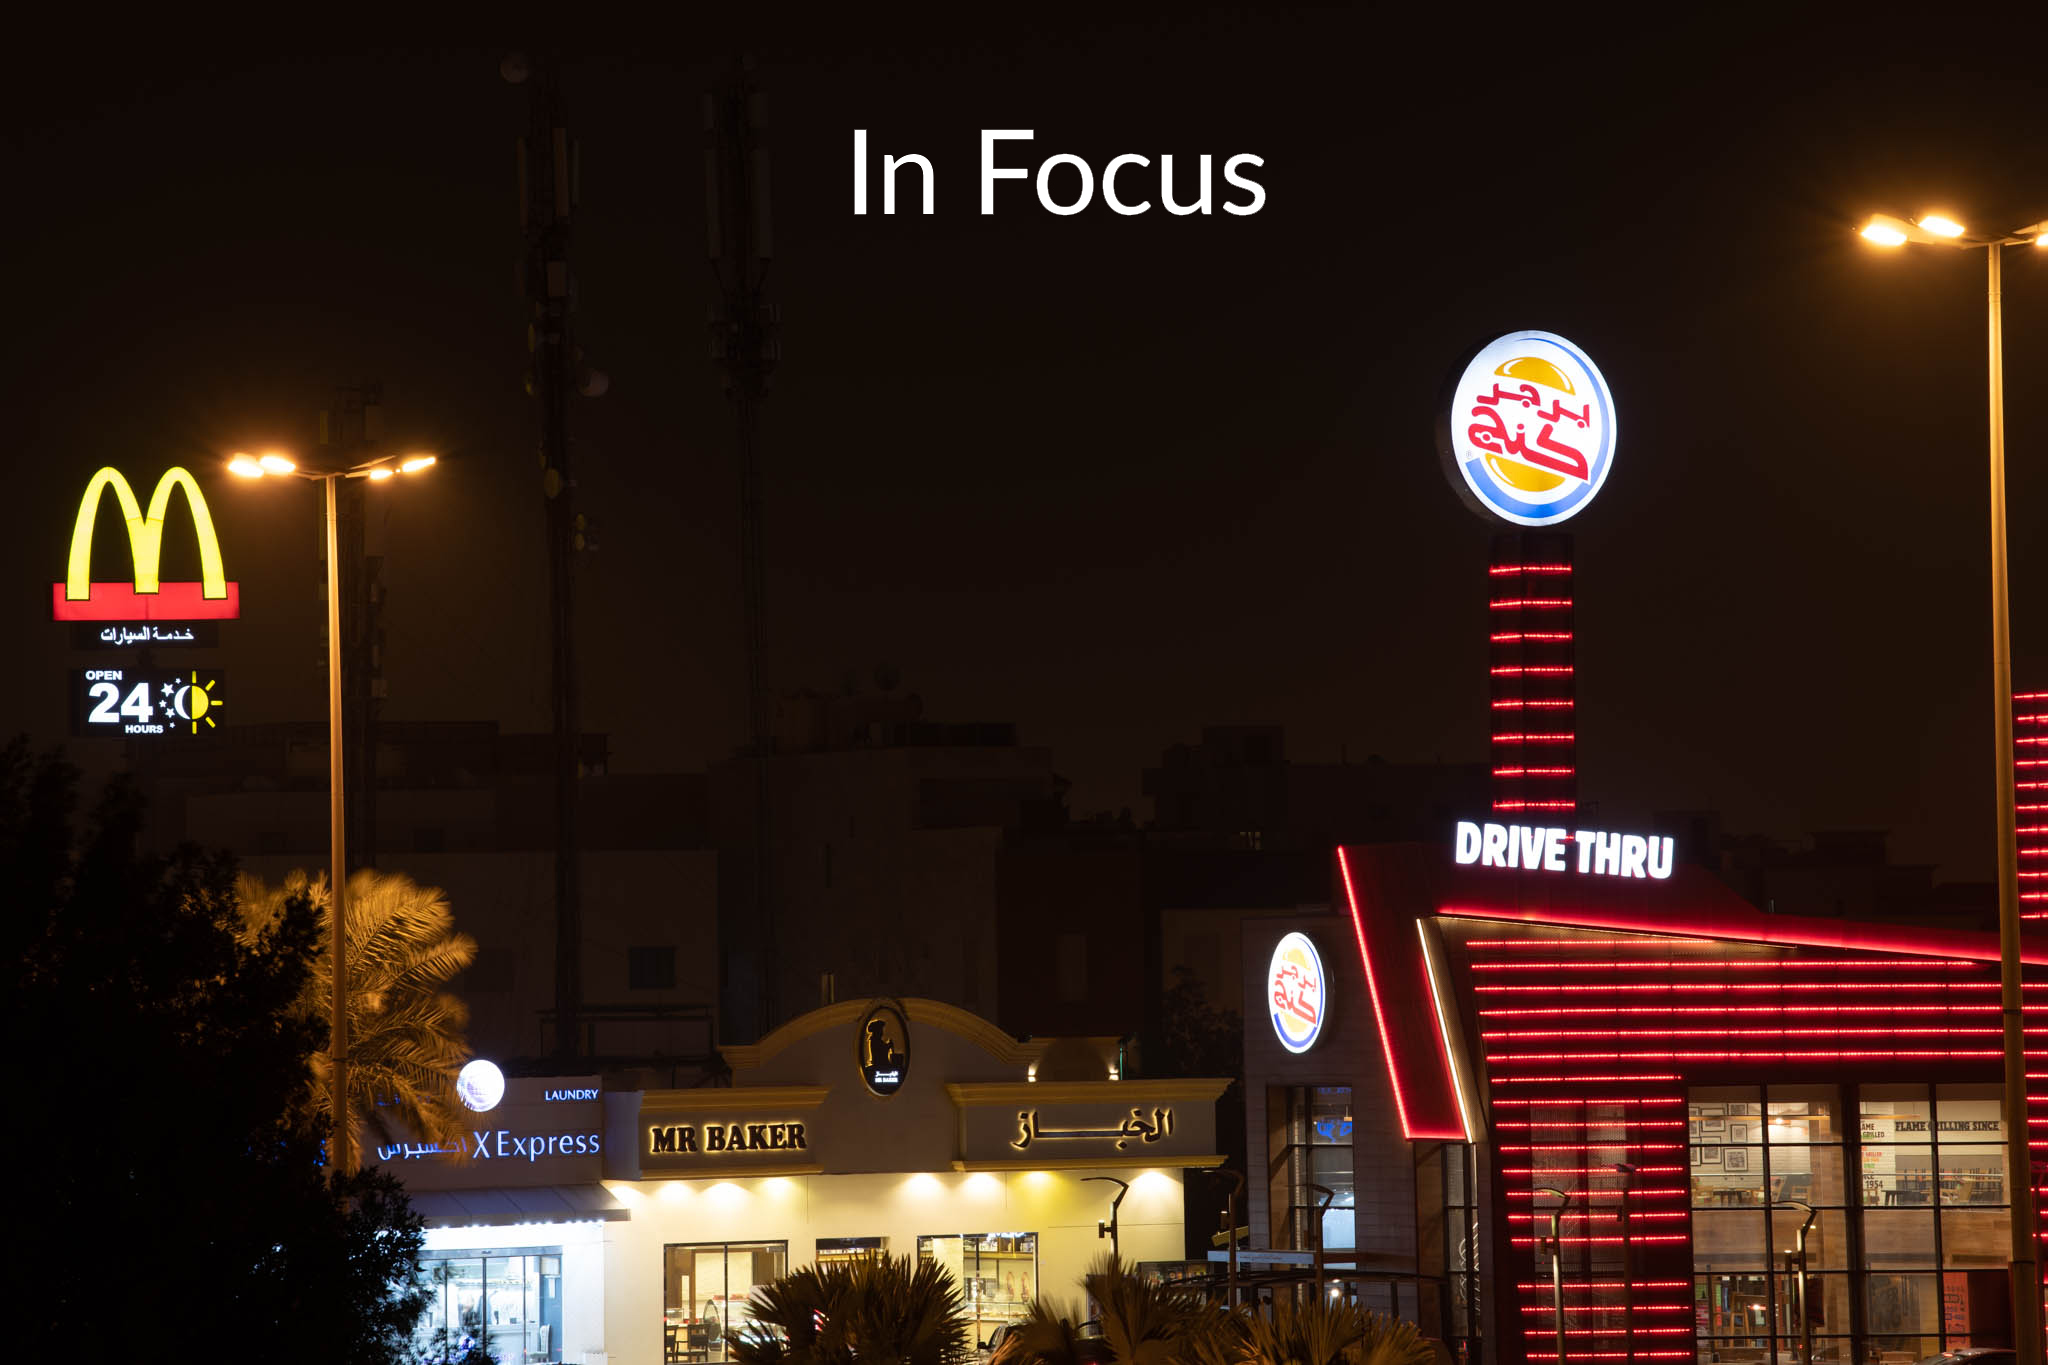
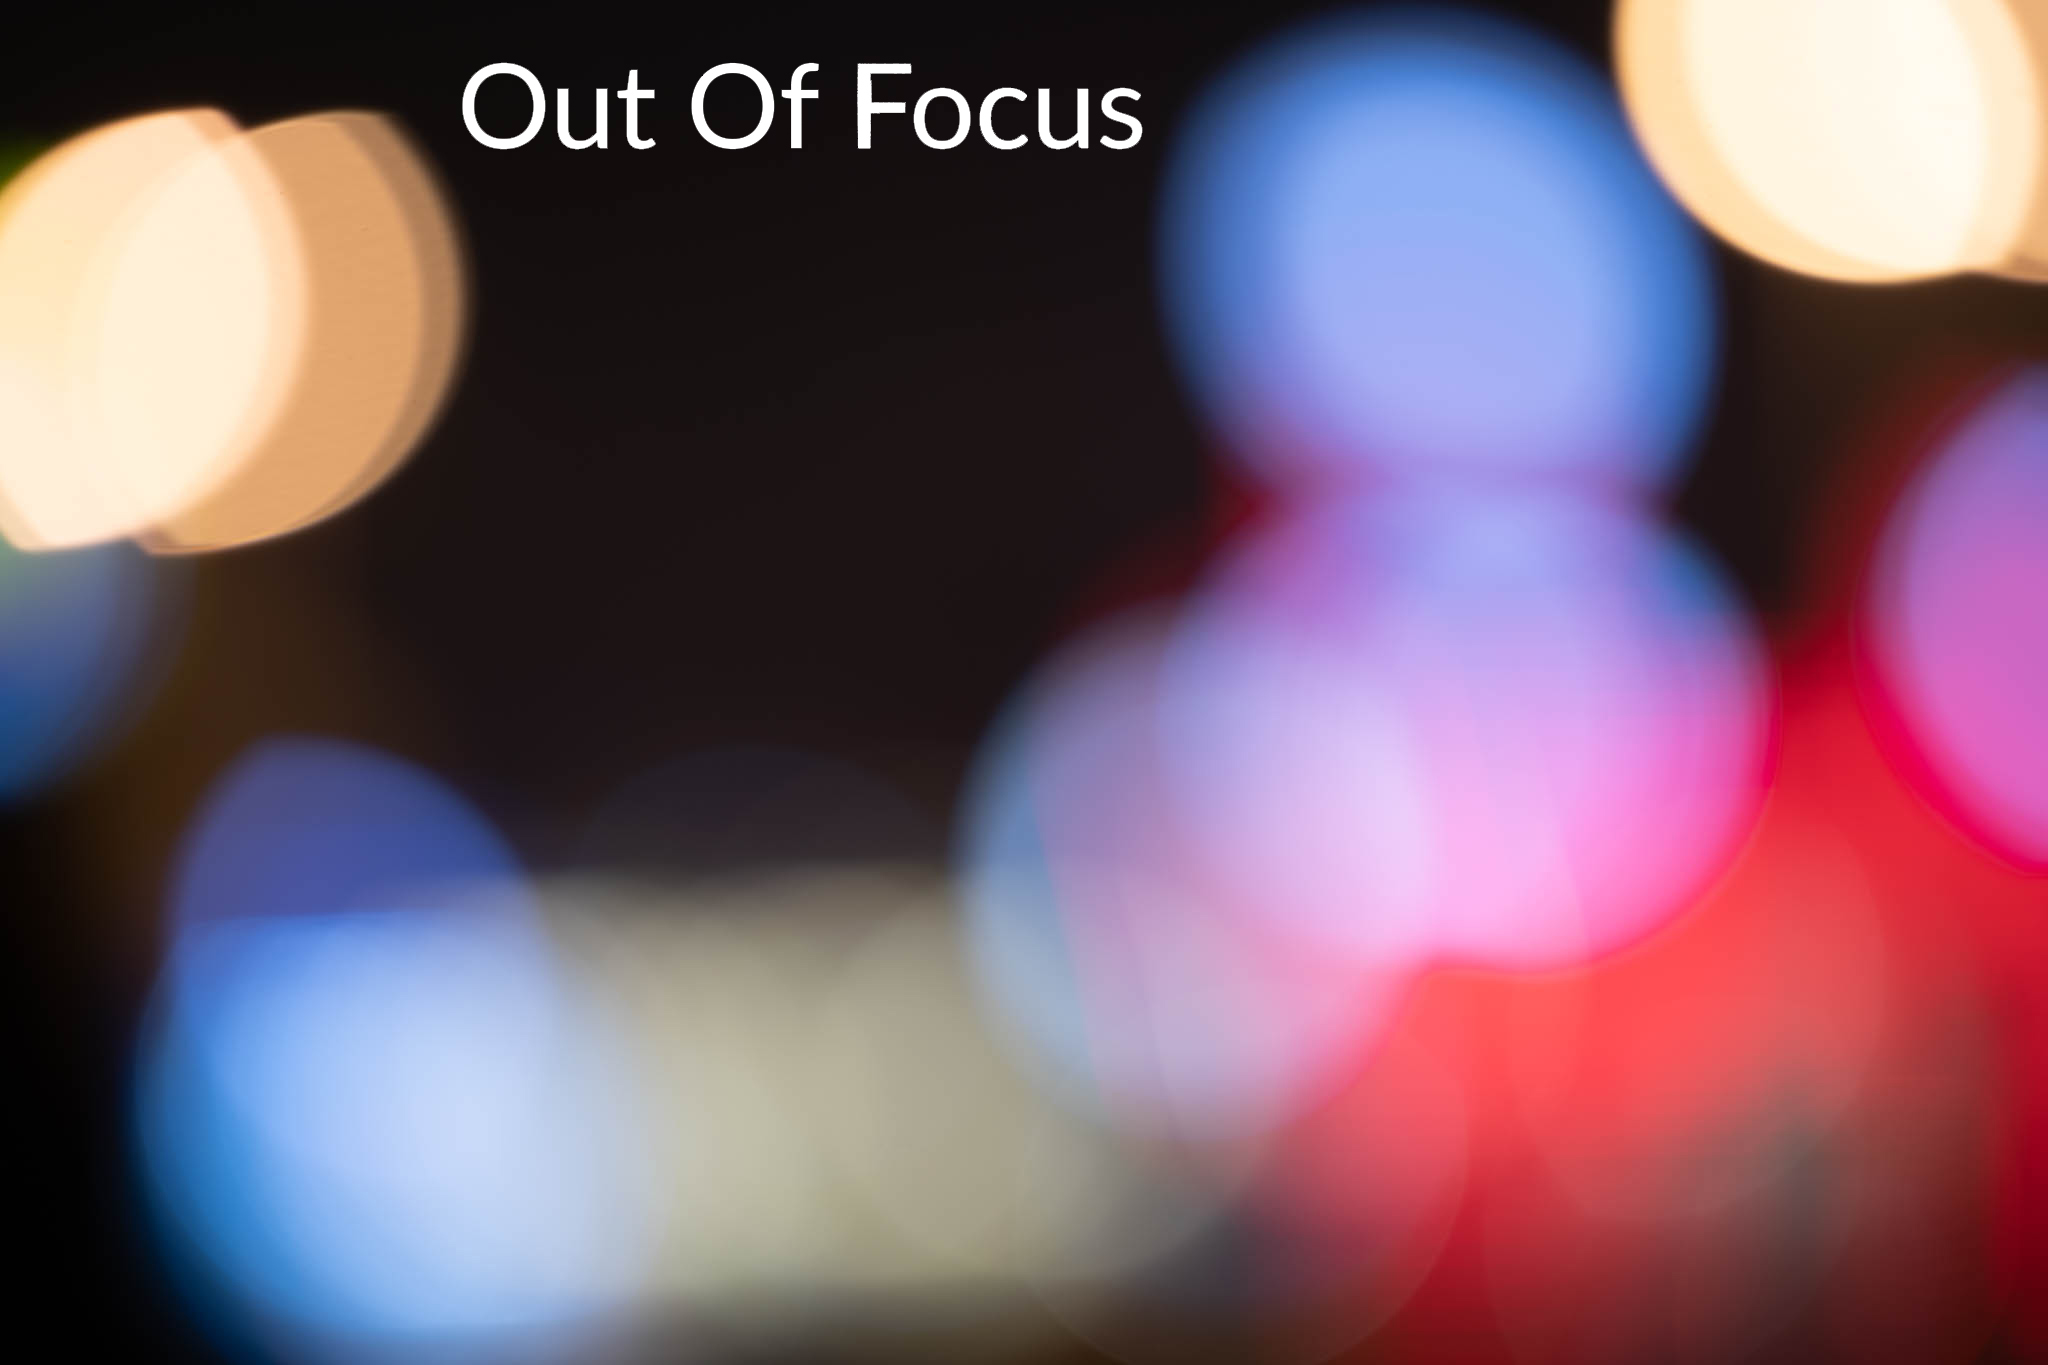
The first step in shooting cinematic headshots is to scout a location. There are two things that I look for when choosing a location for cinematic headshots at night. I first look for a spot where no ambient lights can light my subject. The second thing is a location that, when blurred or unfocused, will give me beautiful colours that, with my subject clothes and skin tone, will create lovely colour harmony. It does not matter if the location has some ugly background; all that matters is the colours that it can produce.
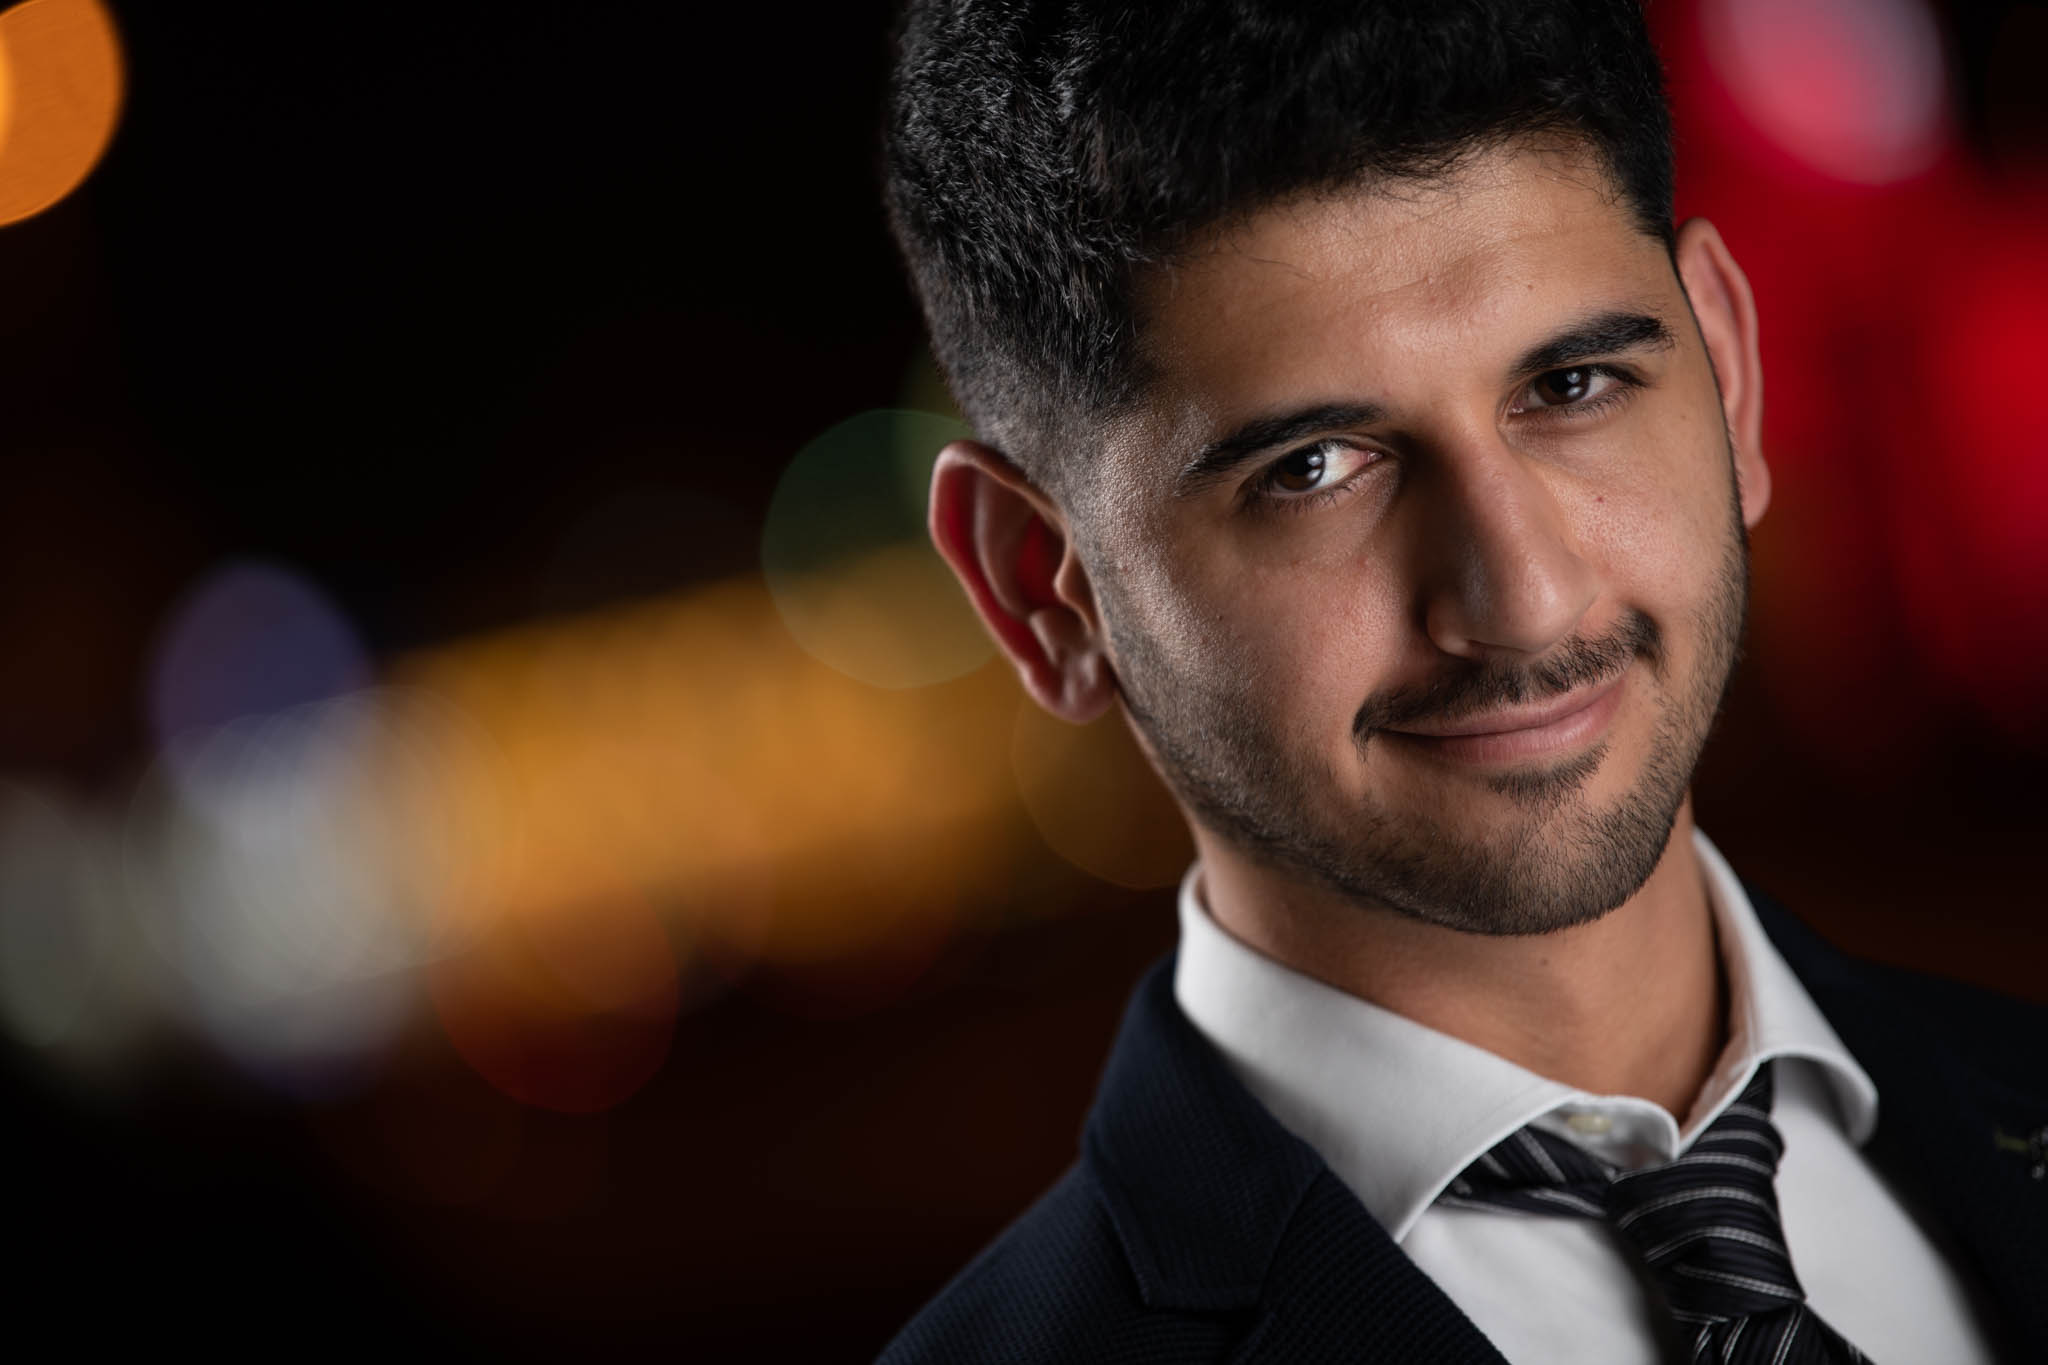
As you can see in the following images, I took the image on the left with the background in focus, then blurred it out using manual focus to see what colours the background was giving me and let me decide if this location is suitable for cinematic headshots.
Gear
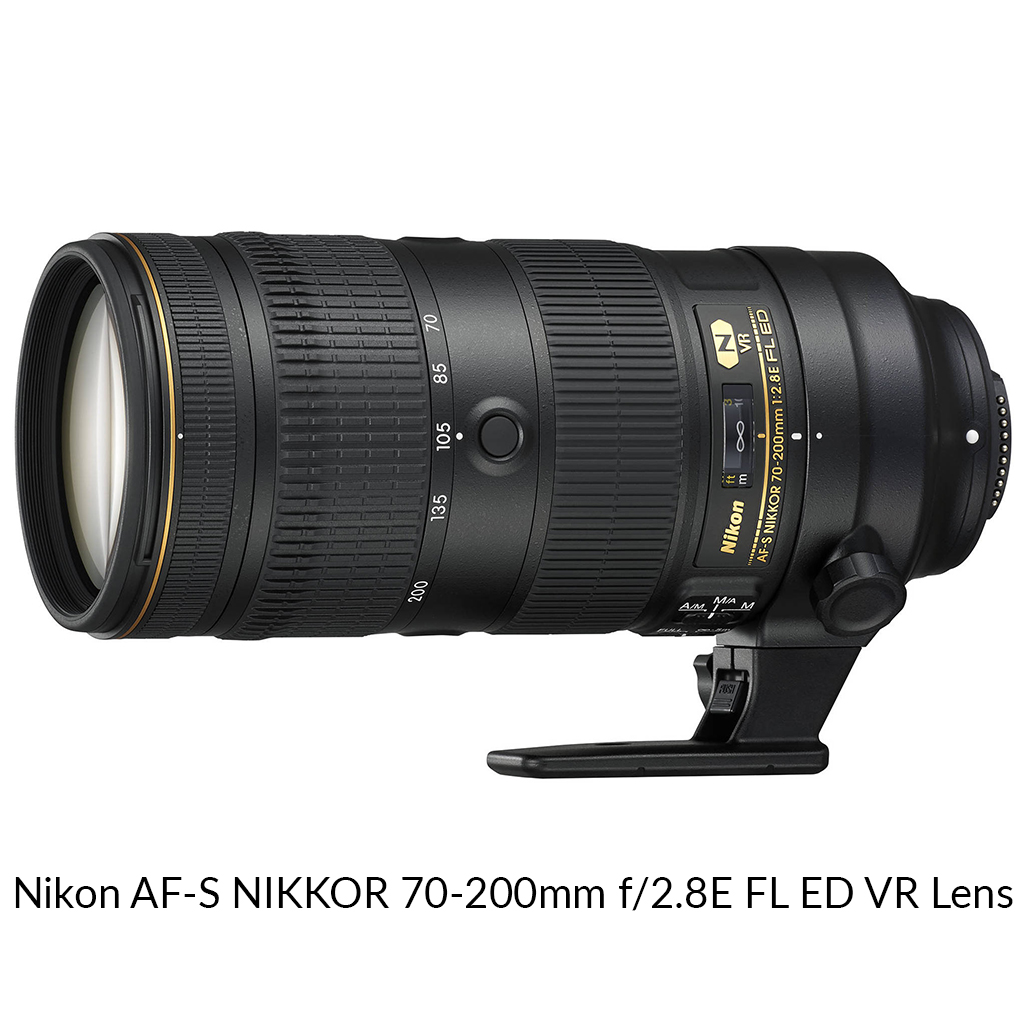
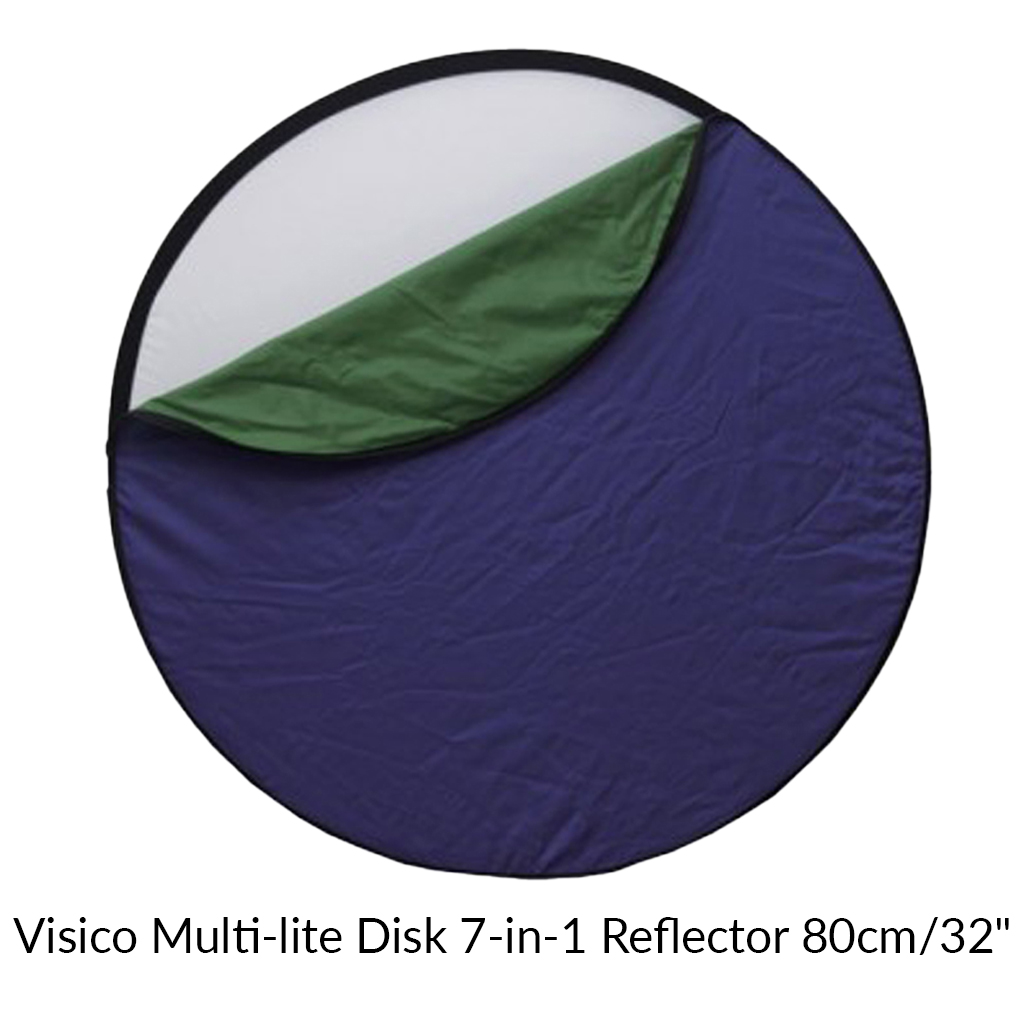
These are the gear that I use for producing my cinematic headshots. I use the Nikon D850 for various reasons, but mainly because it has high-sync speed capability and the beautiful colours it produces without any editing. I use the Nikon 70-200mm f/2.8 because, at 200mm with a wide aperture, it produces a narrow depth of field that blurs the background and compresses it without distorting my subject.
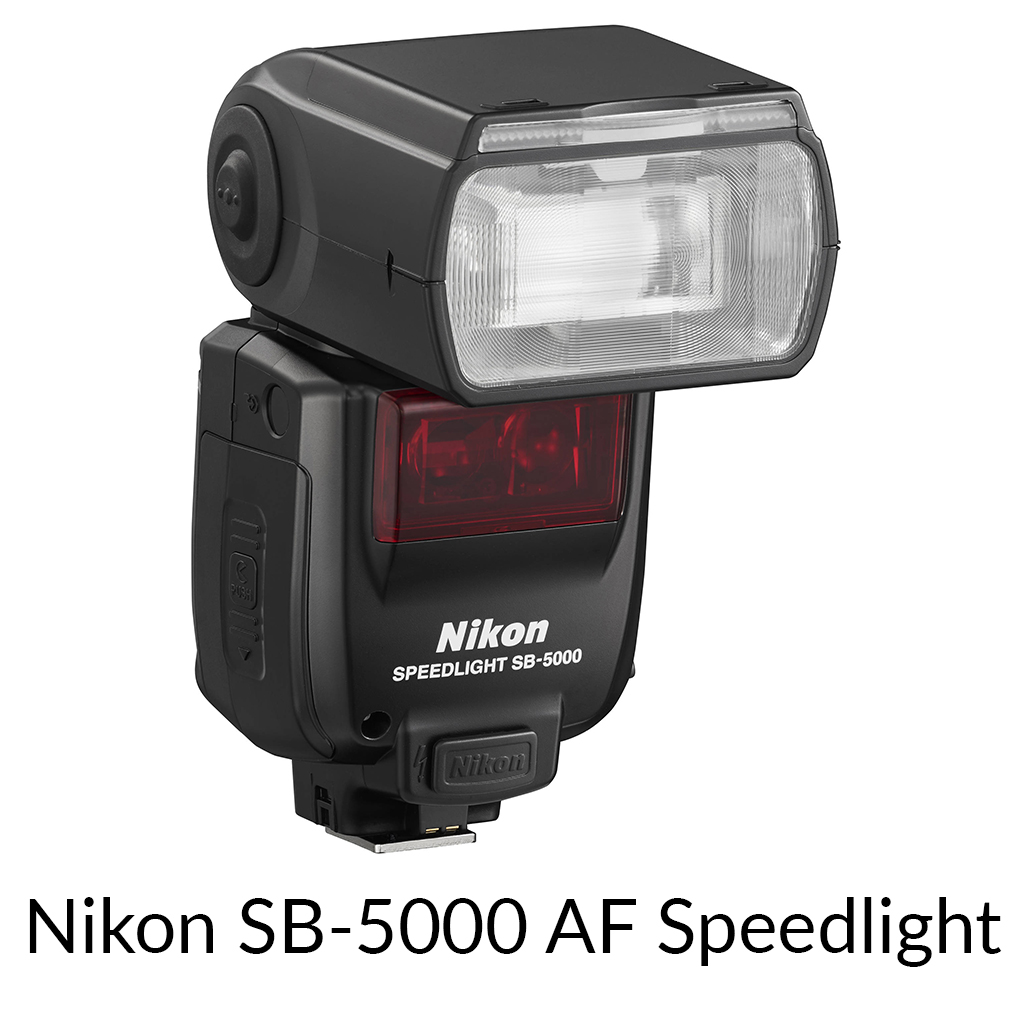
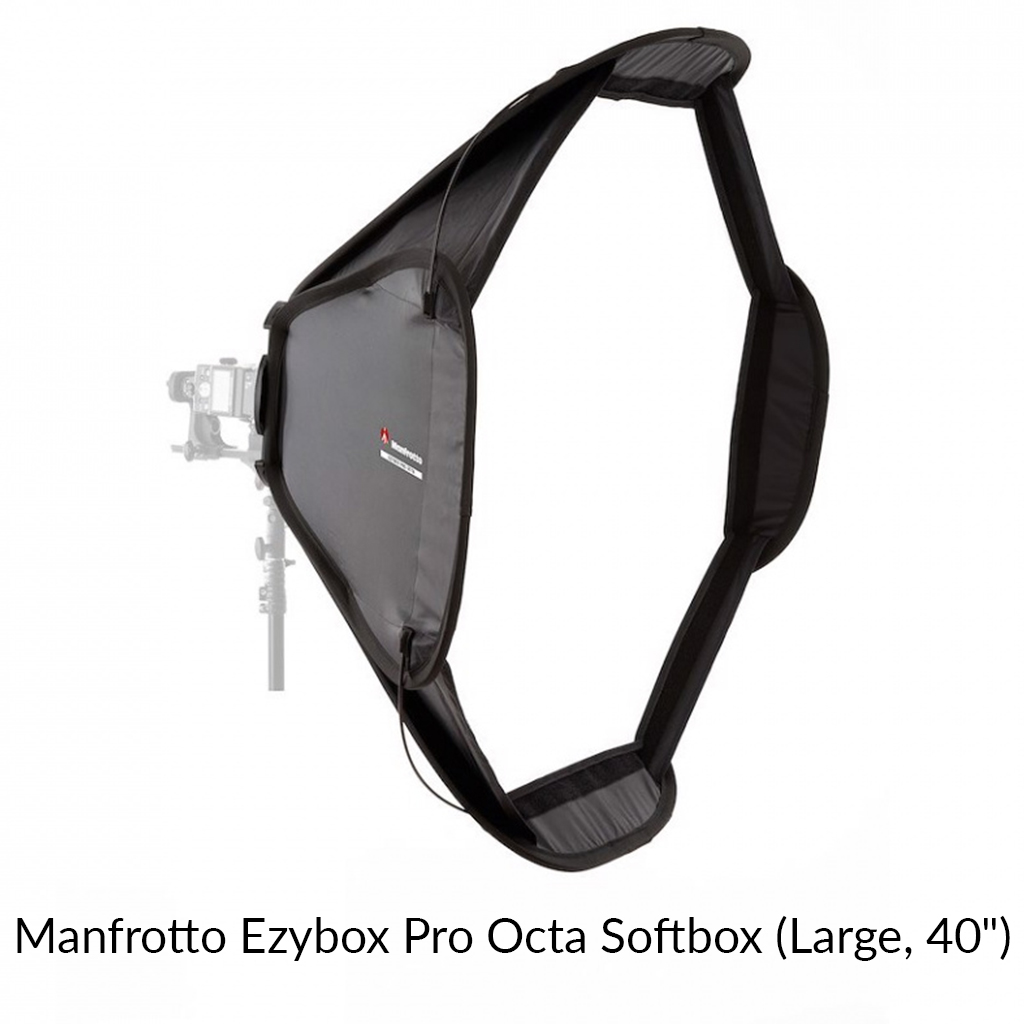
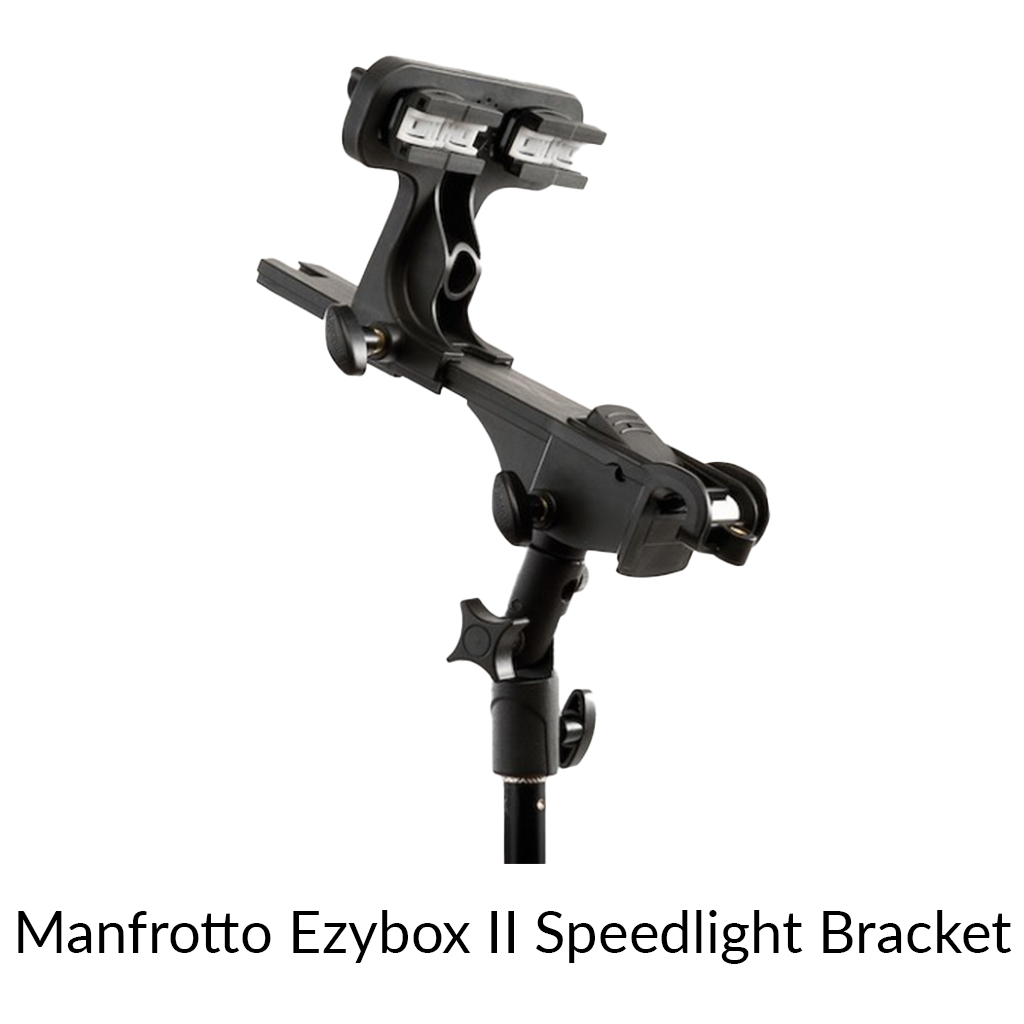
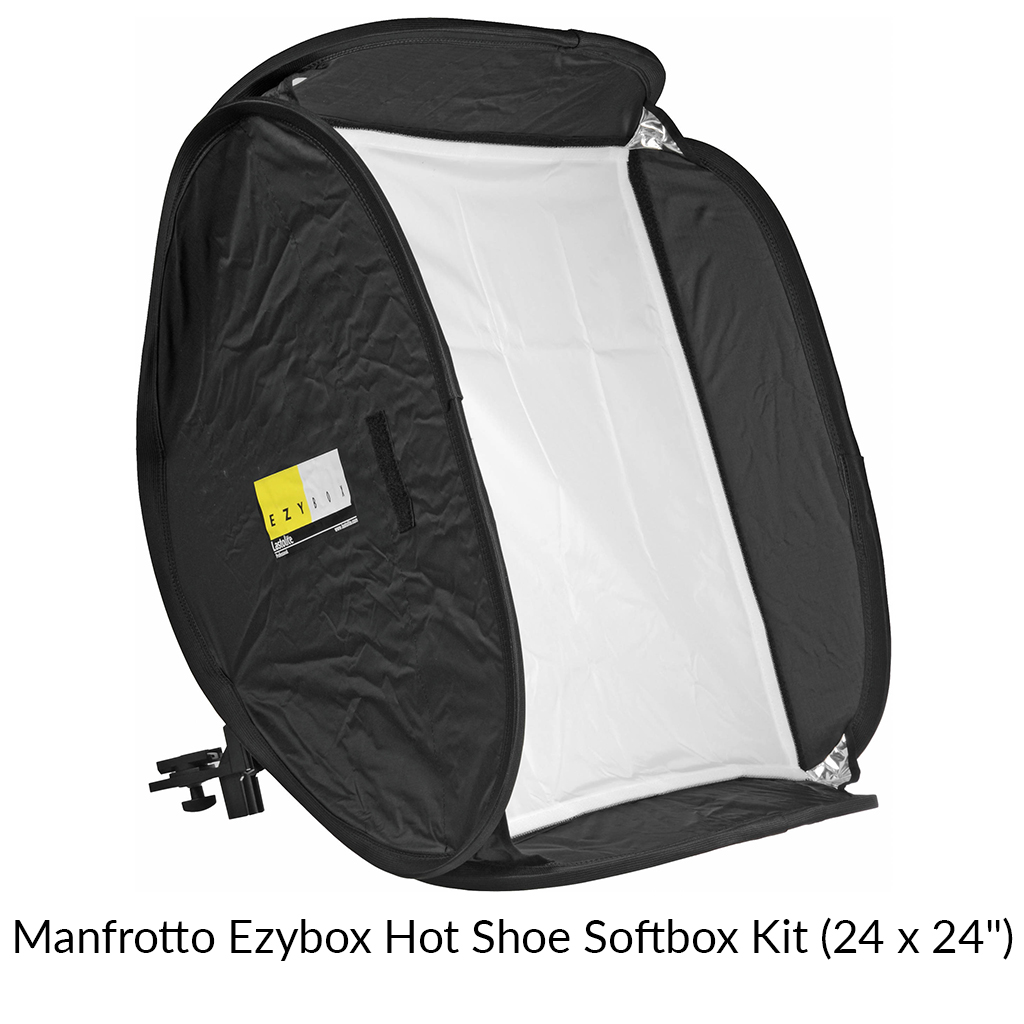
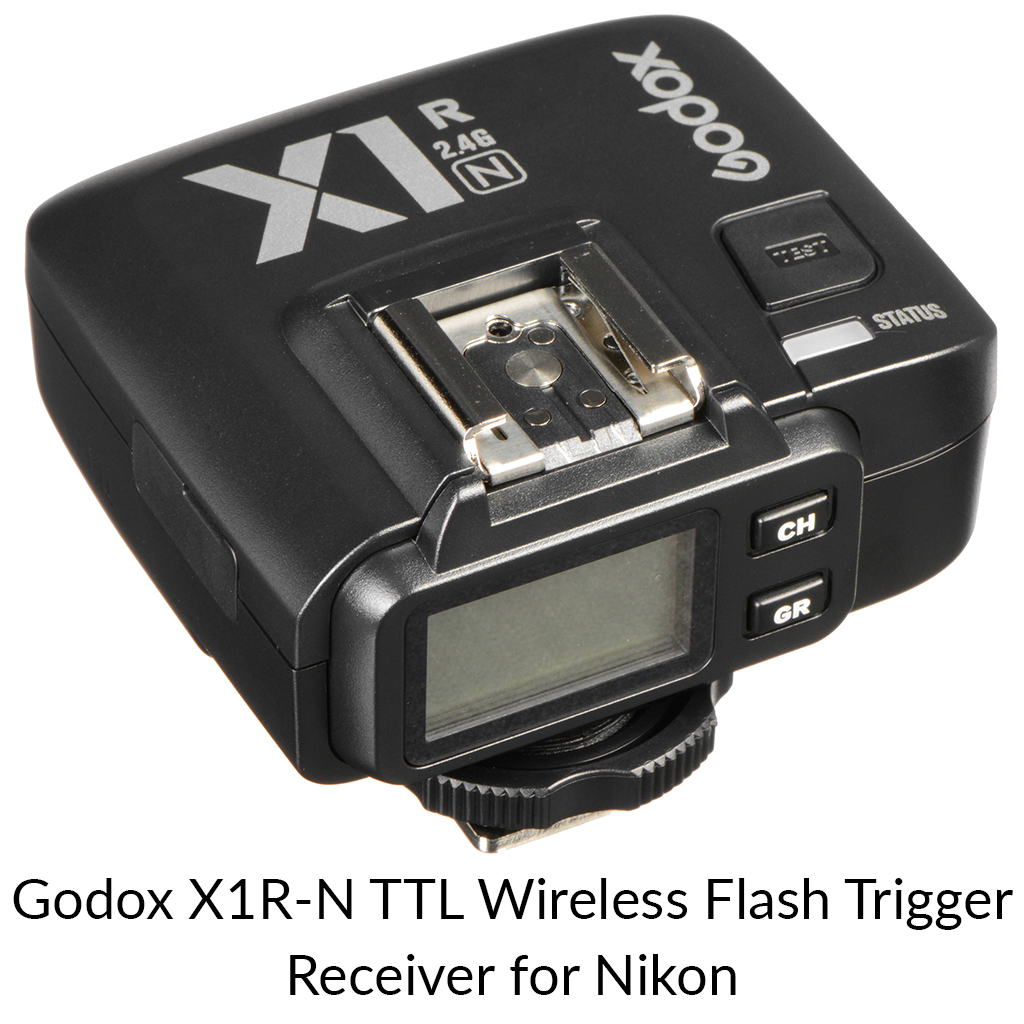
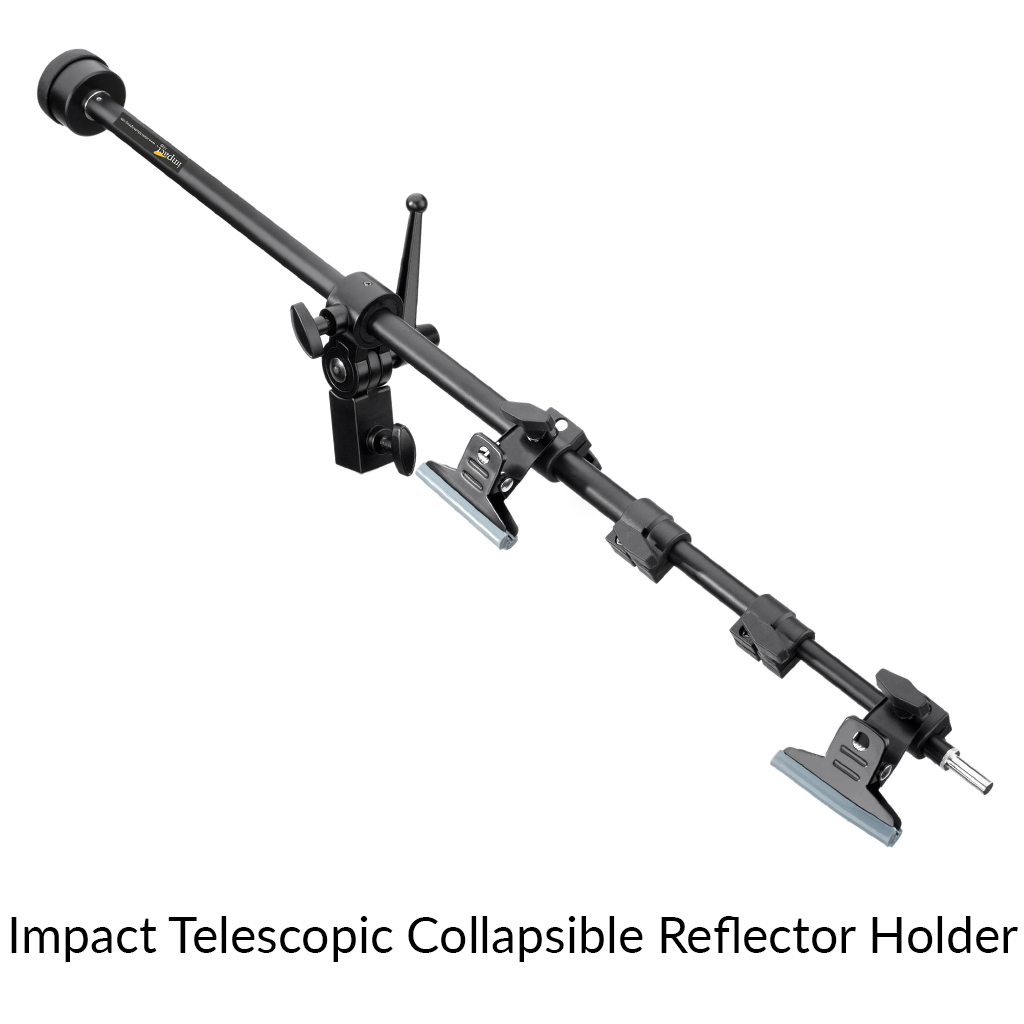
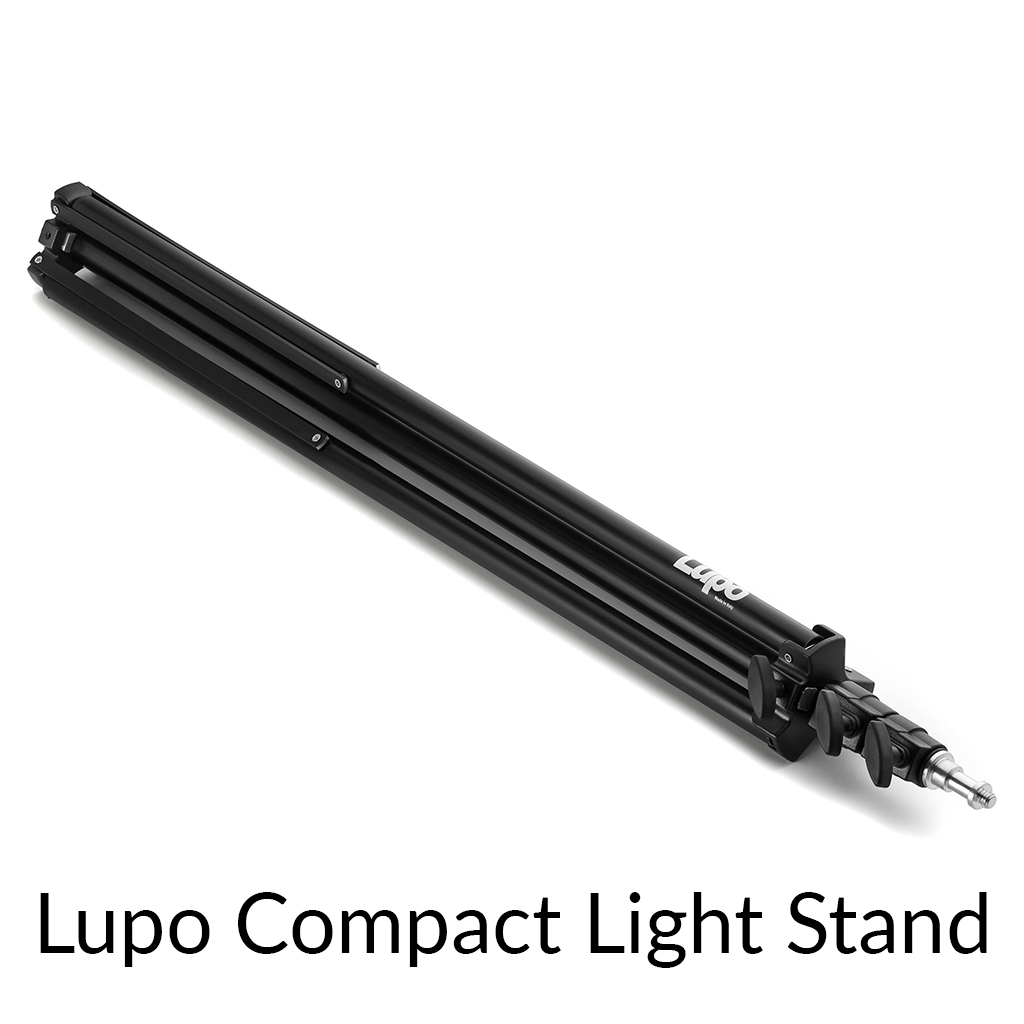
The two Speedlights I use are the Nikon SB-5000 because of their high-sync capabilities and ease of use. I connect my Speedlights with my camera using Godox X1T-N for Nikon because of its ease of use and reliability. I use Manfrotto because it's easy to assemble, given that I usually shoot my cinematic headshots outdoors.
Wardrobe
I always ask my subject to bring a top with colours that match the background colours or complement it using a colour harmony scheme.
I asked my cousin Khaled to wear a suit for this cinematic headshot.
Makeup and Hairstyle
Must be considered for the type of cinematic headshots that you want.
Camera Settings
I usually use an ISO of 100 to 400.
The aperture has to be between 3.2 and 4 because the depth of field f/2.8 is too narrow, and a slight movement of the subjects can blur their characteristic features.
The shutter speed depends on the background. If I want a dark background, I will increase my shutter speed, whereas If I want a bright background, I will lower my shutter speed.
White balance does not matter because I shot RAW. However, Auto white balance is satisfactory.
In Khaled's image, I used the following settings:
| Aperture | Shutter Speed | ISO | Focal Length | White Balance | Metering |
|---|---|---|---|---|---|
| f3.2 | 1/40th | 200 | 200 | AUTO | Matrix |
Cinematic headshots at night have two challenges, especially when using Speedlights. The first challenge is that the ambient light at night is so low that your subject will appear against a black background. If that's the look you are looking for, go for it. However, cinematic headshots aim to create an interesting cinematic blurry background. The second challenge is focusing because Speedlight does not have modeling light to illuminate your subject in the dark, making the autofocus difficult for the camera.
I managed to solve the first challenge by mixing flash with ambient light. You can control ambient light by setting your ISO, Aperture, and Shutter Speed. In contrast, You can control Speedlights or strobes by setting your ISO, Aperture, and Flash Power. The only variable that can be set to mix ambient light with Speedlights is the shutter speed. The faster the shutter speed, the less ambient light is exposed. And the slower the shutter speed, the more ambient light is exposed. When I shot at a shutter speed of 1/250th of a second, a wide aperture, and an ISO of 100, there was not enough ambient light in the image, and the background was rendered pure black. However, when I shot at a slower shutter speed of 1/15th of a second, I got those incredible colours in the background.
You may ask, isn't 1/15th of a second a bit slow of a shutter speed, especially with using a 200mm lens without a tripod, and the image is tack sharp? The answer is yes. However, I will try to simplify the answer as much as possible. If I am exposing for ambient light only and with a shutter speed of 1/15th of a second, the image will be blurry unless I use a tripod. However, remember that Speedlight freezes movement. That means that anything that my Speedlights hit will be frozen. The image will be blurry if the ambient light exposes my subject and the background. However, my model was not exposed to ambient light but only by my Speedlight, making sure that my model was tack sharp. Furthermore, you can notice the background has some motion blur because of the slow shutter speed. But in this context, it gives the background vibrant colours and a feel at night.
The second challenge can be solved using multiple methods. You can use manual focusing or shine a modeling light onto your subject and focus. Speedlights do not have modeling light, so I used an assistant to shine his mobile flashlight on the model. Then I would focus, remove the flashlight from my model and press the shutter release button.
Process
The key light must be at 45 degrees from your subject and elevated. Be careful not to extend it high enough and lose the catchlight on the eyes.
The Rimlight should be located 180 degrees from the key light to add some definition to the until side and separate it from the background. Here is a diagram of the lighting setup I use:
Here is a diagram of the lighting setup I use:
First, I expose for the background using the shutter speed. Once I am happy with the background exposure, I turn my Speedlights on and adjust their power as needed or use a light meter to expose my subject.
Posing
I like my subjects on one side of the frame with their head and shoulder and cropping the top part of their head. However, occasionally I center them in the middle of the image. Sometimes I tilt the camera to produce interesting cinematic photos as I did in Khaled's picture.
Post-processing
The hardest step is culling the images. There will be a time when all the pictures shot are magical, and you can't decide which one to choose.
In this shoot, I shot 30 images, rated two as five stars and nine as four stars in Adobe Lightroom.
Here are the best 16 images I took side by side.
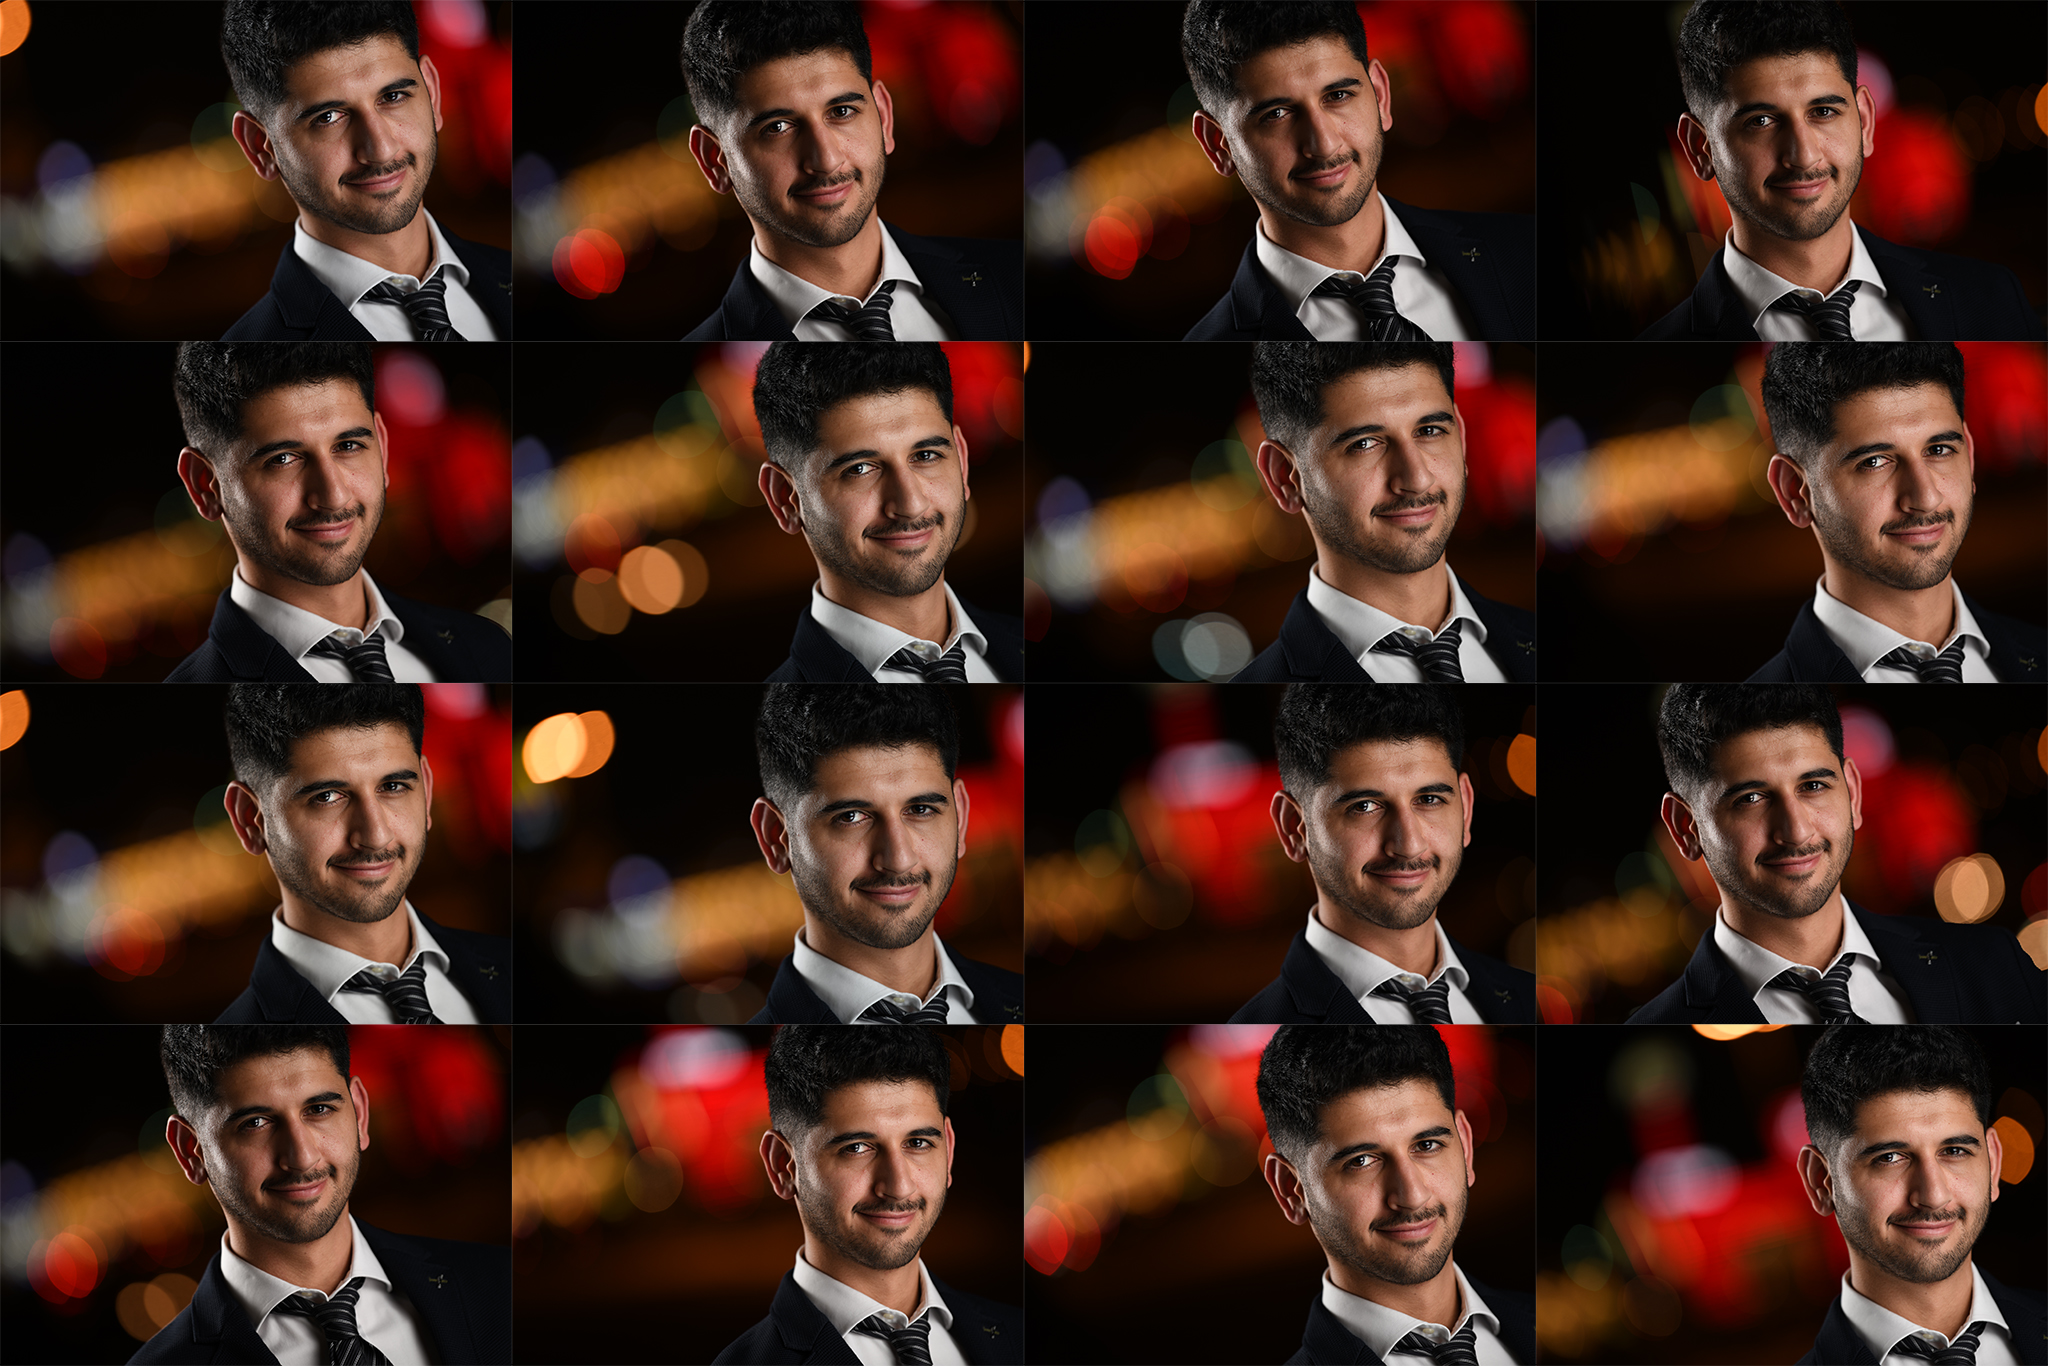
These images are straight out of the camera in JPEG format. As you can see, they can be delivered to your client without post-processing if your client asks for the images not to be processed. And to be honest, they look fabulous the way they turned out. However, with post-processing, you can achieve a better cinematic look.
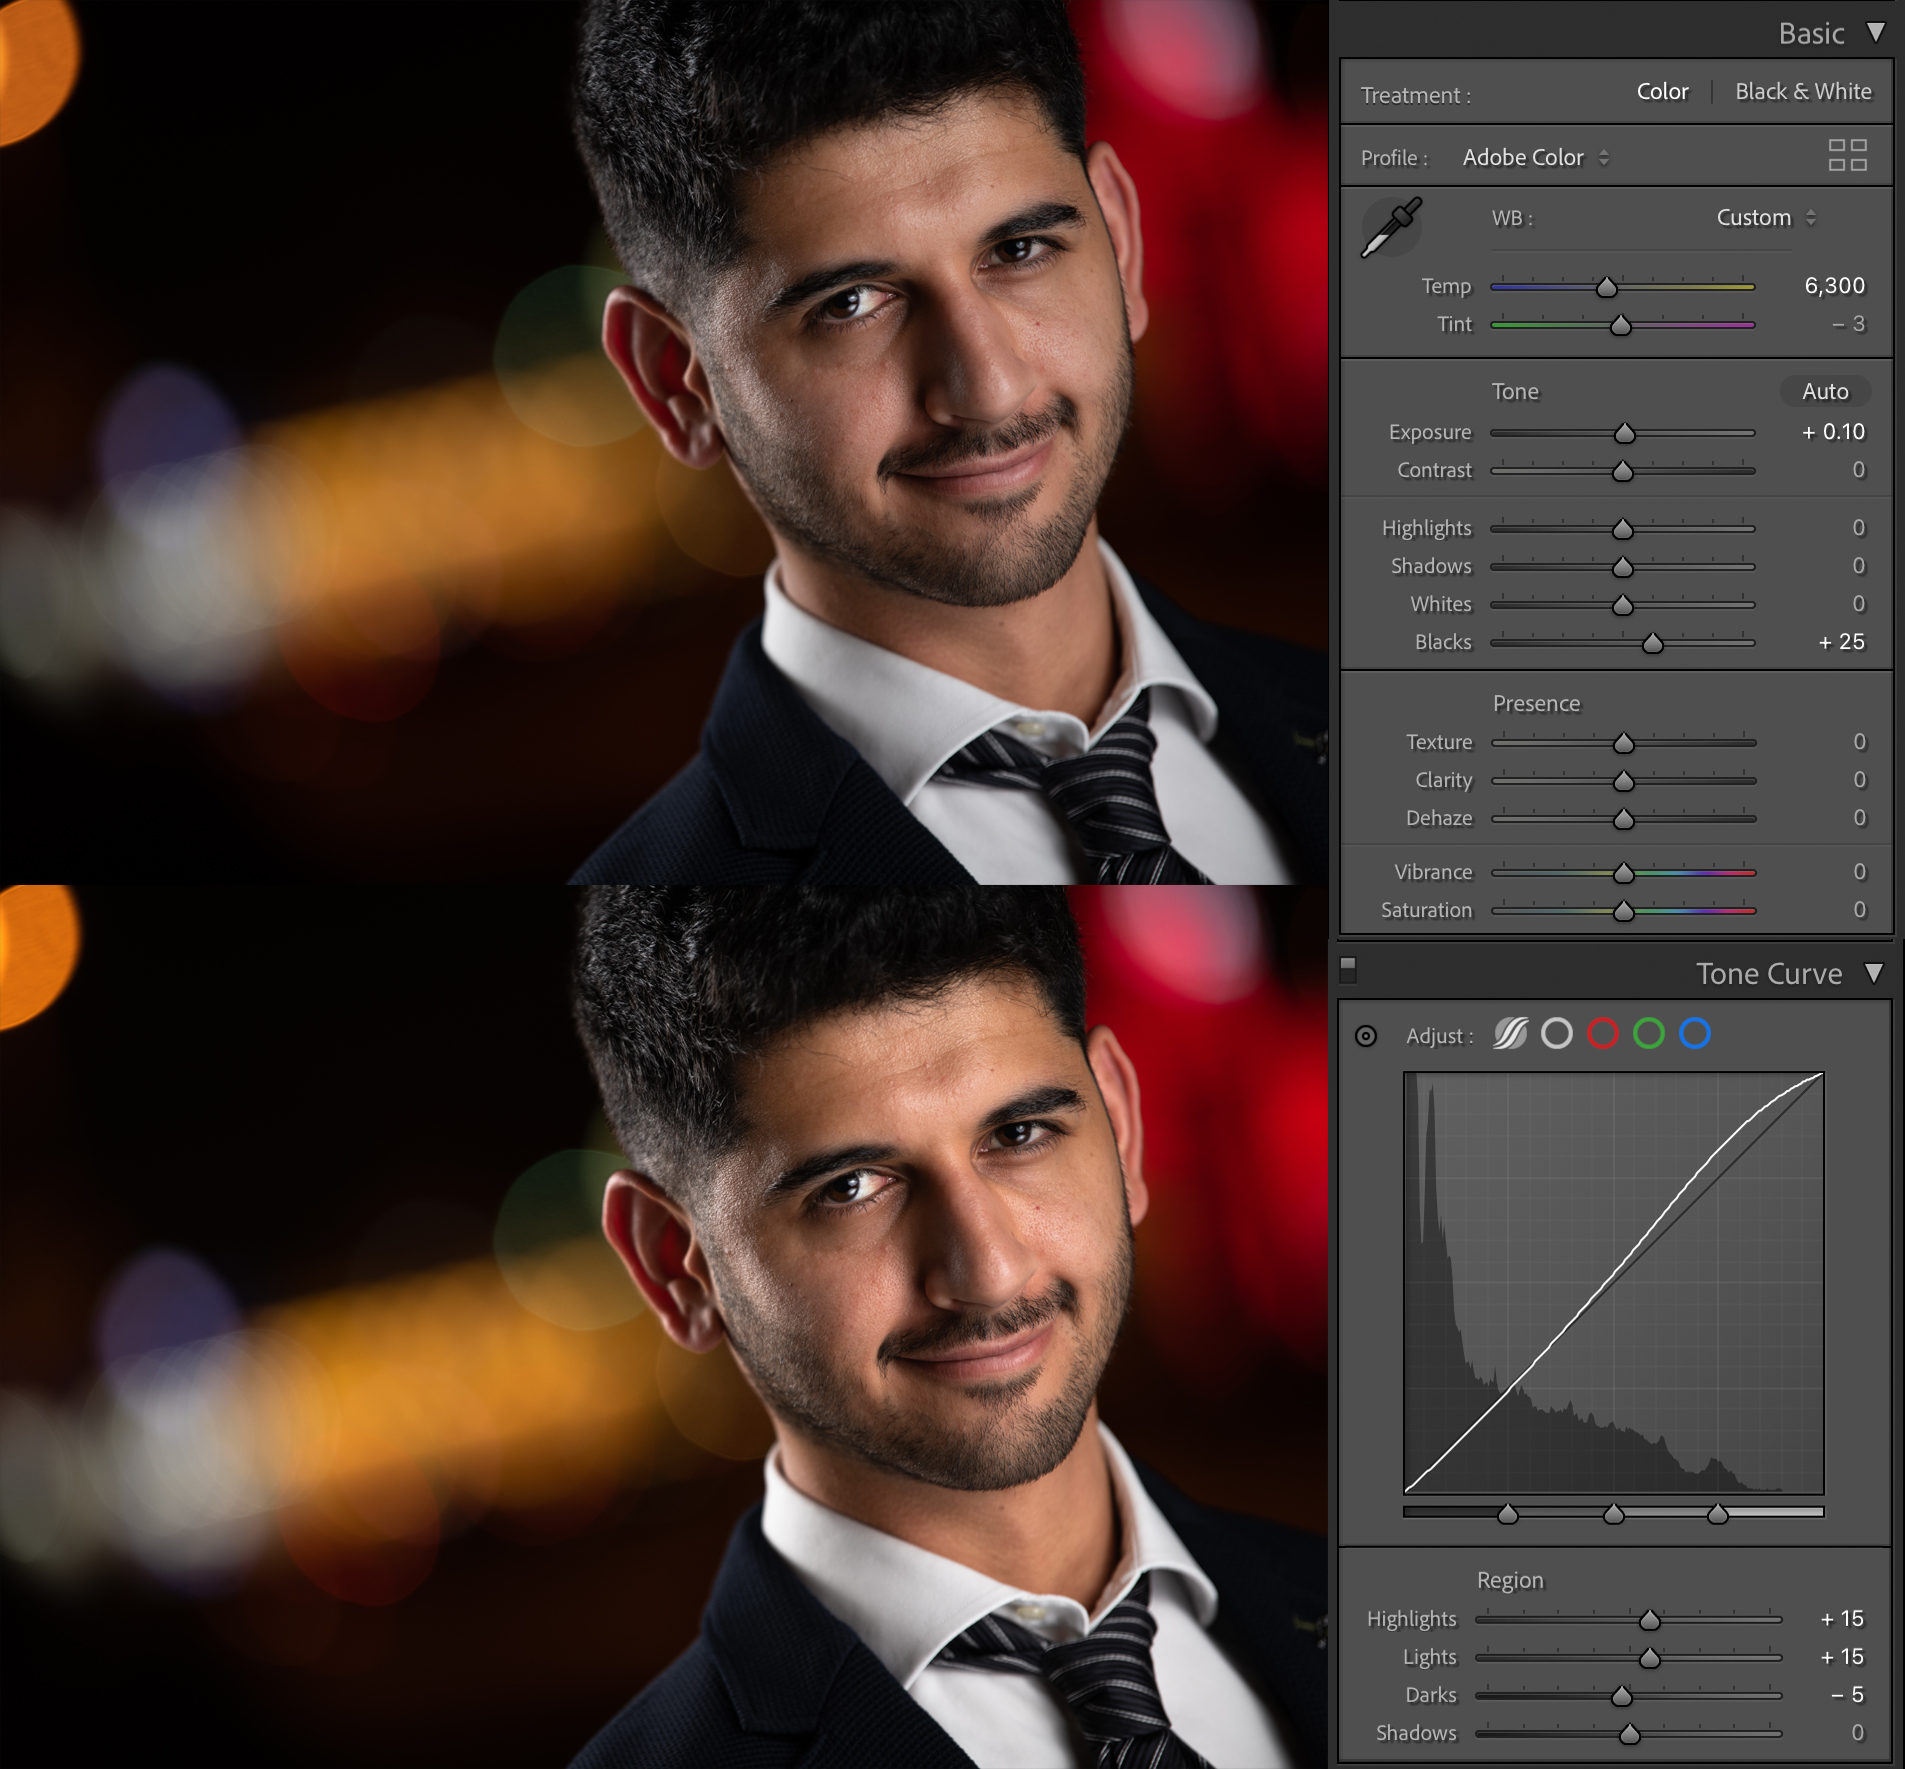
Adobe Lightroom
In the develop module, I do the following:
- Basic adjustments such as white balance, exposure, highlight, shadow, black and white.
- Tone curve using lights and darks (sometimes I postpone this for later using Adobe Photoshop if I feel the image is too contrasty)
Once done with Adobe Lightroom, you can deliver the images to your client.
However, I like to edit more in Adobe Photoshop to achieve a better cinematic look.
Adobe Photoshop
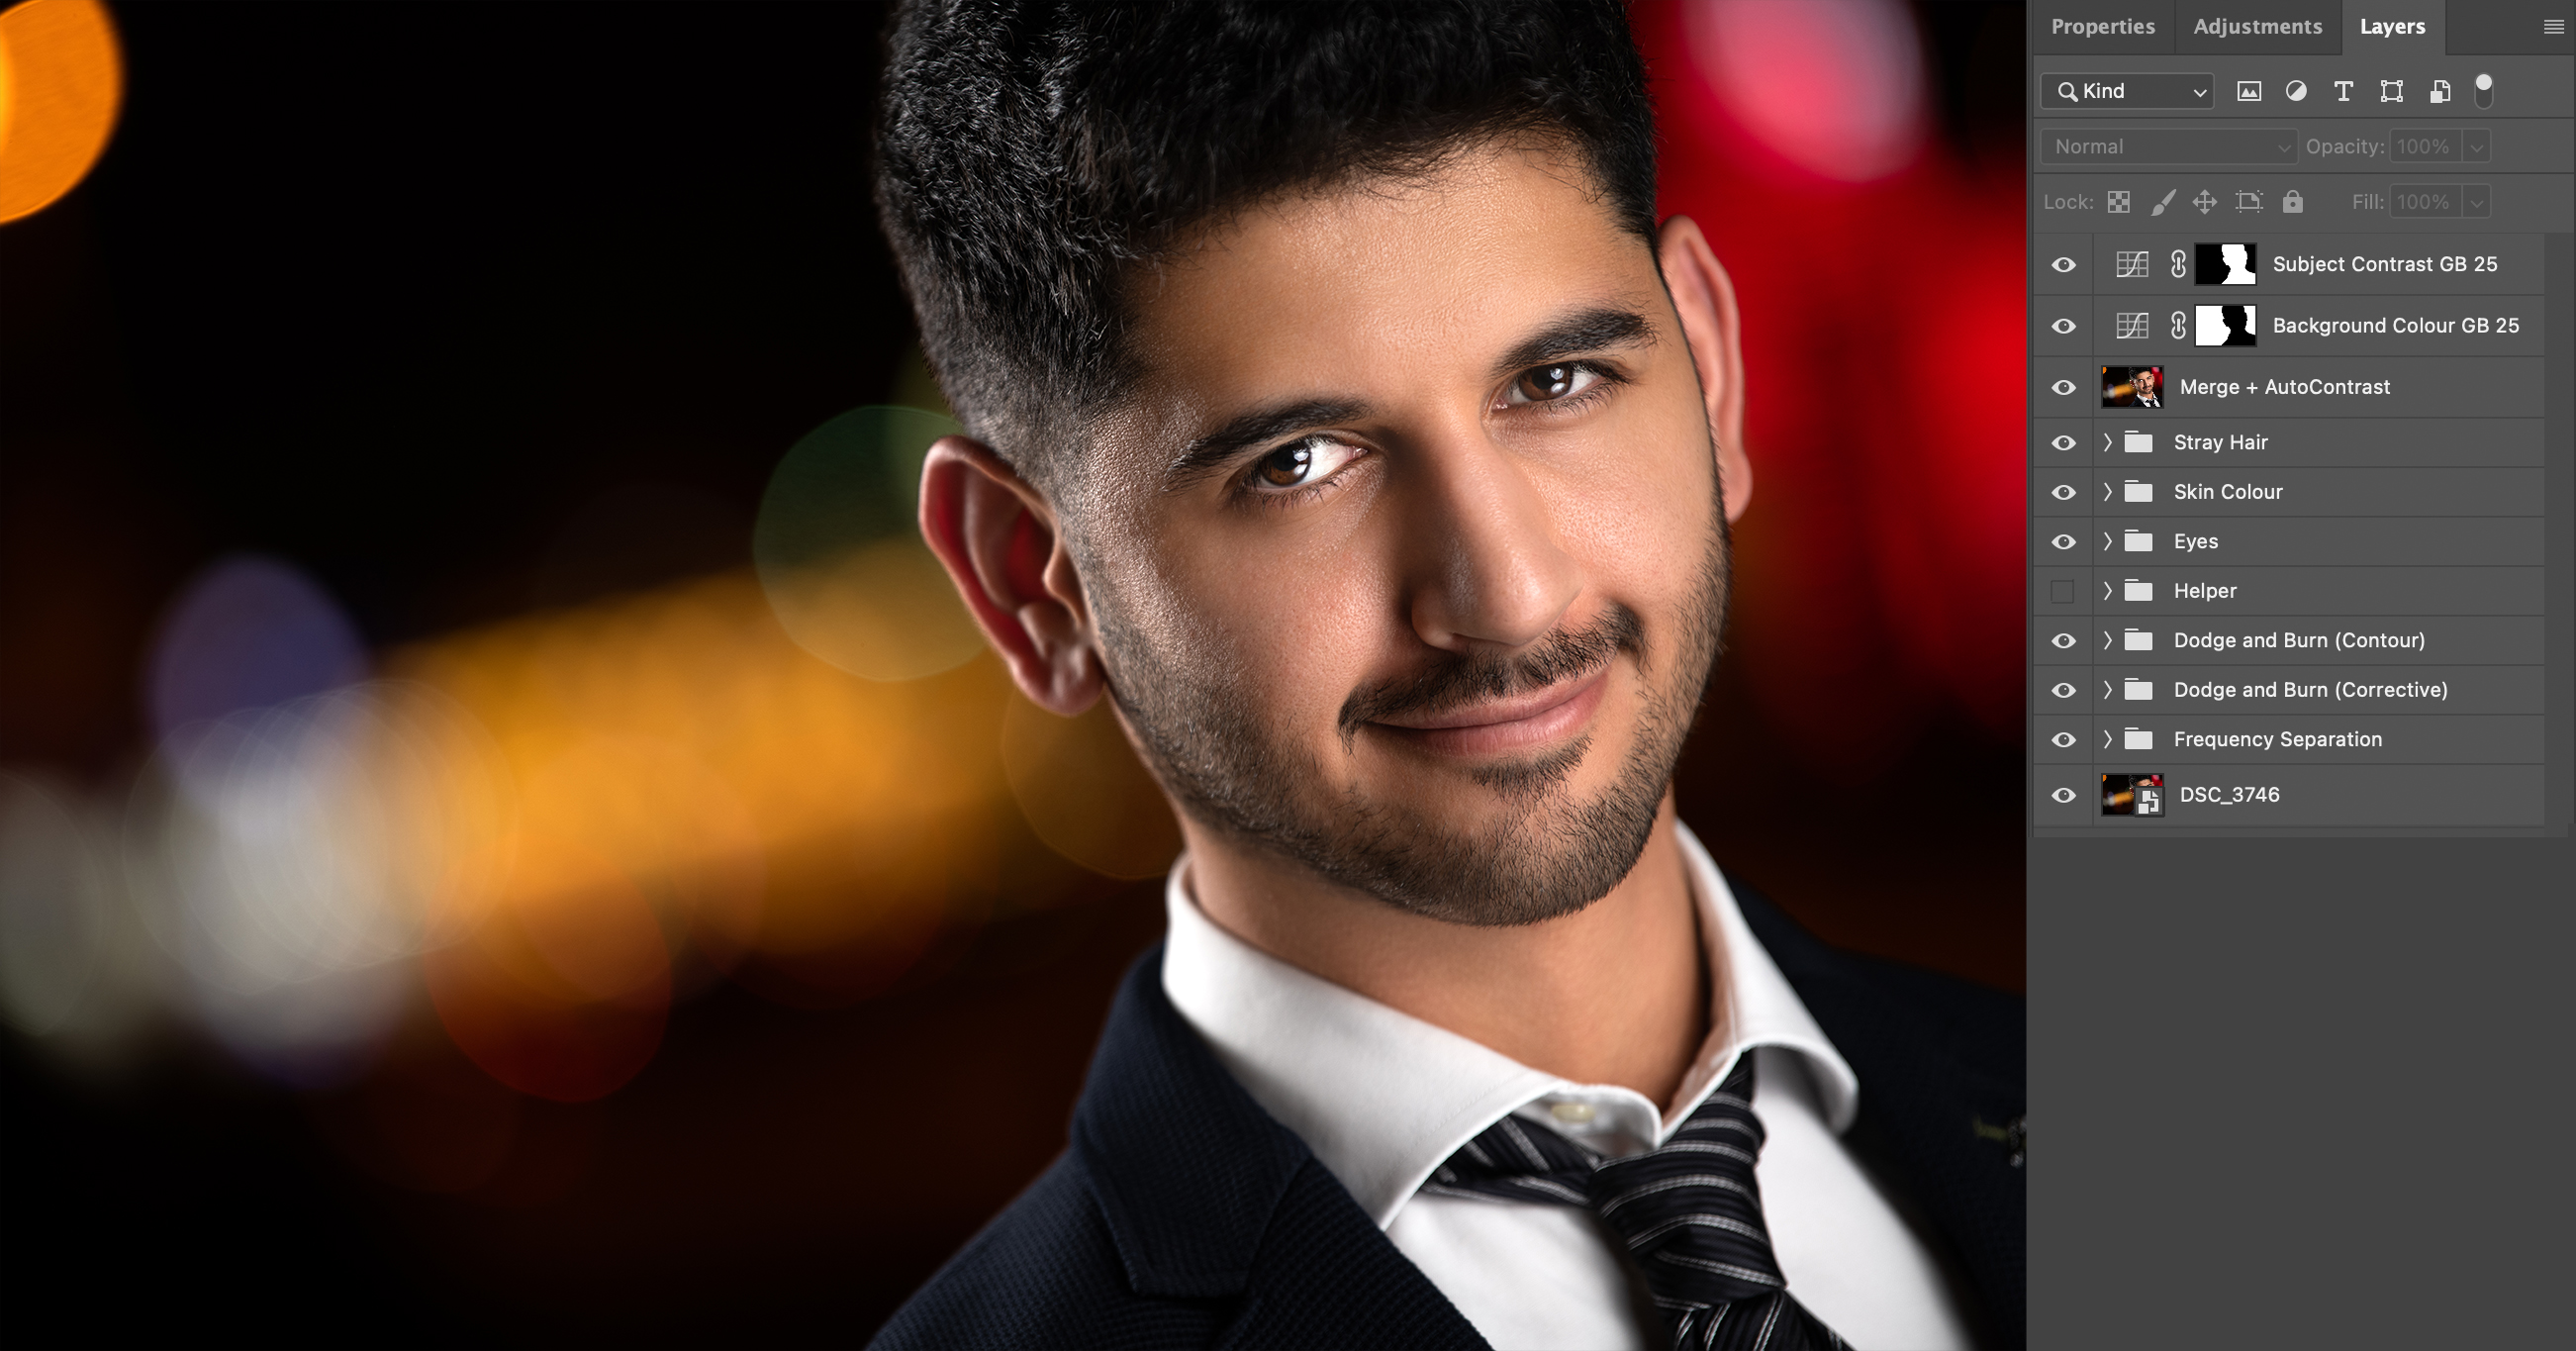
The final step of my post-processing is through Adobe Photoshop. I usually go through the following non-destructive workflow:
- Correction Layer (Correct major distractions in the image)
- Frequency Separation (Correct color toning and skin blemish healing, using low flow brush for more natural results)
- Micro (corrective) Dodge and Burn, followed by Macro (contour) Dodge and Burn (this gives flawless natural skin tone)
- Skin Color Adjustment
- Eyes Enhancement (using dodge and burn and high-pass filter to increase the sharpness)
- Further Corrections (e.g., Stray Hair)
- Merge all the layers
- Adjust the contrast using photoshop's auto-contrast and/or curves
- Liquify, if needed (I rarely liquify the face in my cinematic headshot to keep it as much natural as possible)
- Color tone, if needed
