Cinematic Headshot Mistakes
My First Trial to Cinematic Headshot
Written on the 1st of July, 2022
In my recent post, I expressed my enthusiasm for headshots and highlighted their significant impact. I also mentioned in a previous post how I learned the art of cinematic headshots from Dylan Patrick, a renowned expert in the field. Now, I am fully prepared to put this knowledge into action and showcase the skills I have acquired.
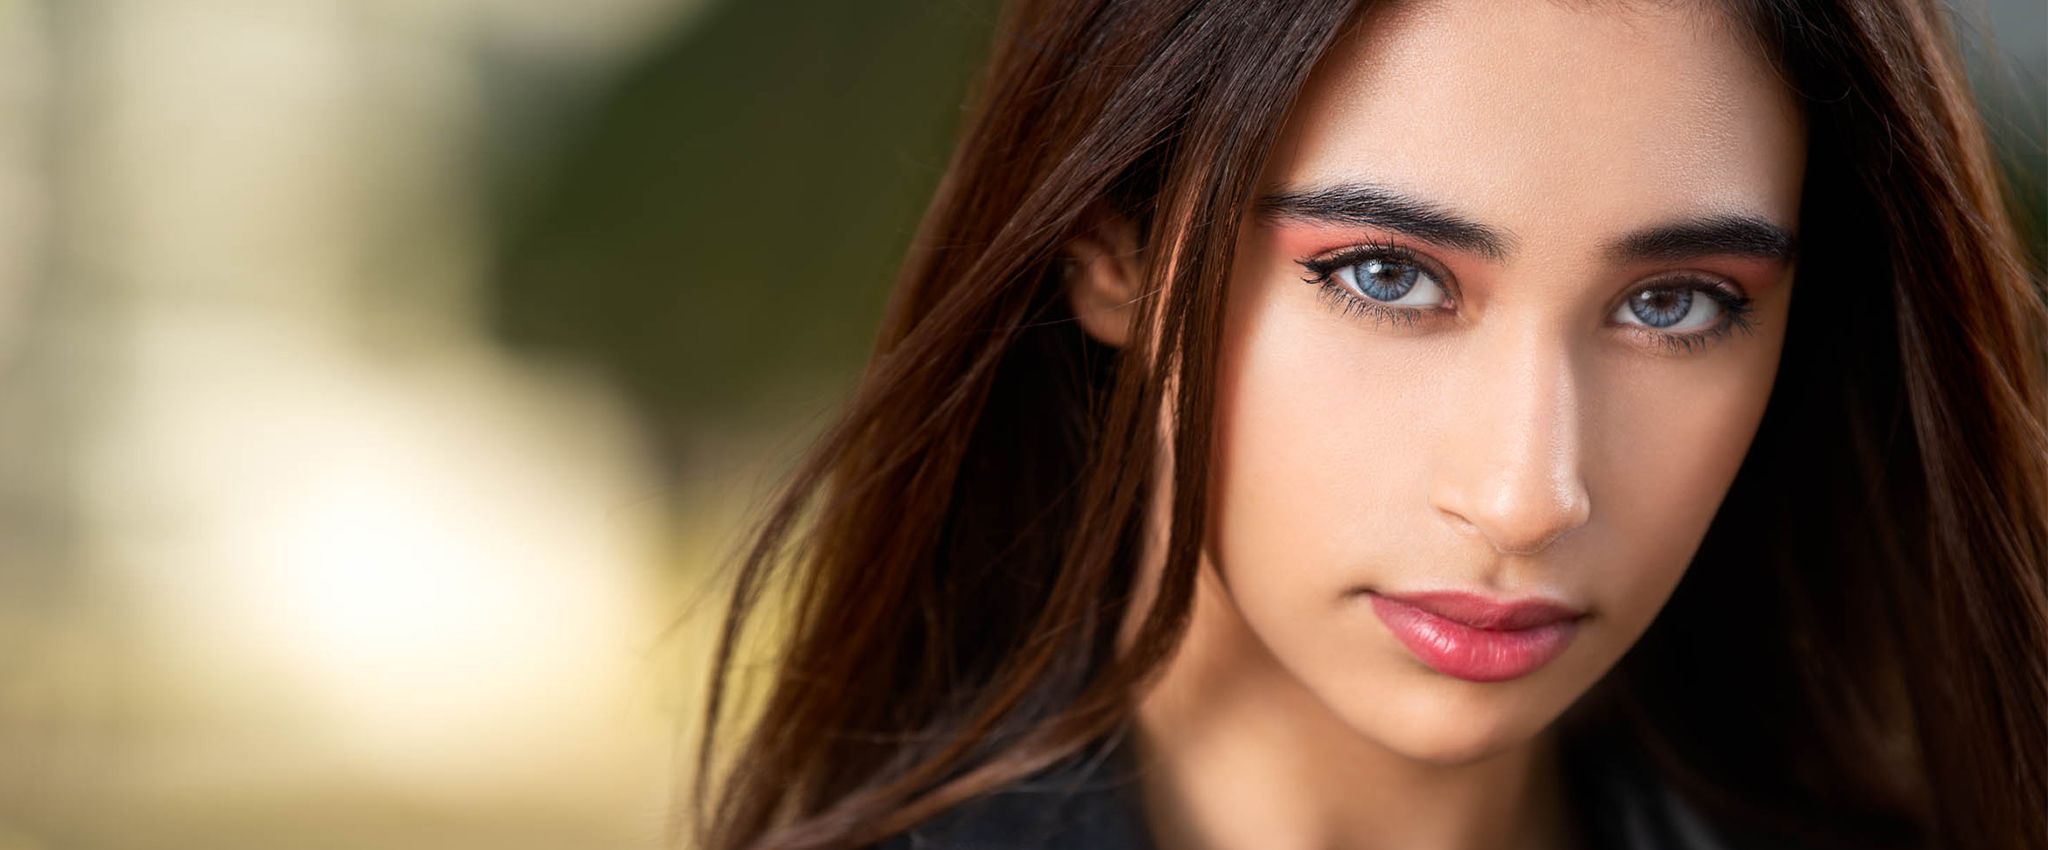
I scouted a beautiful location at a park for a photoshoot and hired model, Danah Hamdan. As I set up my equipment, I focused on achieving cinematic headshots that felt both natural and organic, avoiding any overly posed or artificial looks. I discussed my vision with Danah and emphasized the importance of minimal makeup for this particular shoot. Specifically, I requested that she refrain from using a highlighter, as its reflective properties would clash with the harsh light from the Speedlight and risk burning the image. If we were doing a beauty shoot, a different approach would be acceptable, but for this project, I aimed for authenticity and a genuine portrayal that would resonate with viewers.
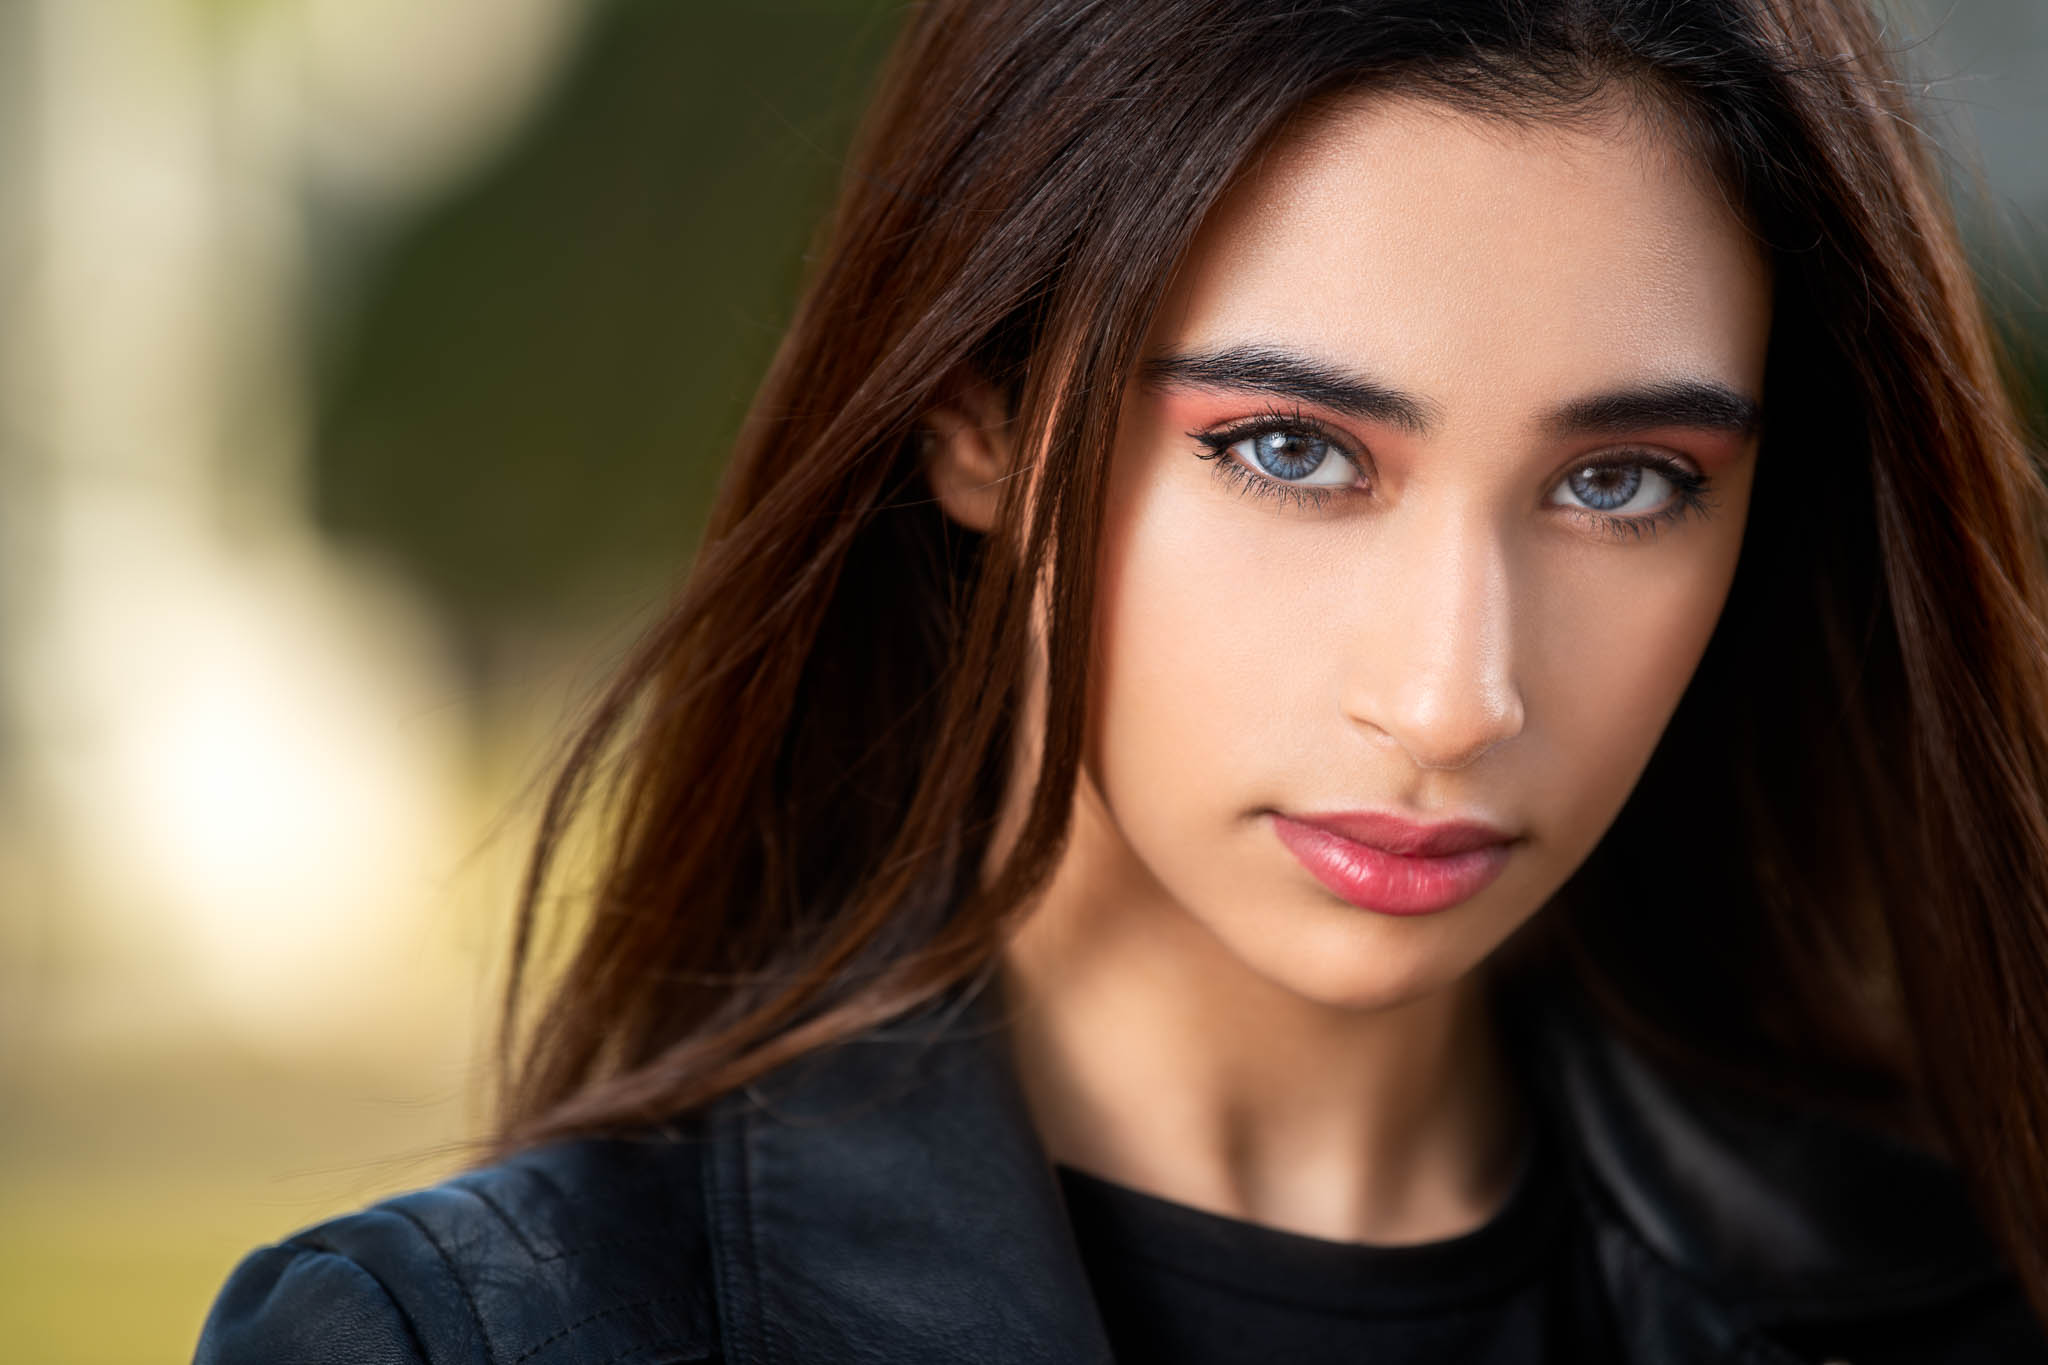
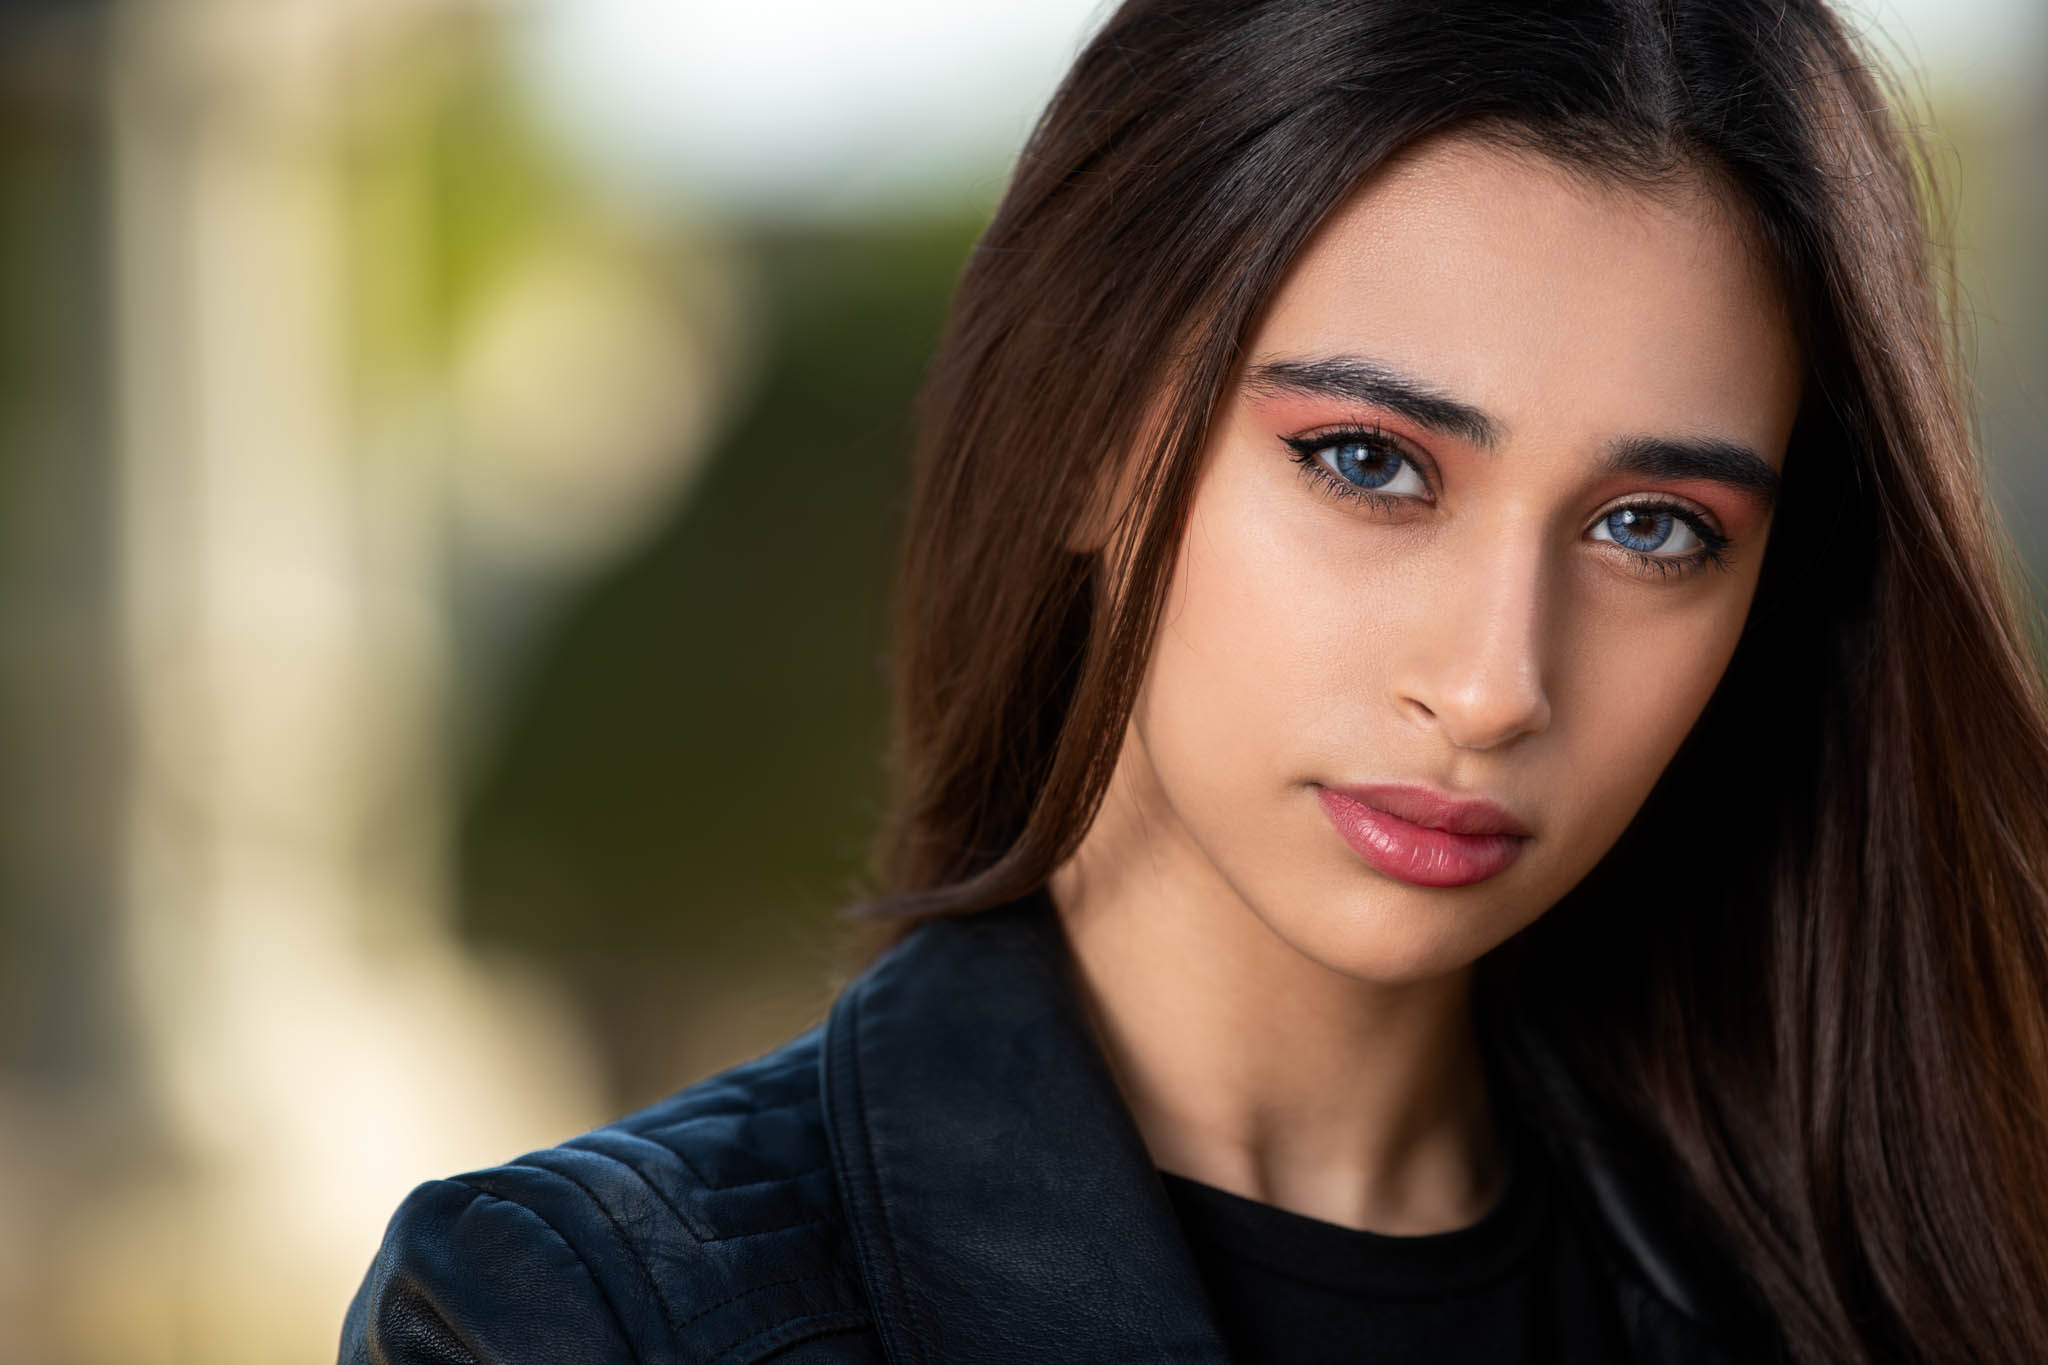
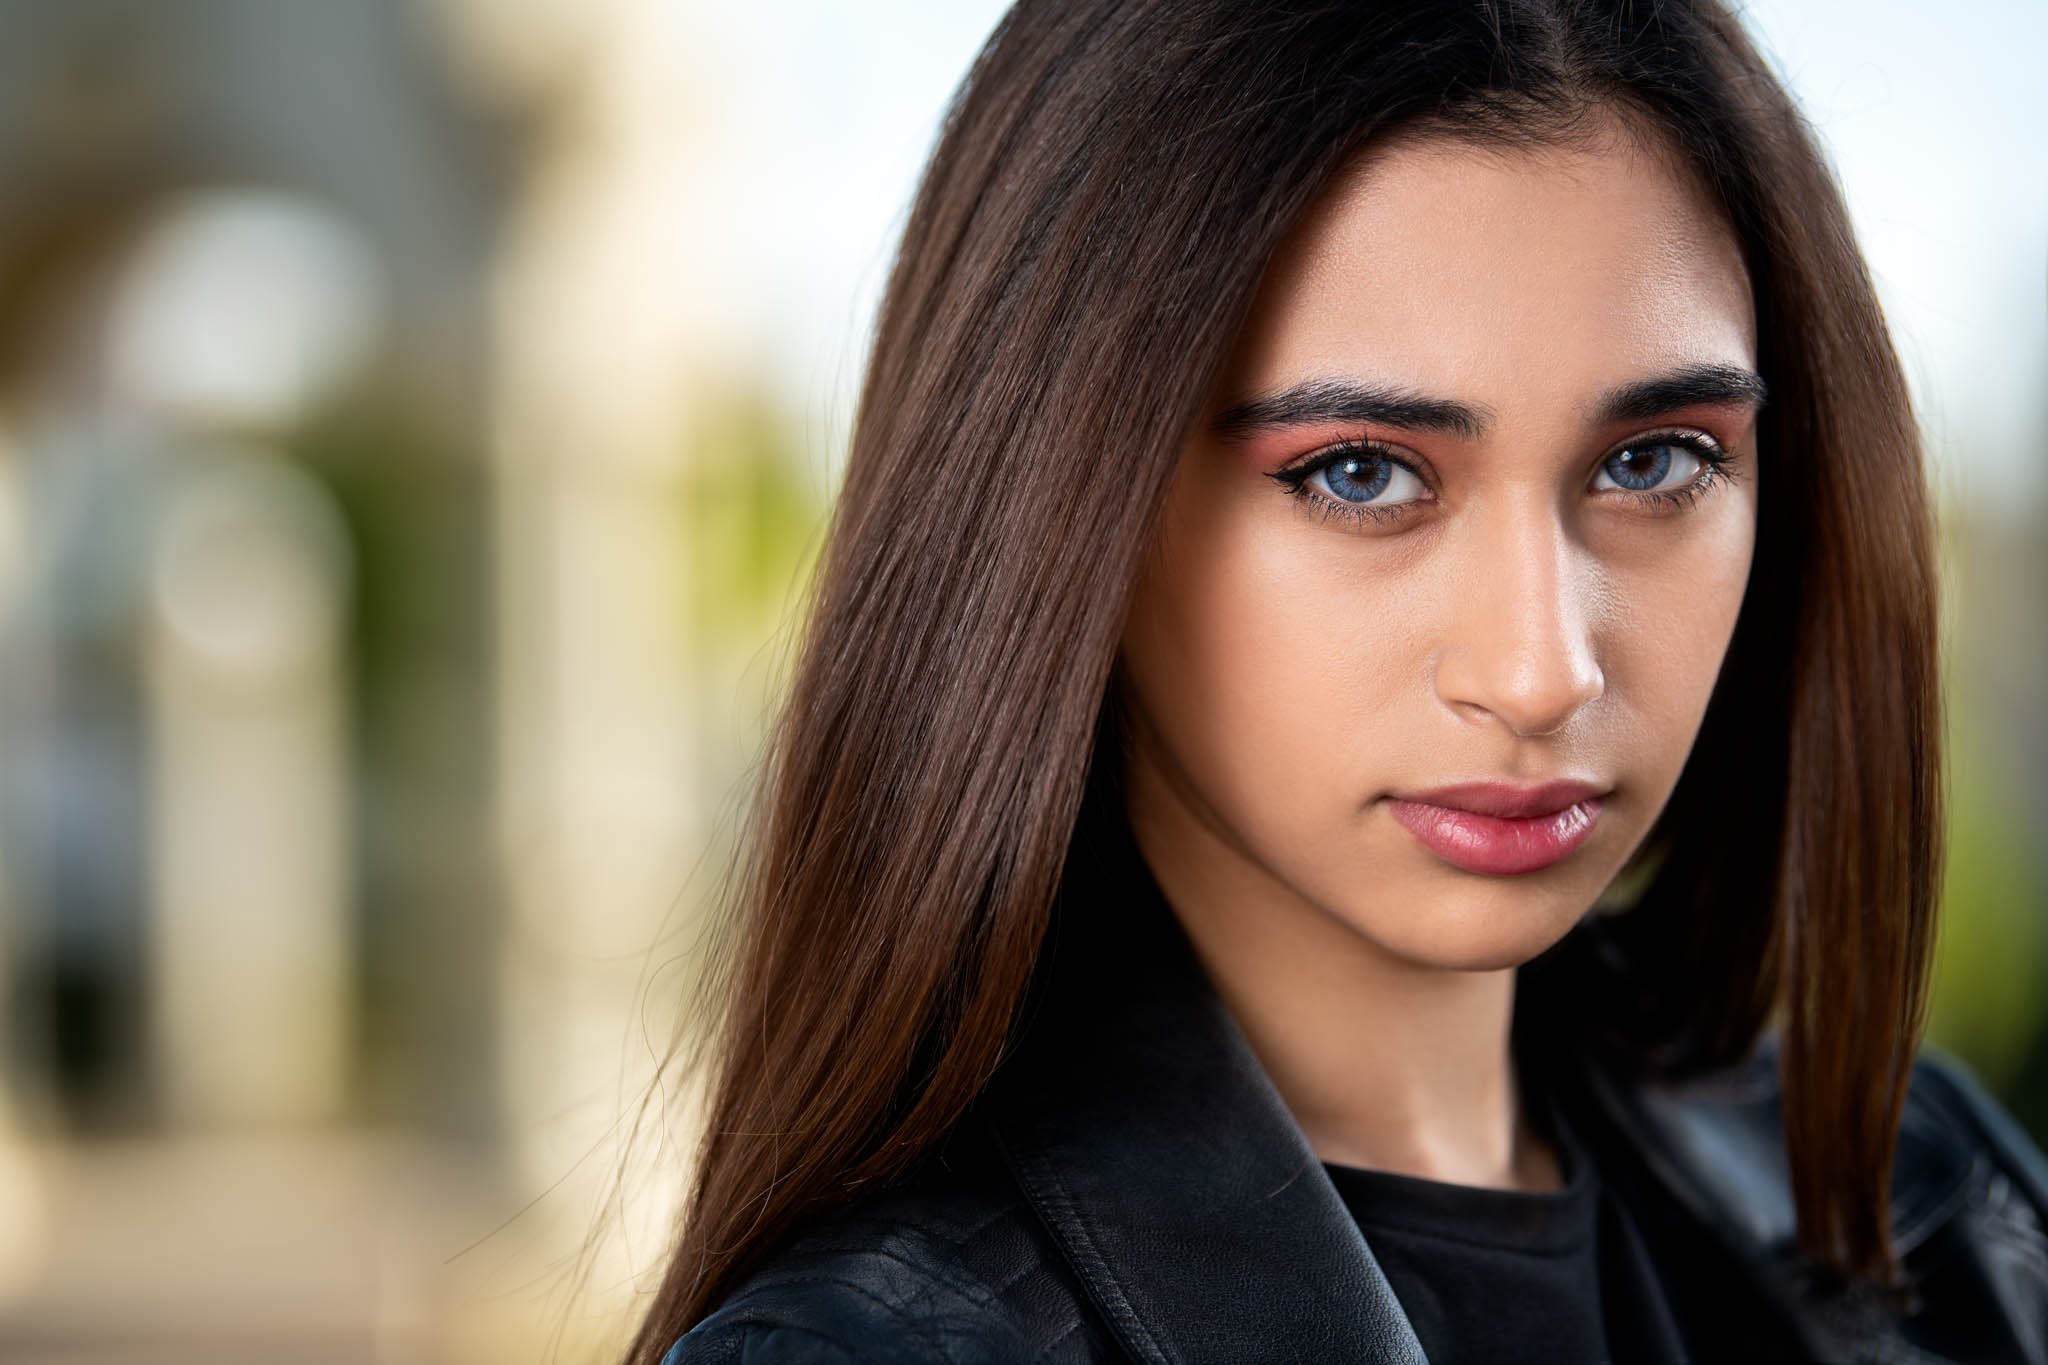
I captured 29 images during the photoshoot, but only three stood out as truly exceptional. The photos looked stunning overall; however, I was disappointed with the catchlight in Danah’s eyes. I realized that I had forgotten my reflector at home, which affected the catchlights more than I had anticipated. Fortunately, members of the Facebook group "The Cinematic Headshot with Dylan Patrick," along with Dylan Patrick himself, offered valuable advice. They suggested that I add a reflector beneath the key light and position the key light closer to the model. Following their recommendations made a significant difference. In my next cinematic headshot photoshoot, you’ll definitely see the improvement.
They advised me to dial down the amount of retouching I did in order to achieve a more natural look and to retain some of the original skin texture. While I understand their perspective, my goal is to create the ultimate experience for my clients with cinematic headshots that make them look their best. However, I really appreciate the beauty of a natural, organic look, which is why I only use the dodge-and-burn technique. This method allows me to preserve as much skin texture as possible, resulting in skin that looks more natural.
I shot the images at shutter speeds of 1/500s and 1/400s, ensuring the same lighting conditions in both the foreground and background. Ideally, the background should be darker than the foreground to make the subject stand out and create contrast. To achieve this, I should have first exposed for the background and then added my Speedlight to illuminate the subject. My mistake was adjusting both the camera settings and the Speedlight simultaneously, which resulted in a low-contrast image that did not effectively separate the foreground from the background. I later corrected this in Adobe Photoshop by using a curve adjustment layer to darken the background. However, capturing well-exposed images straight out of the camera should be the ultimate goal for any photographer.
The Gear I Used