Image Revitalization
The Soft, The Hard, and the Blown Out
Written on the 13th of September, 2025
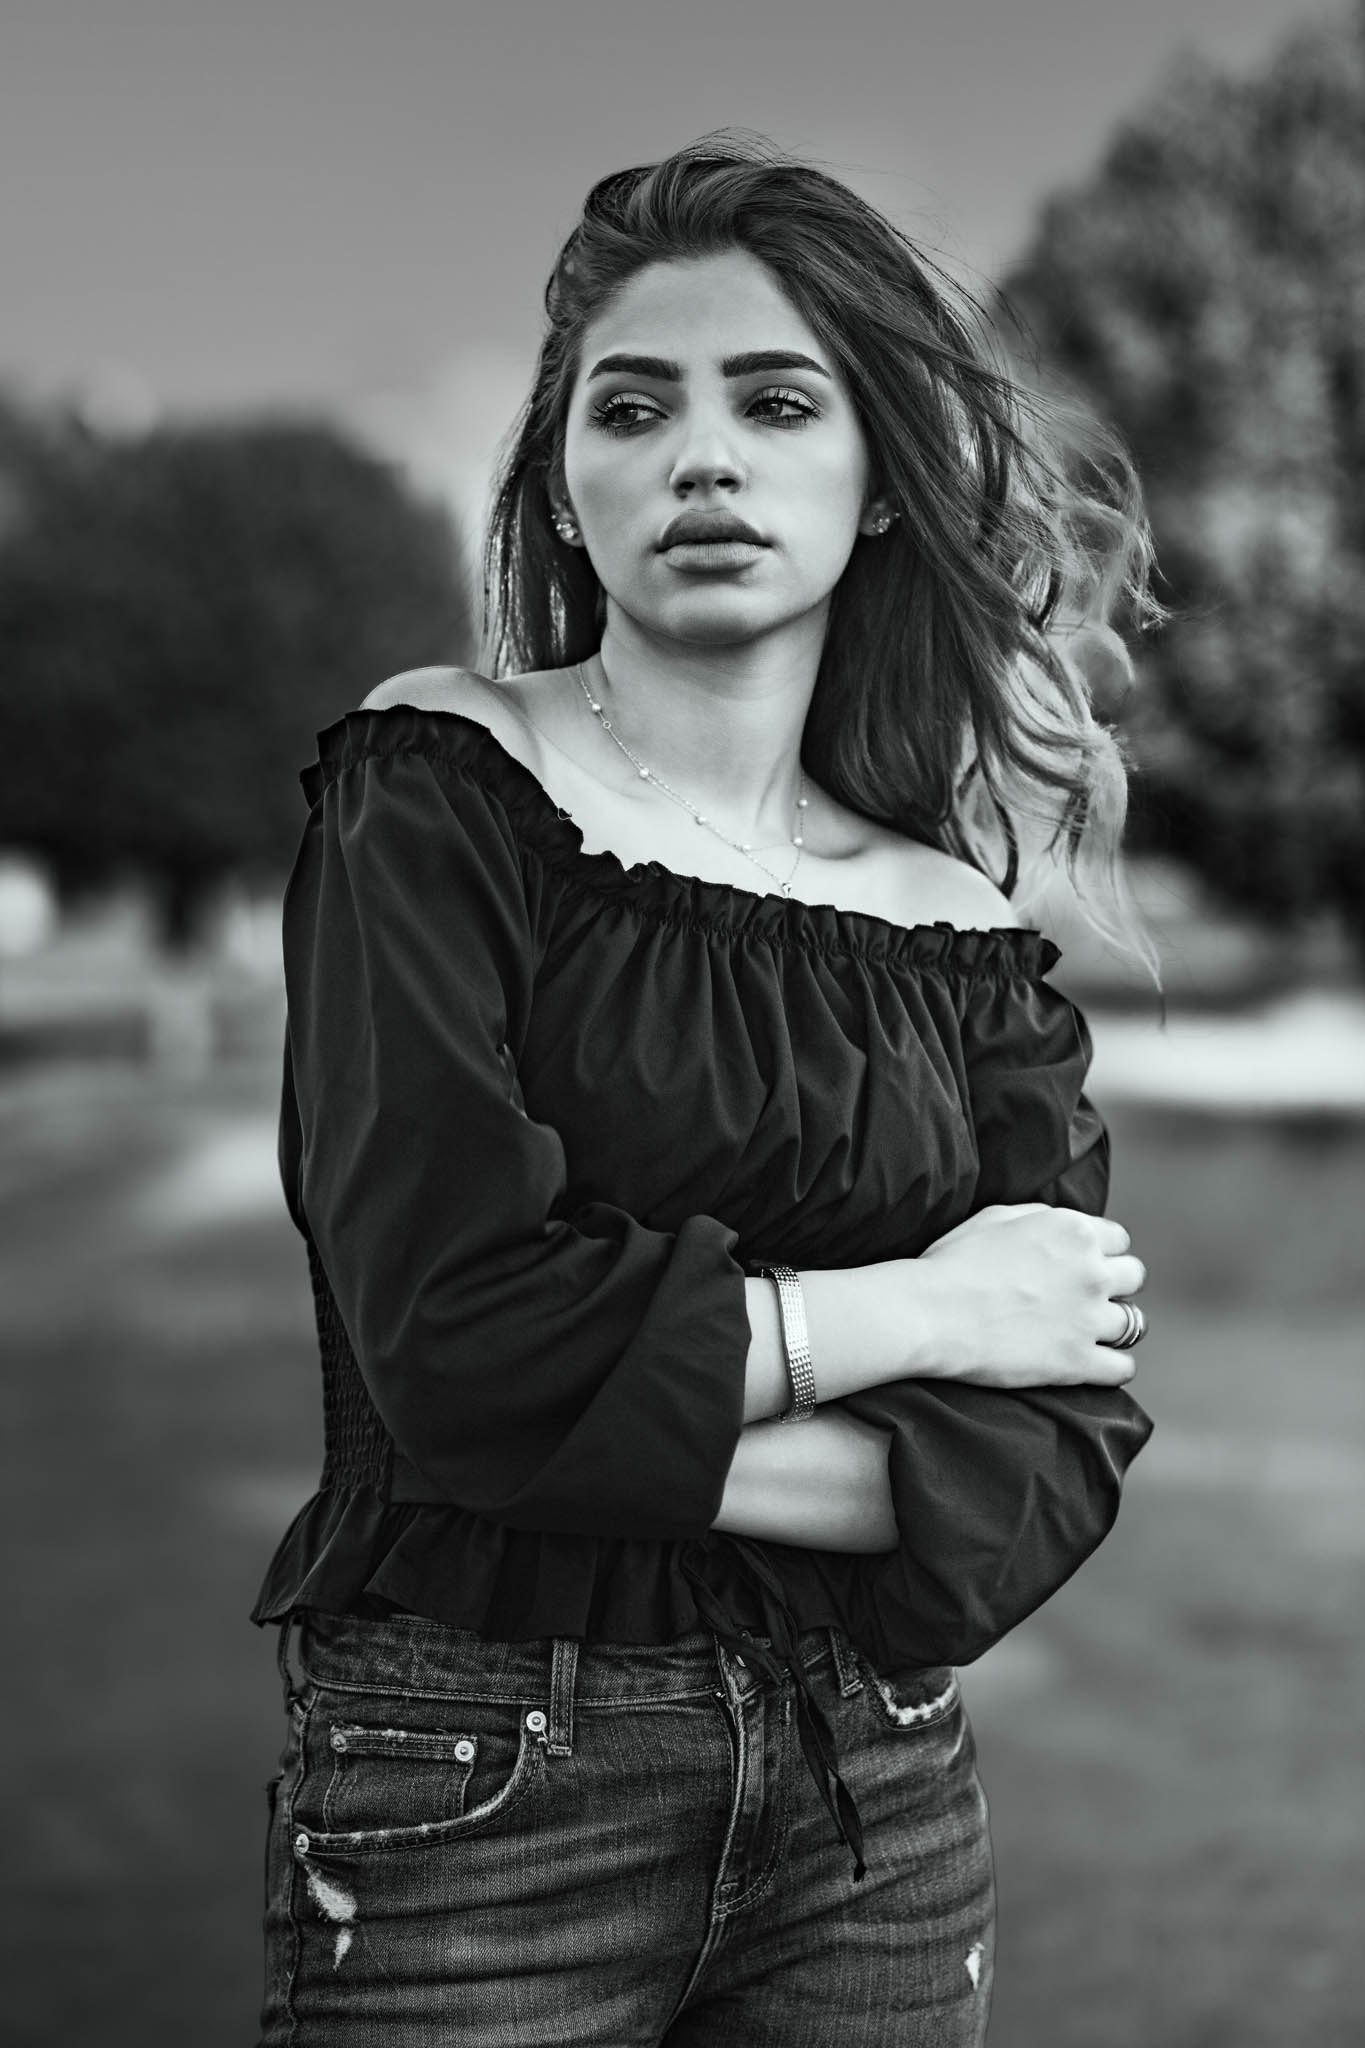
I had the pleasure of working with model Nina for a portrait shoot, but the lighting conditions presented quite a challenge. The day was sunny, with strong highlights, and the background was far from picturesque. Despite my efforts to soften the distractions by using a wide aperture on my Nikon D850 paired with the Nikon AF-S NIKKOR 85mm f/1.4G lens, it remained uninviting, even when blurred.
As I faced the struggle of blown-out highlights, I attempted to salvage the images by adjusting the exposure compensation. However, my efforts seemed futile; I found myself trapped in a cycle where I either lost the rich shadows or the bright highlights.
After reviewing my images later, I felt frustrated by the lack of success. I decided to transform the photos into striking black-and-white images during post-processing.
With renewed determination, I dived into Adobe Lightroom, experimenting with multiple masks to sculpt the tones and bring out the emotional depth of each photograph. After much trial and error, I finally crafted three unique images, each capturing Nina's essence in distinct black-and-white styles, revealing a new layer of beauty that the original colors had obscured.
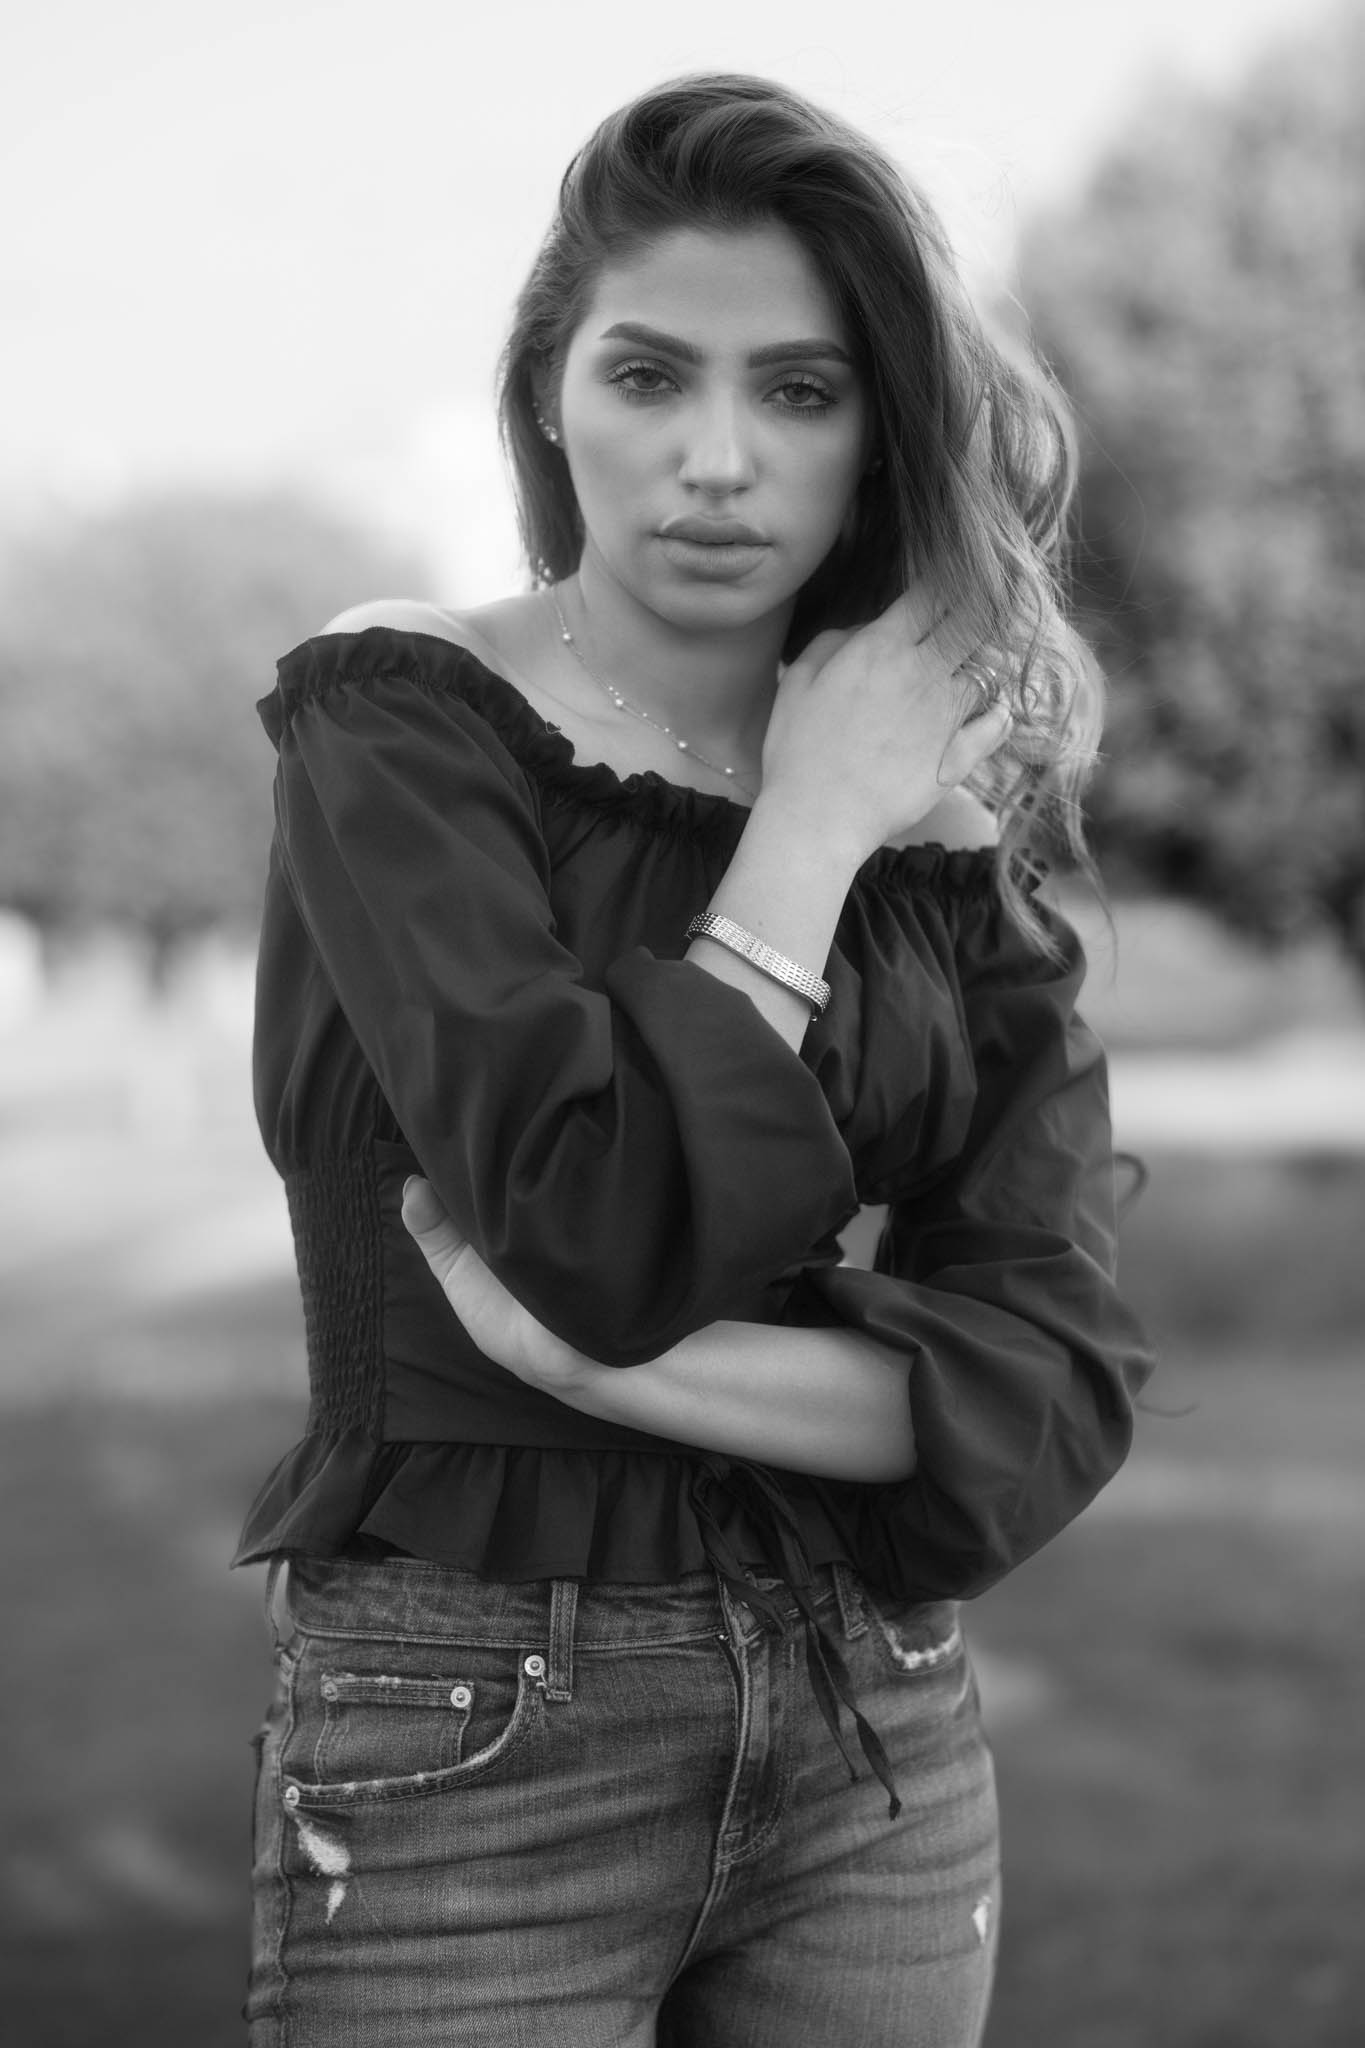
The first version was a high-key portrait. Since the background was already clipped due to overexposure, I increased the overall exposure to enhance the high-key effect. Next, I reduced the contrast to achieve a softer appearance and masked the subject, then adjusted the exposure to avoid further clipping. I then added contrast specifically to the subject to guide the viewer's eye to Nina's. After making slight retouches and adding more contrast, I exported the image to Adobe Photoshop for minor adjustments.

The second version had a soft, hazy look achieved by using the Dehaze slider and lowering the contrast in Adobe Lightroom. The subject was also masked to increase contrast for isolation.
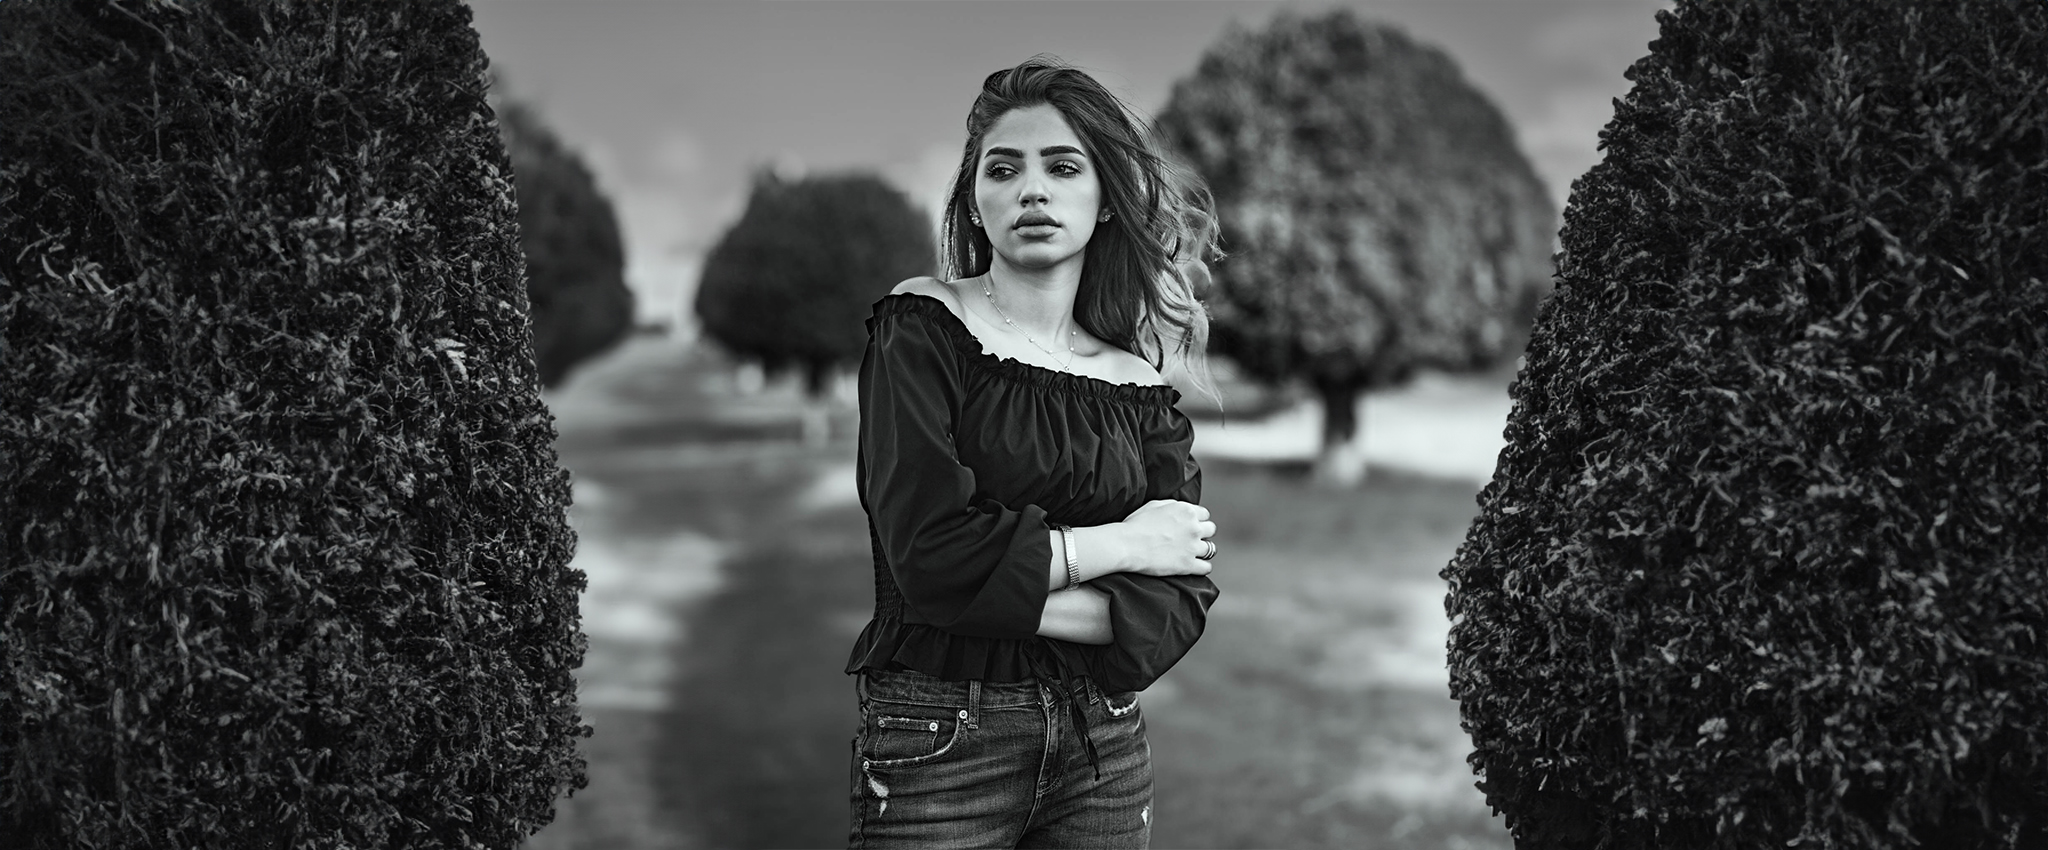
Finally, the third version featured a bold look, using multiple linear and radial gradient masks, along with dehazing and clarity adjustments to enhance contrast.
The Gear I Used