Cinematic Headshots with Shomokh AlSuwaha
Colour Grading
Written on the 30th of June, 2024
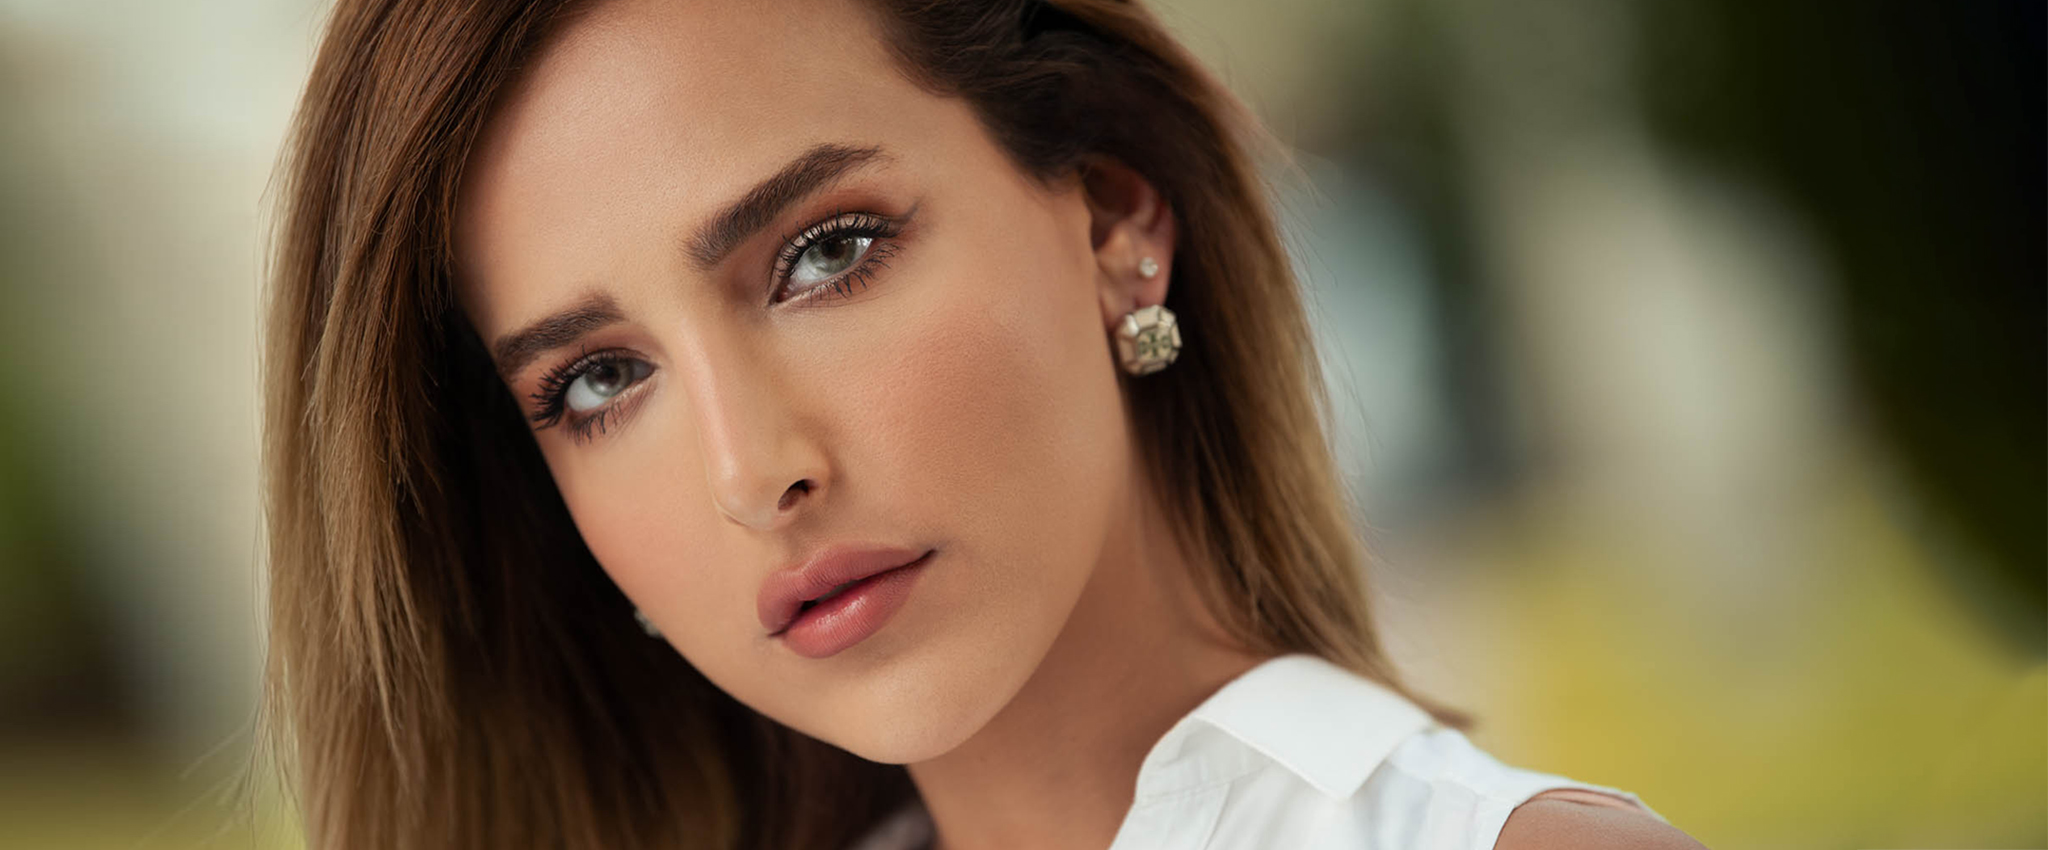
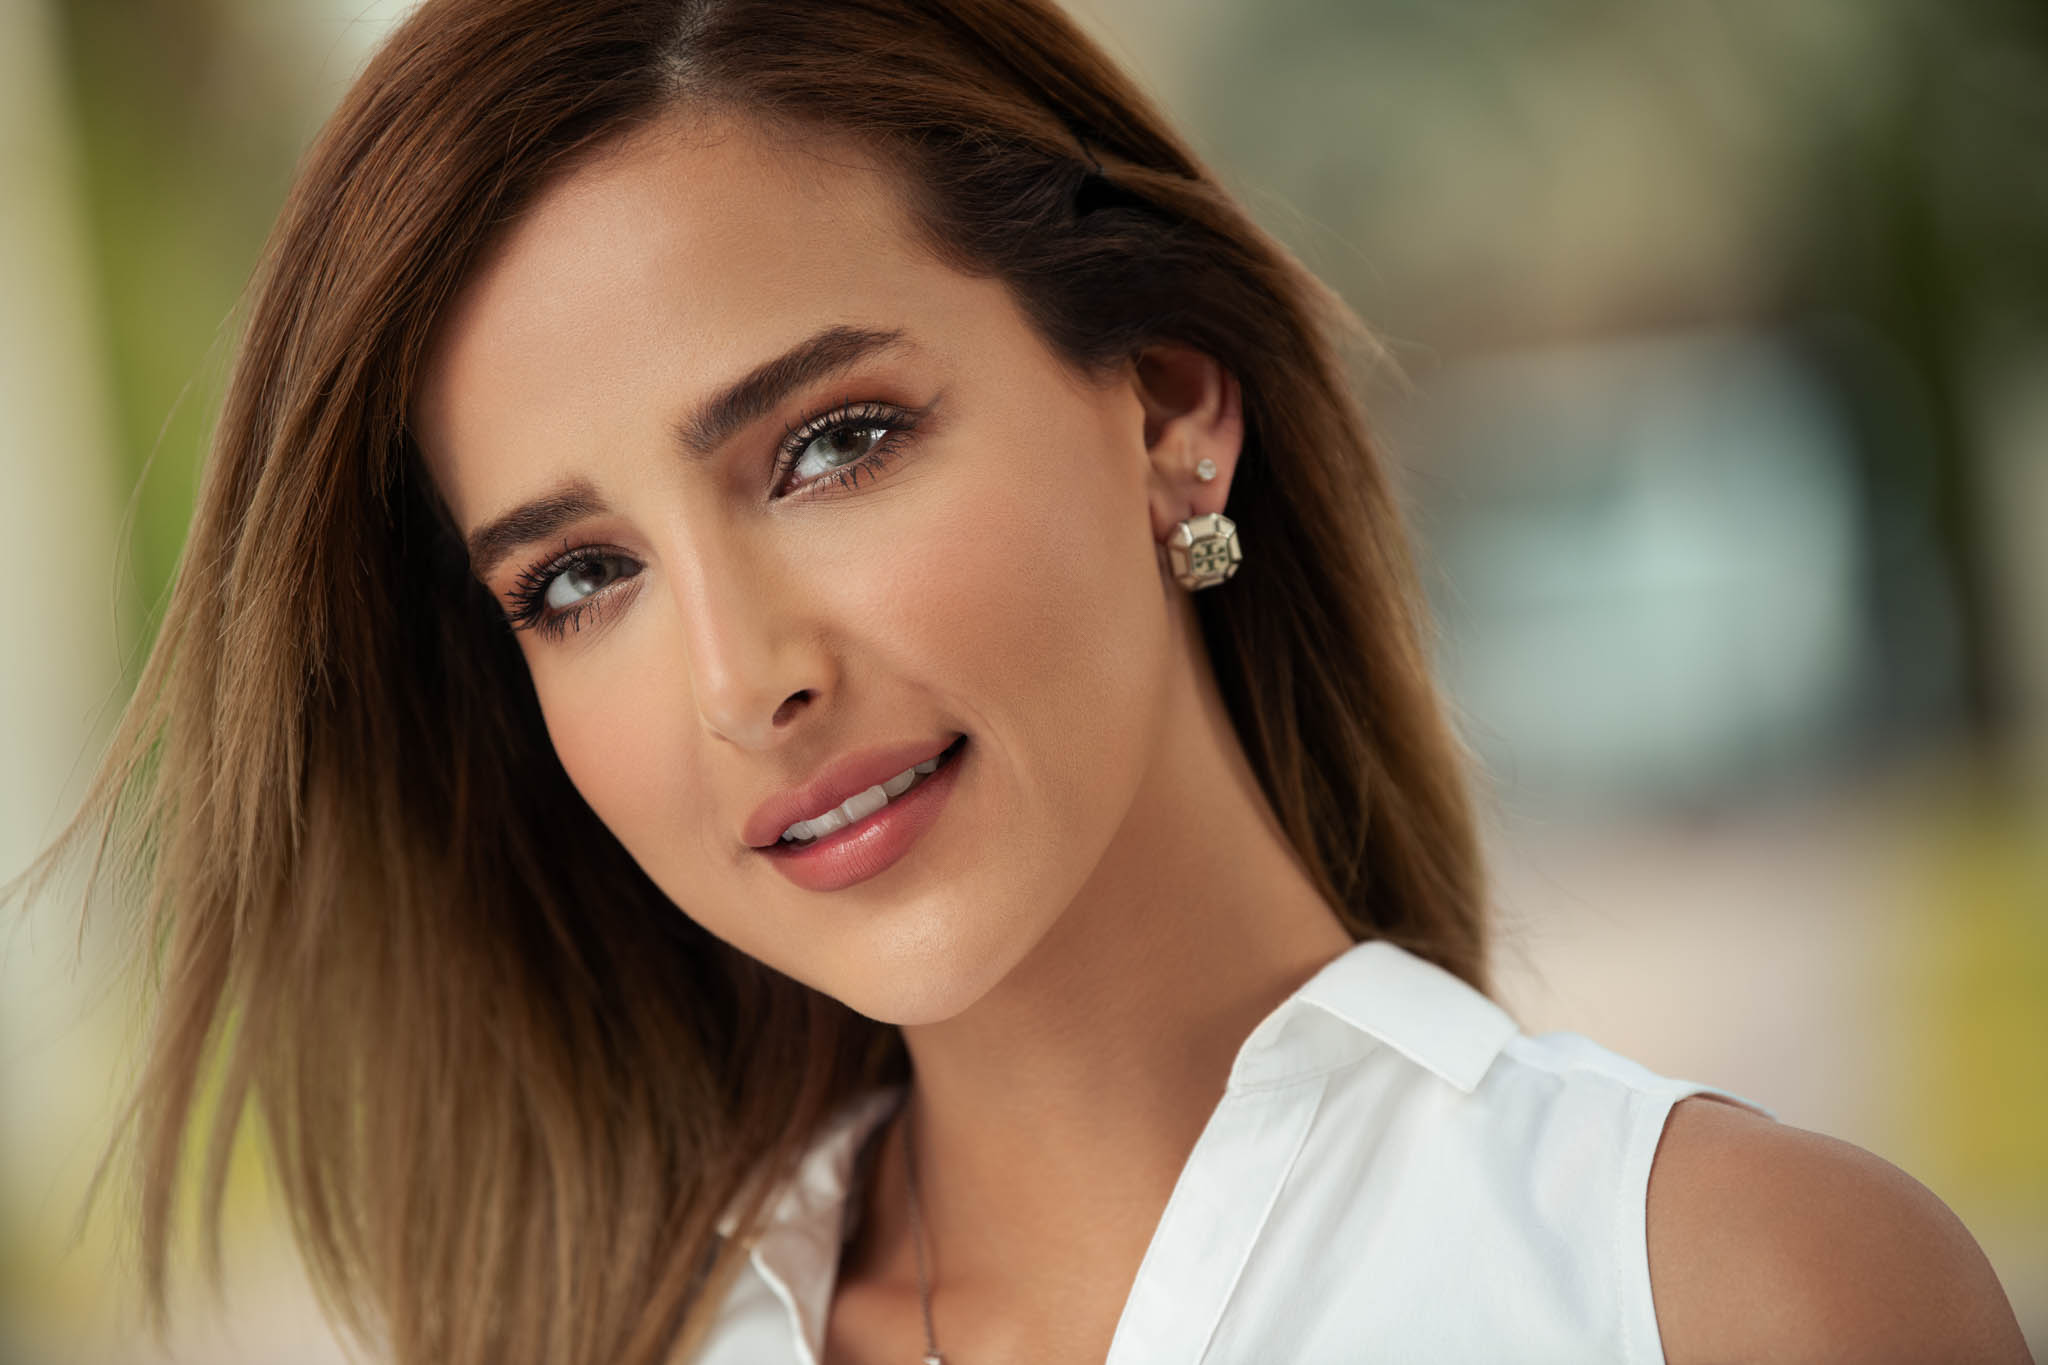
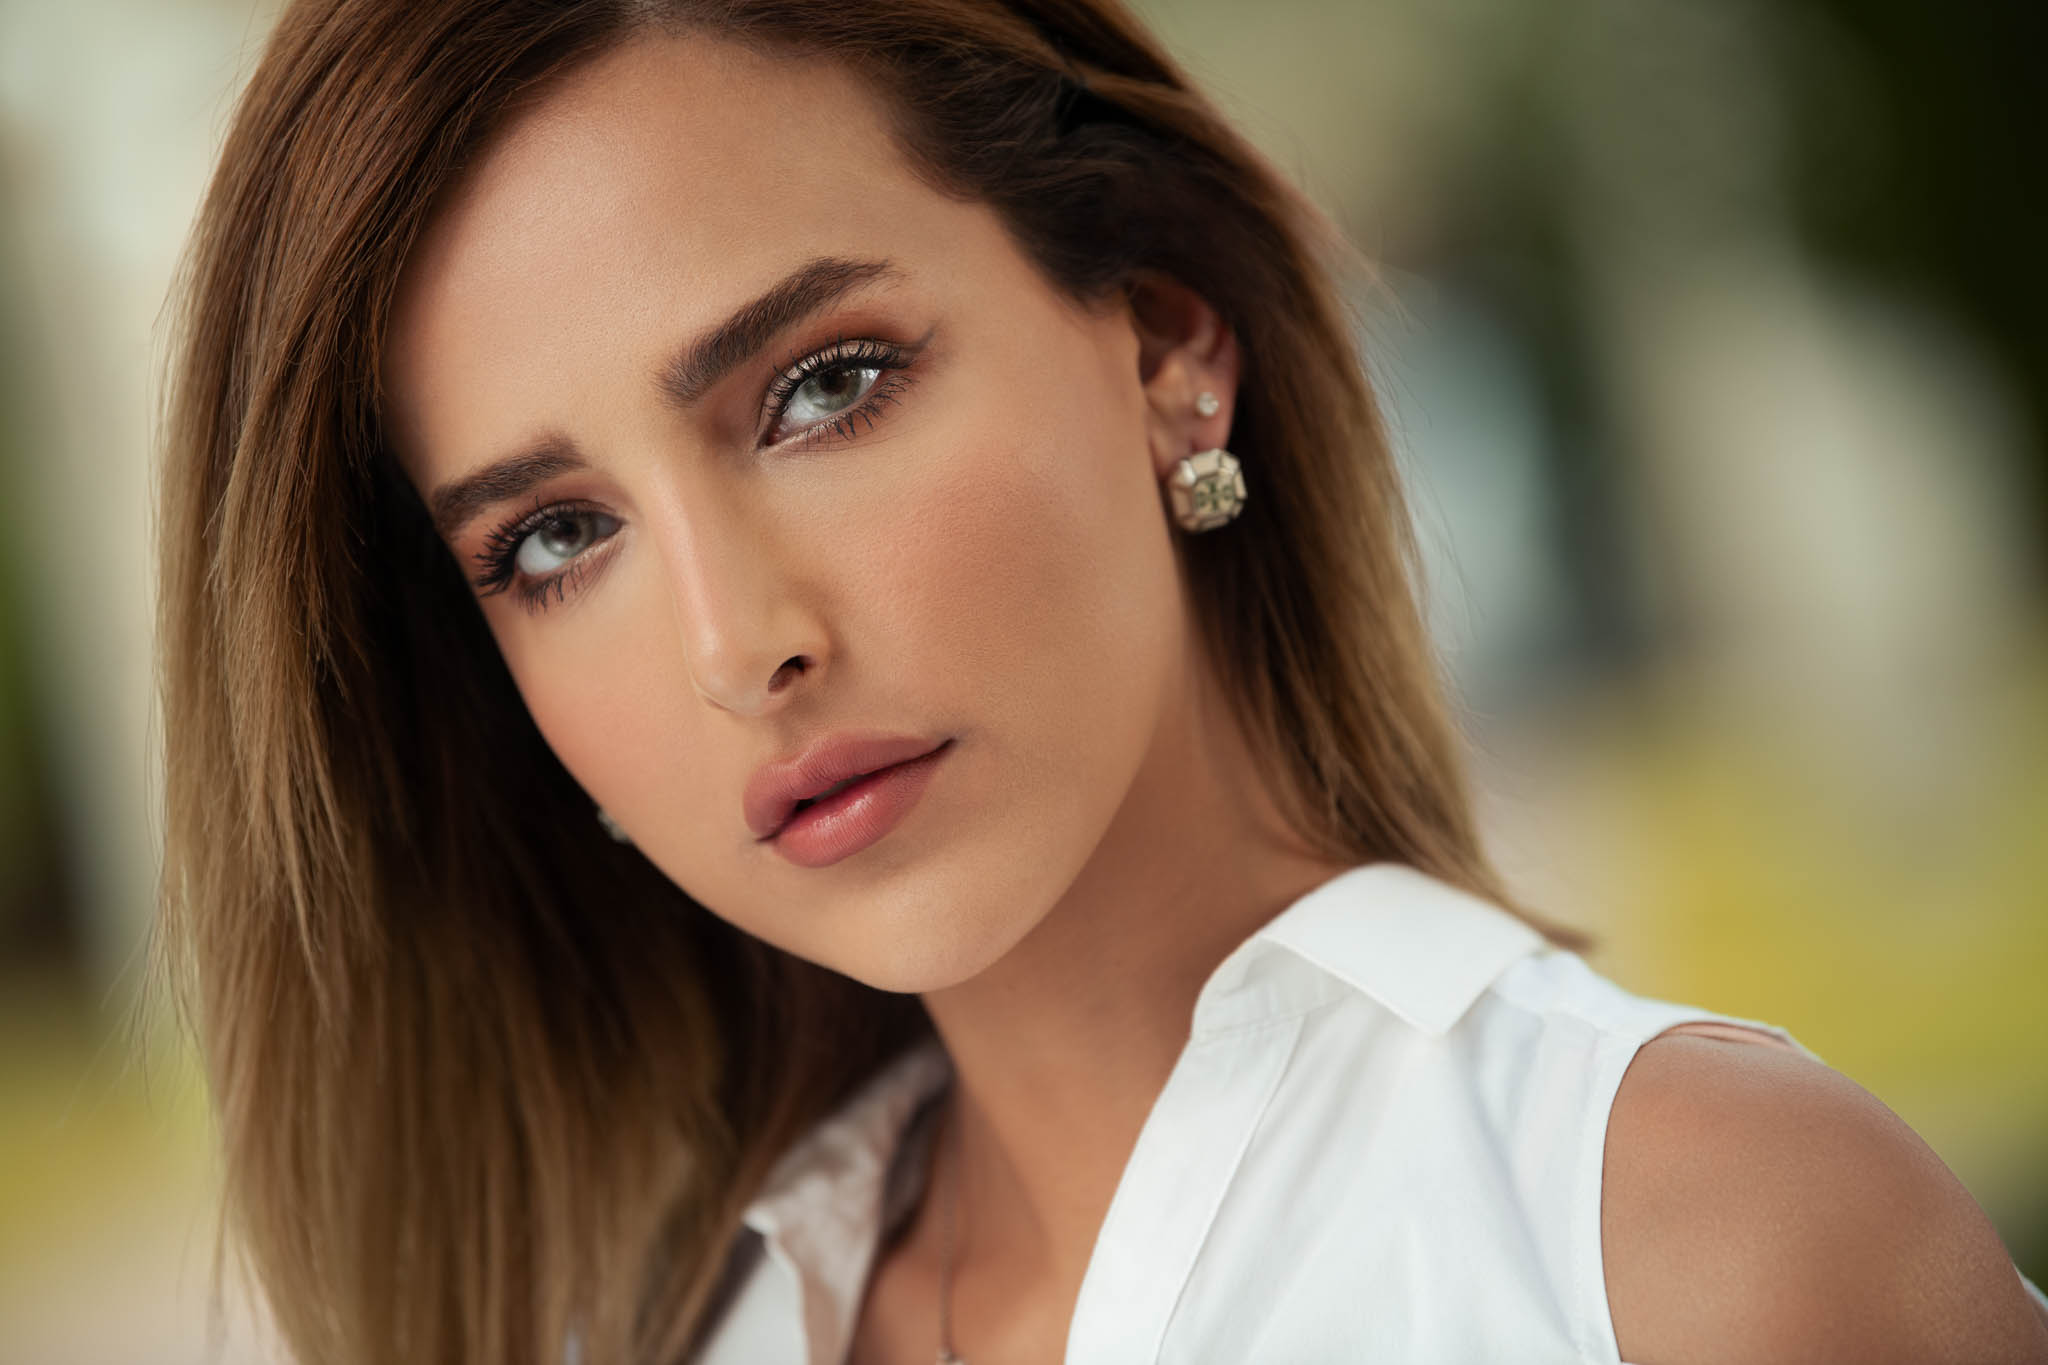
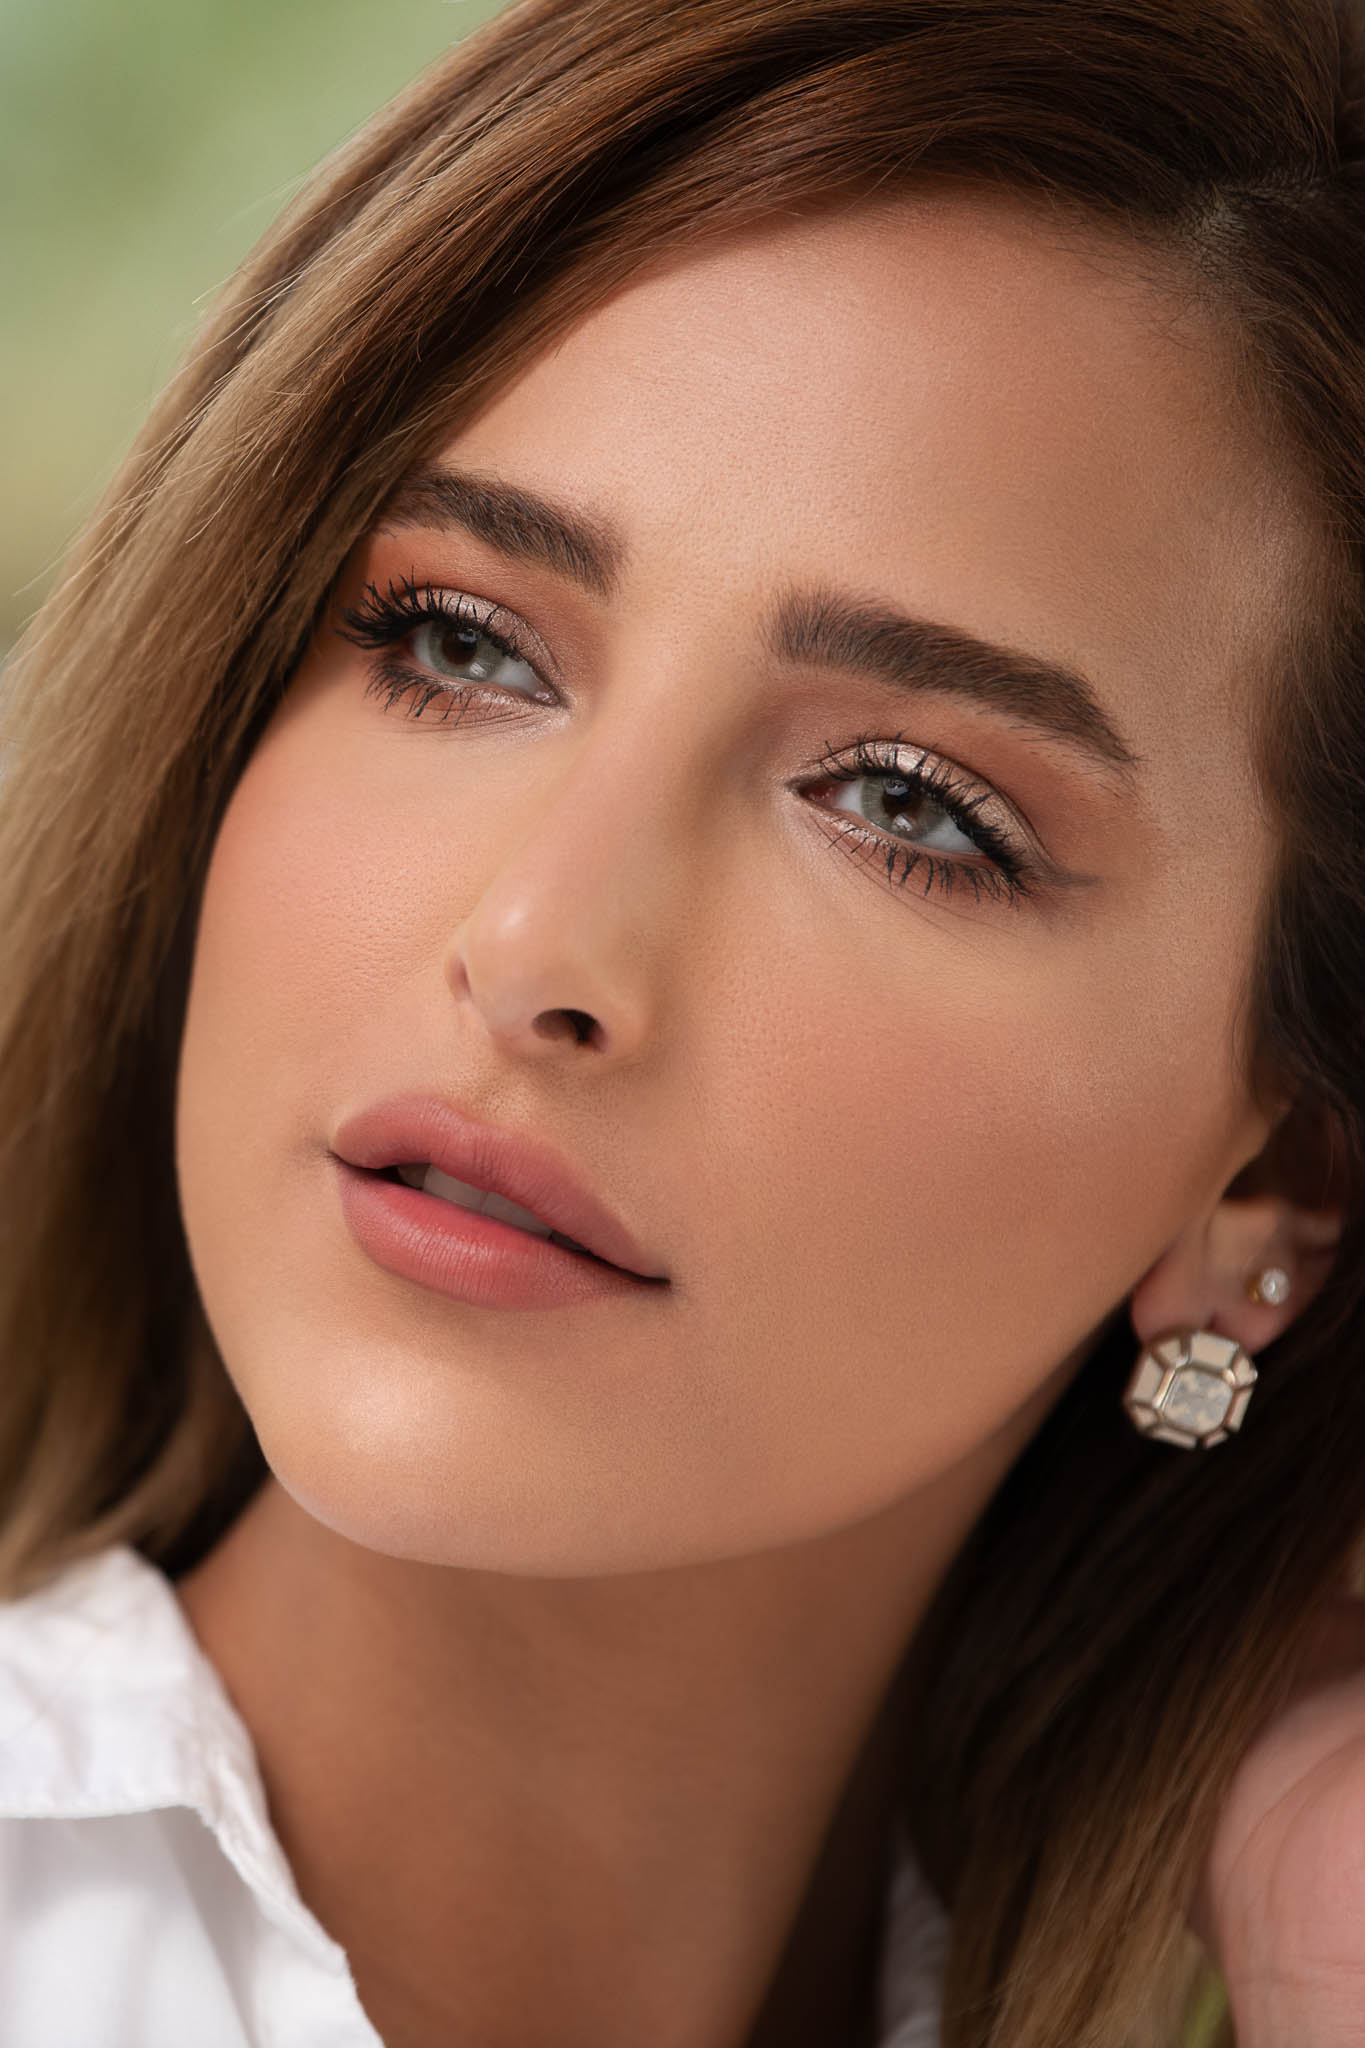
Much like my previous cinematic headshot sessions, I captured a remarkable variety of images during my shoot with talented model Shomokh AlSuwaha. Upon thorough review of this diverse collection of headshots, I identified several standout images. Then, using Adobe Photoshop, I edited them following my usual workflow, as you may have seen in my previous post. Here are a few images created using my standard workflow, without any colour grading.


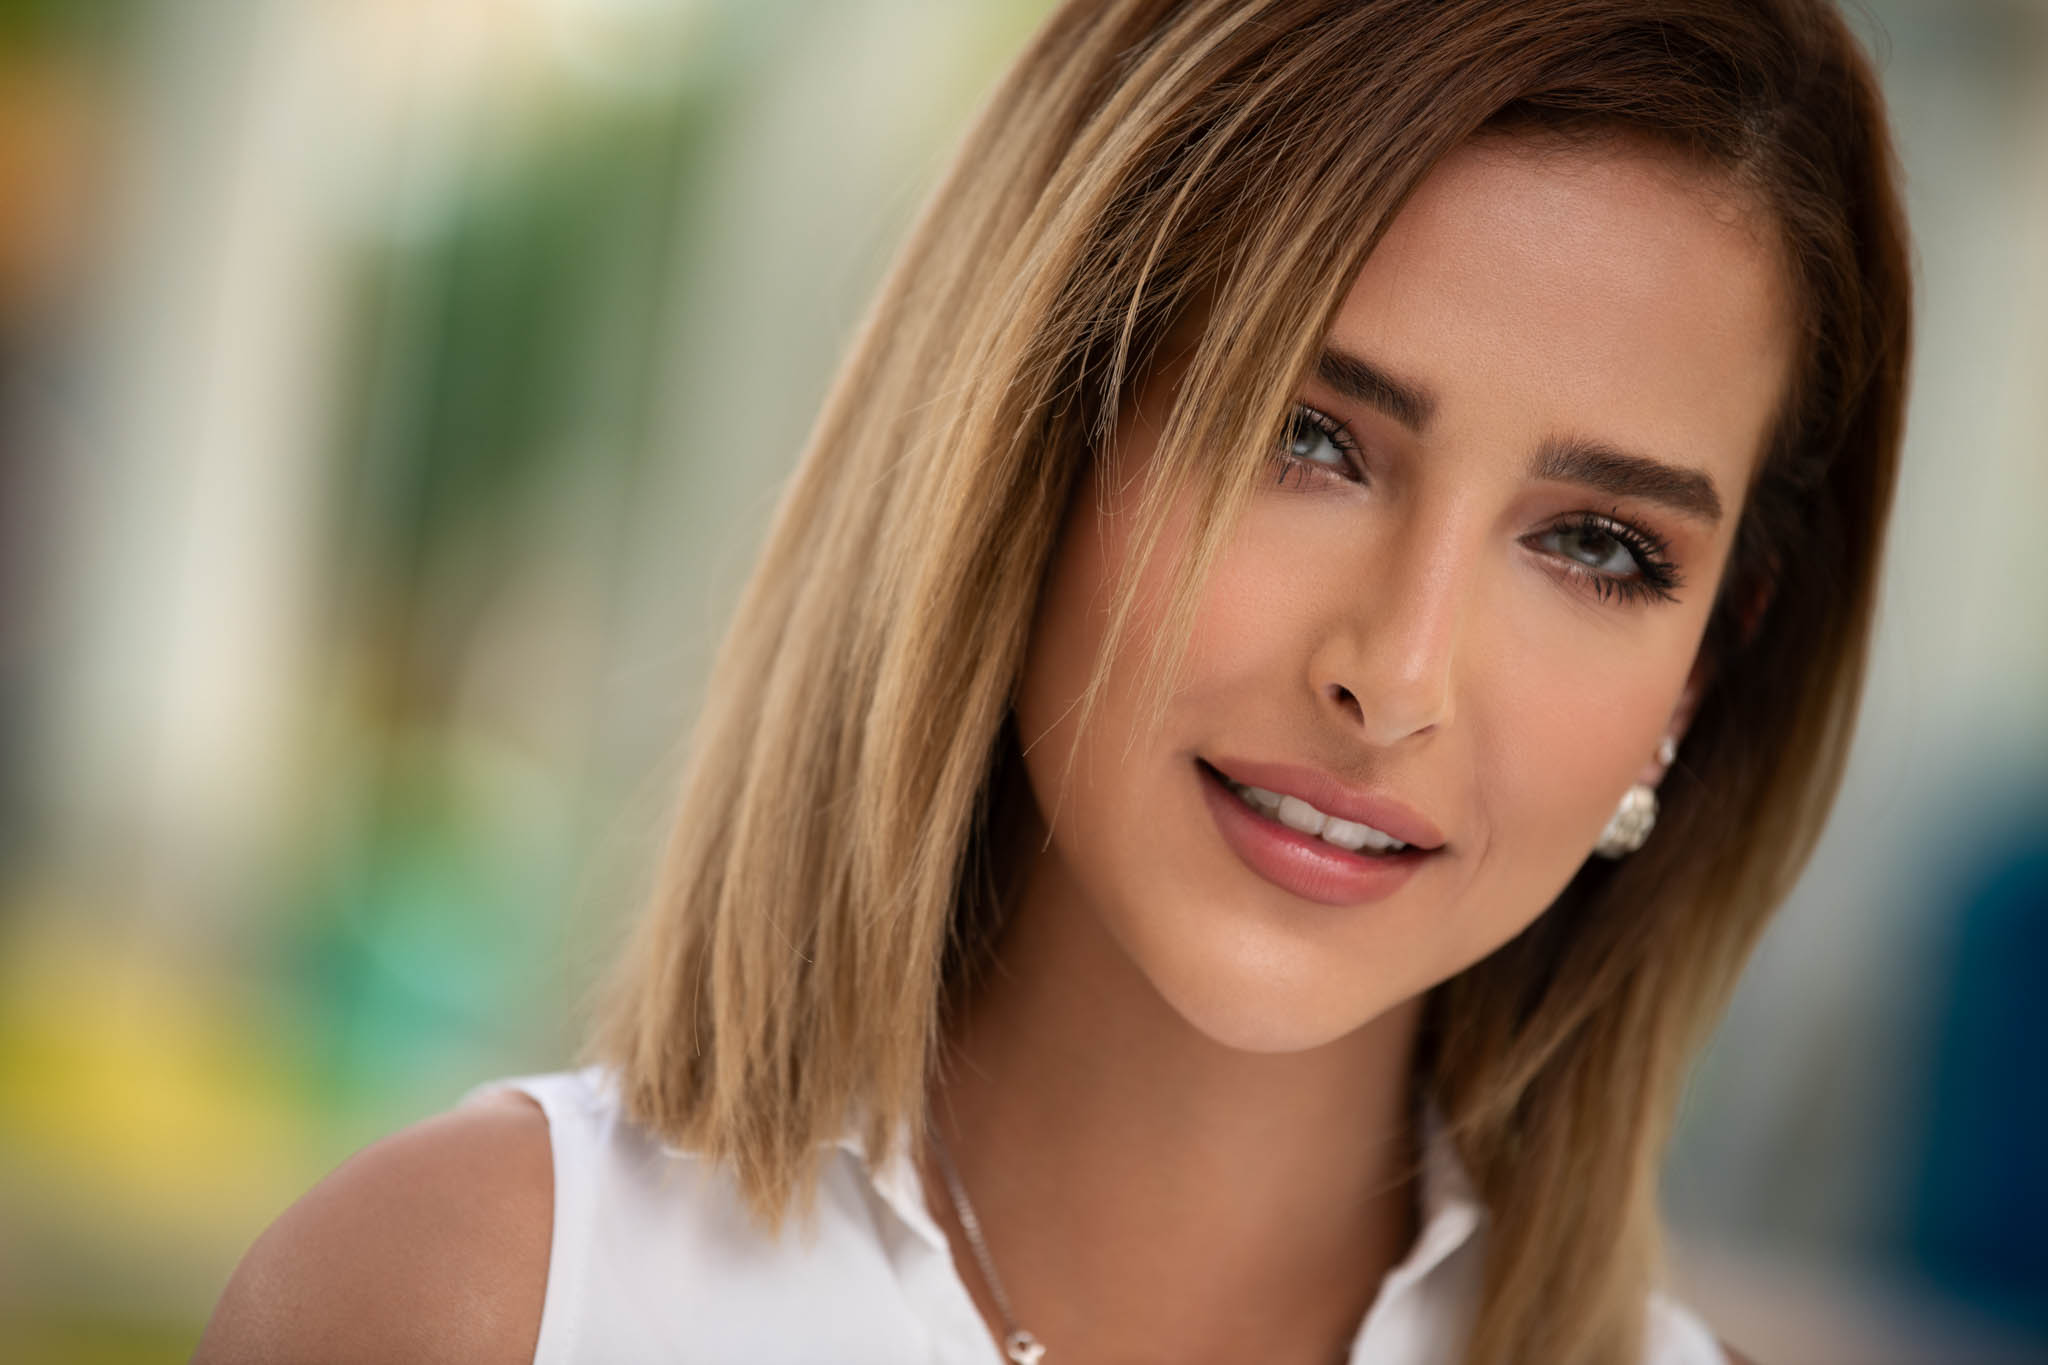
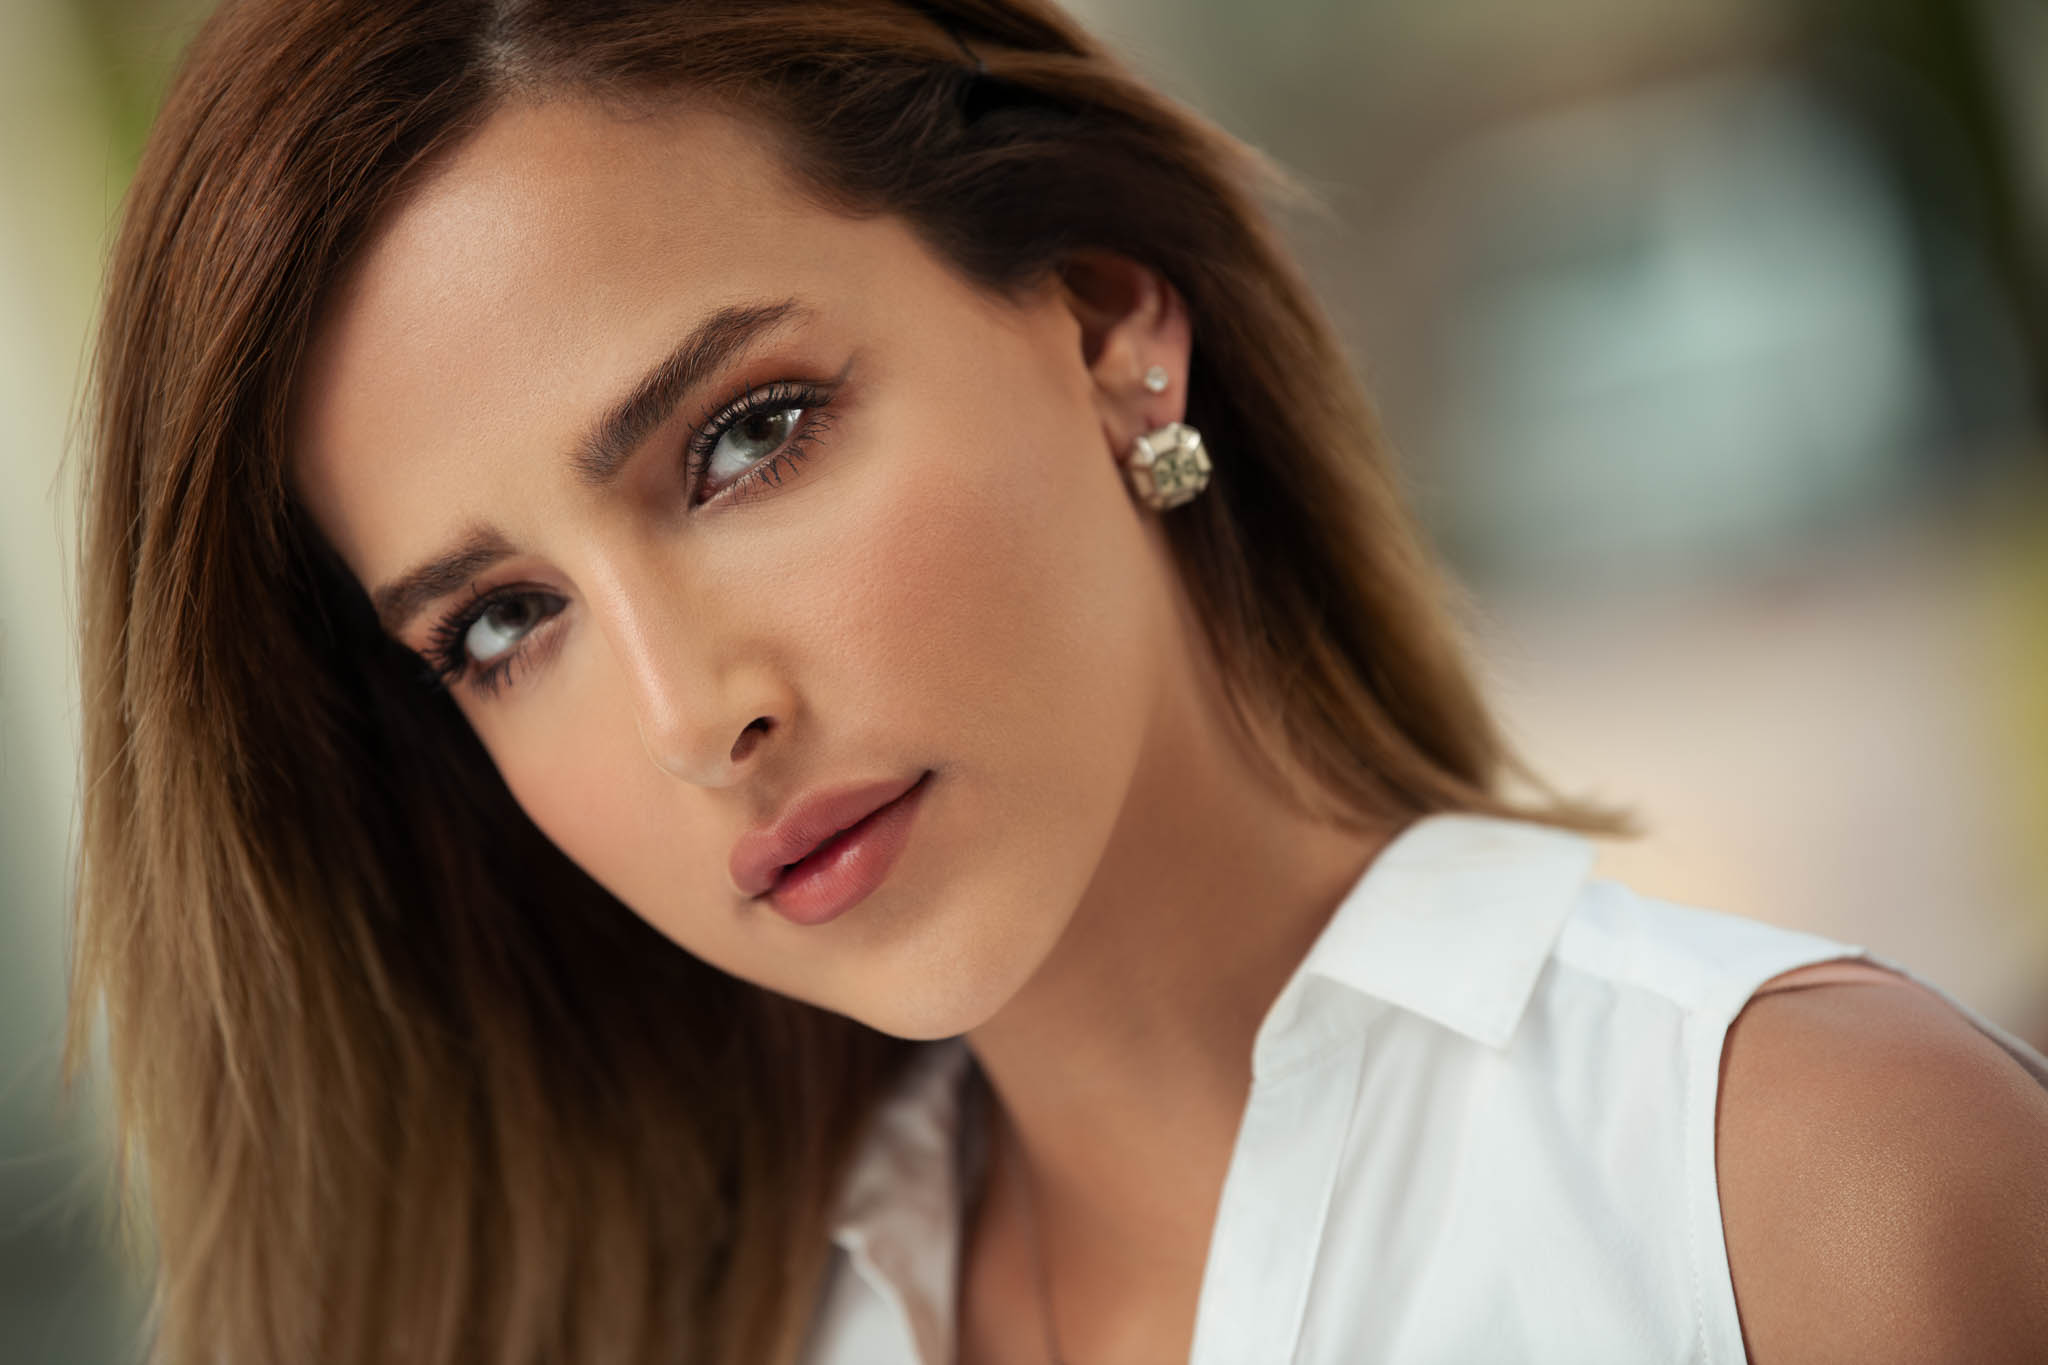
I typically do not incorporate colour grading into my workflow for cinematic headshots, as it can detract from the beauty of the image. However, I recently decided to explore colour grading, and I was immediately captivated by the transformation it brought to my work. Each hue and shade came alive in ways I never expected, resulting in astonishing outcomes that breathed new life into my images. I am excited to include colour grading in my creative process moving forward! The key is to avoid overdoing it, as excessive grading can make images look unnatural and inauthentic. Here are several images that have been enhanced using colour grading.
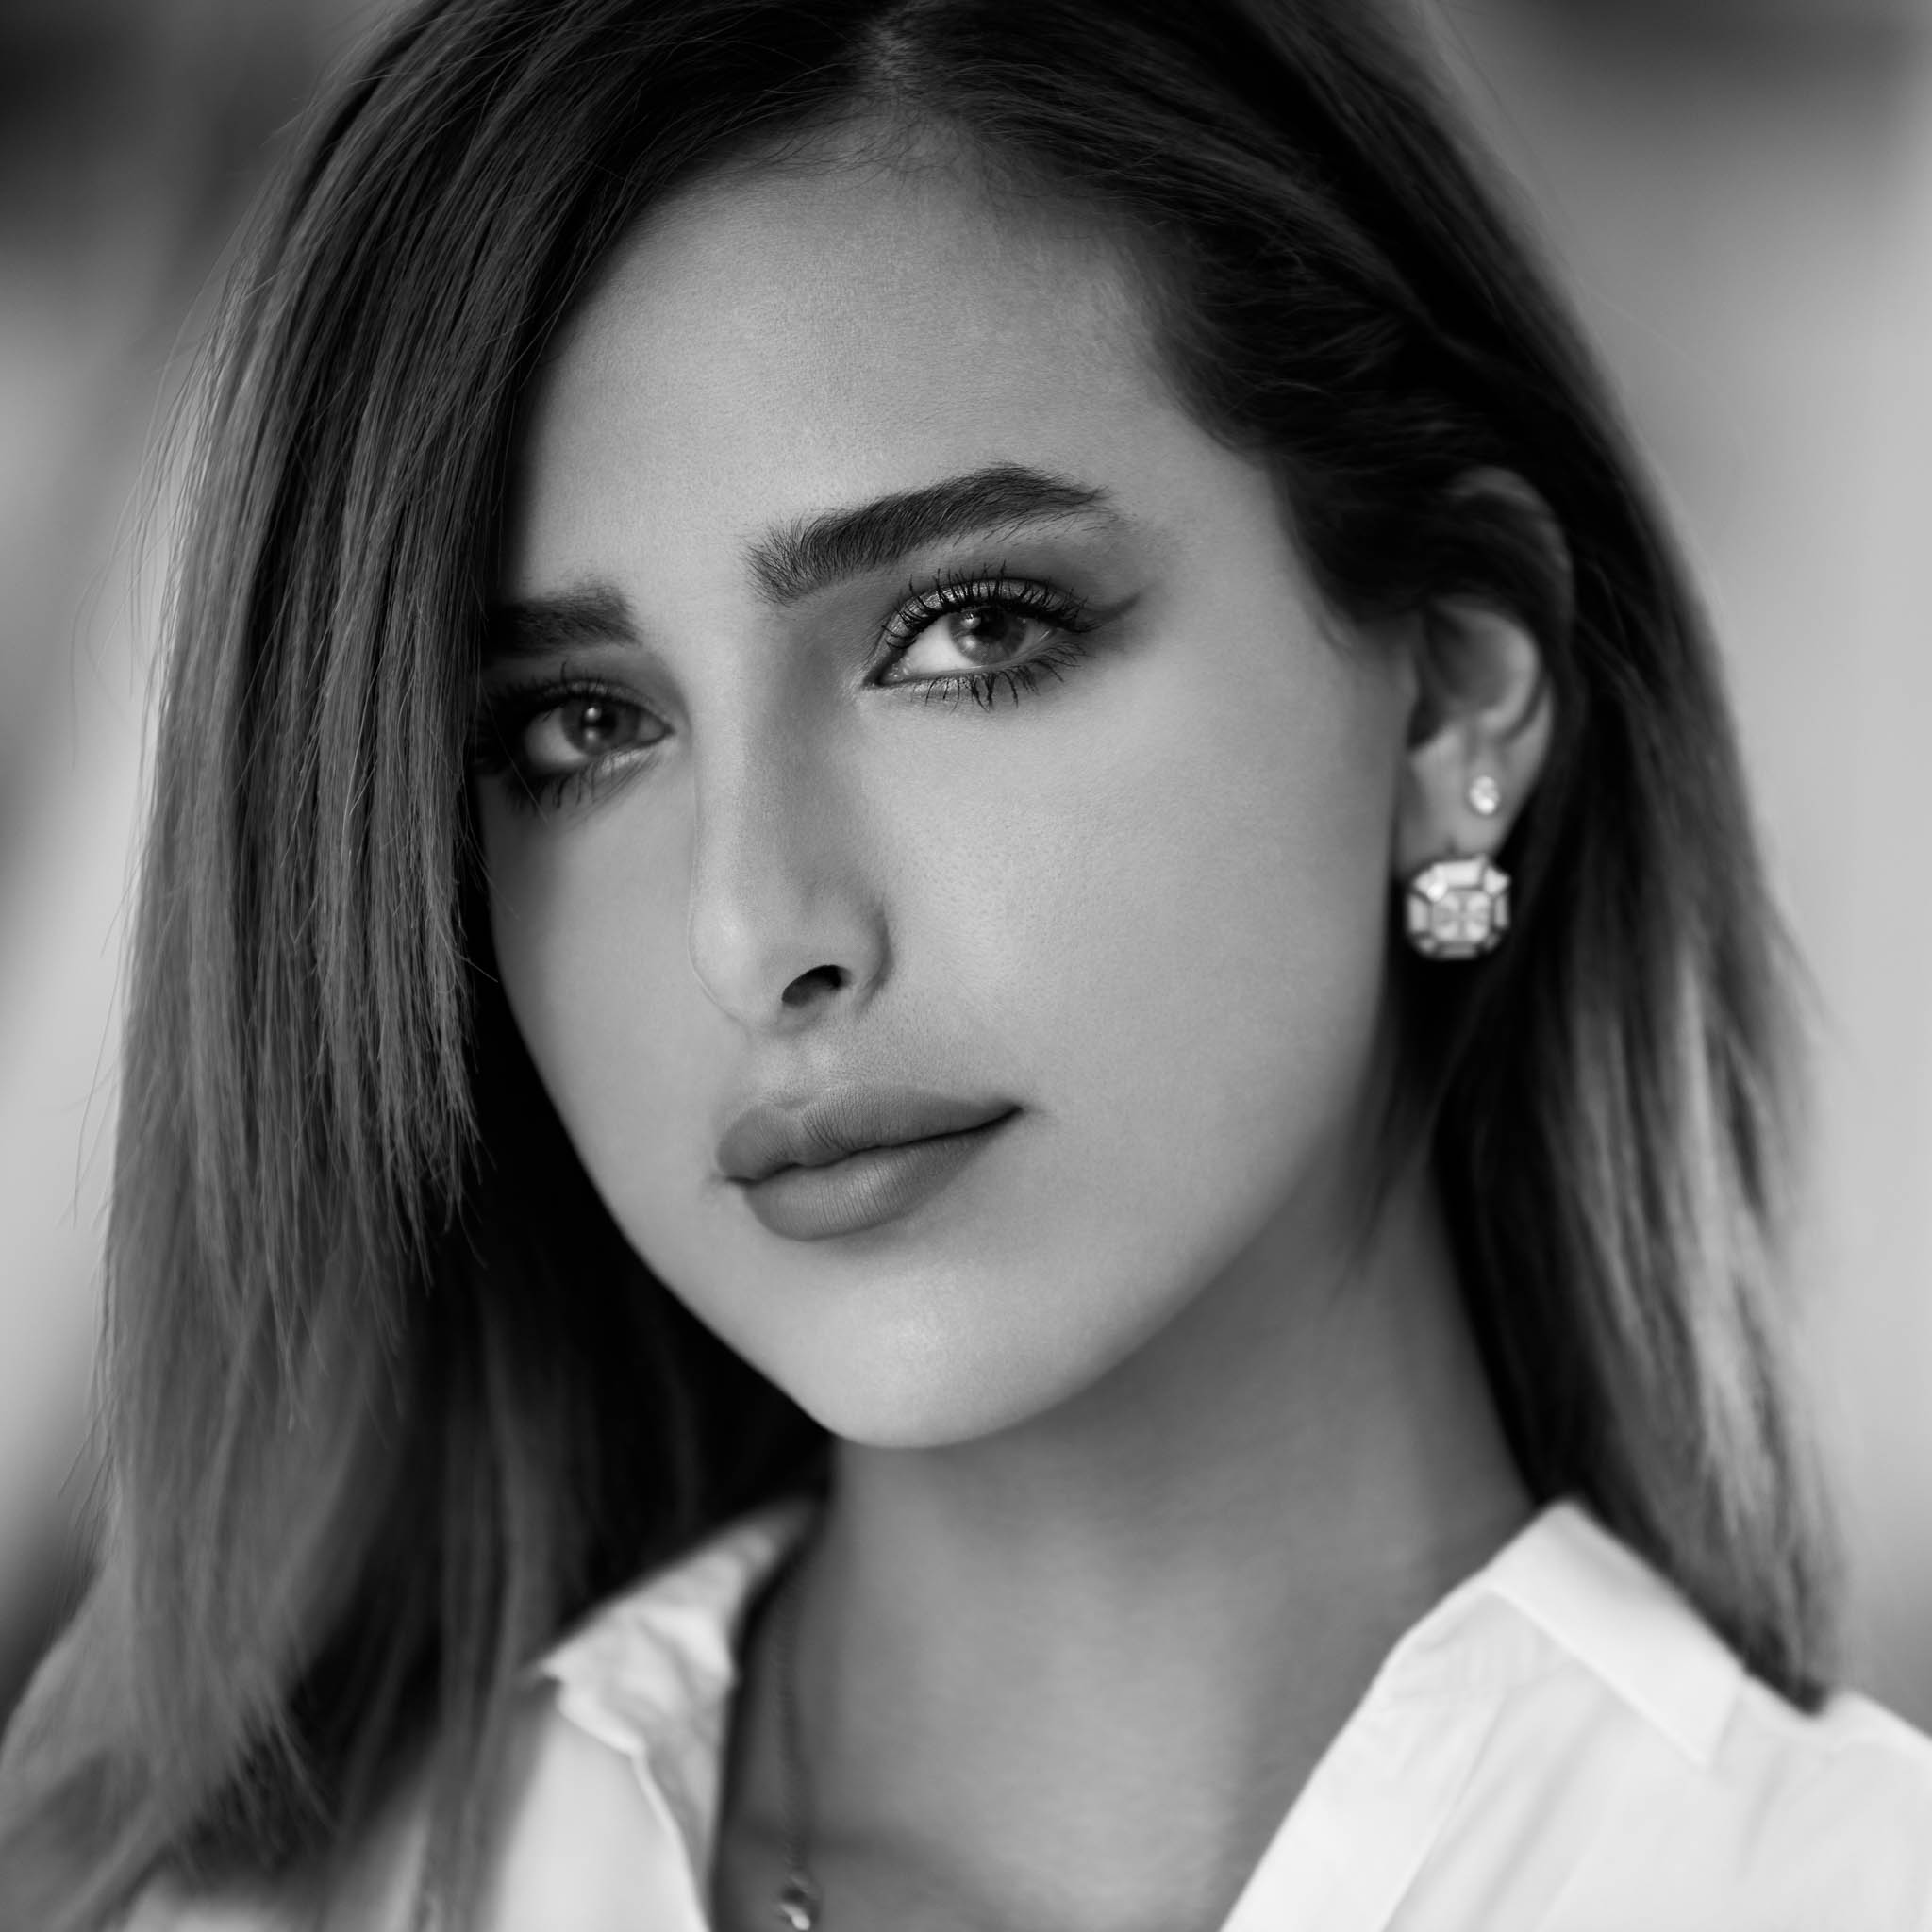
Life is all about experimentation, so I worked on high-end beauty retouching for two cinematic headshots of Shomokh.
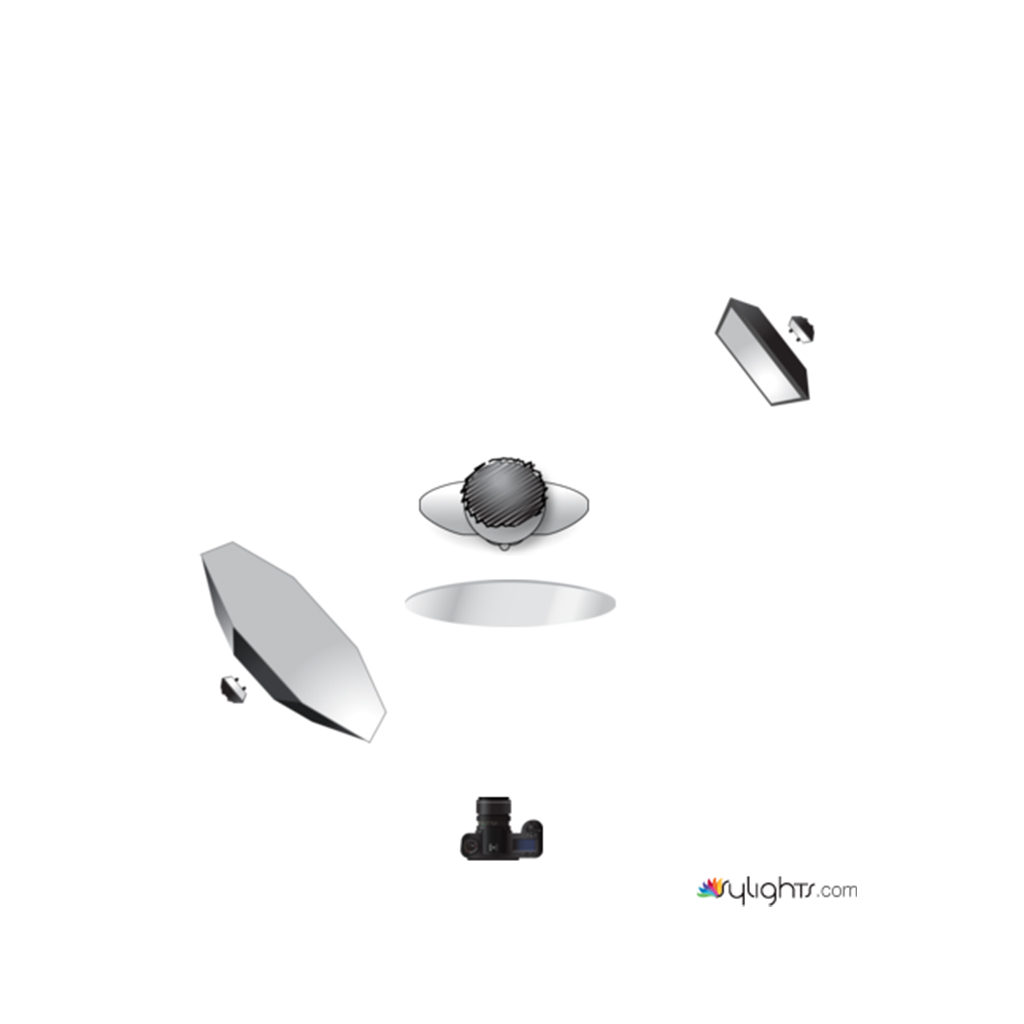
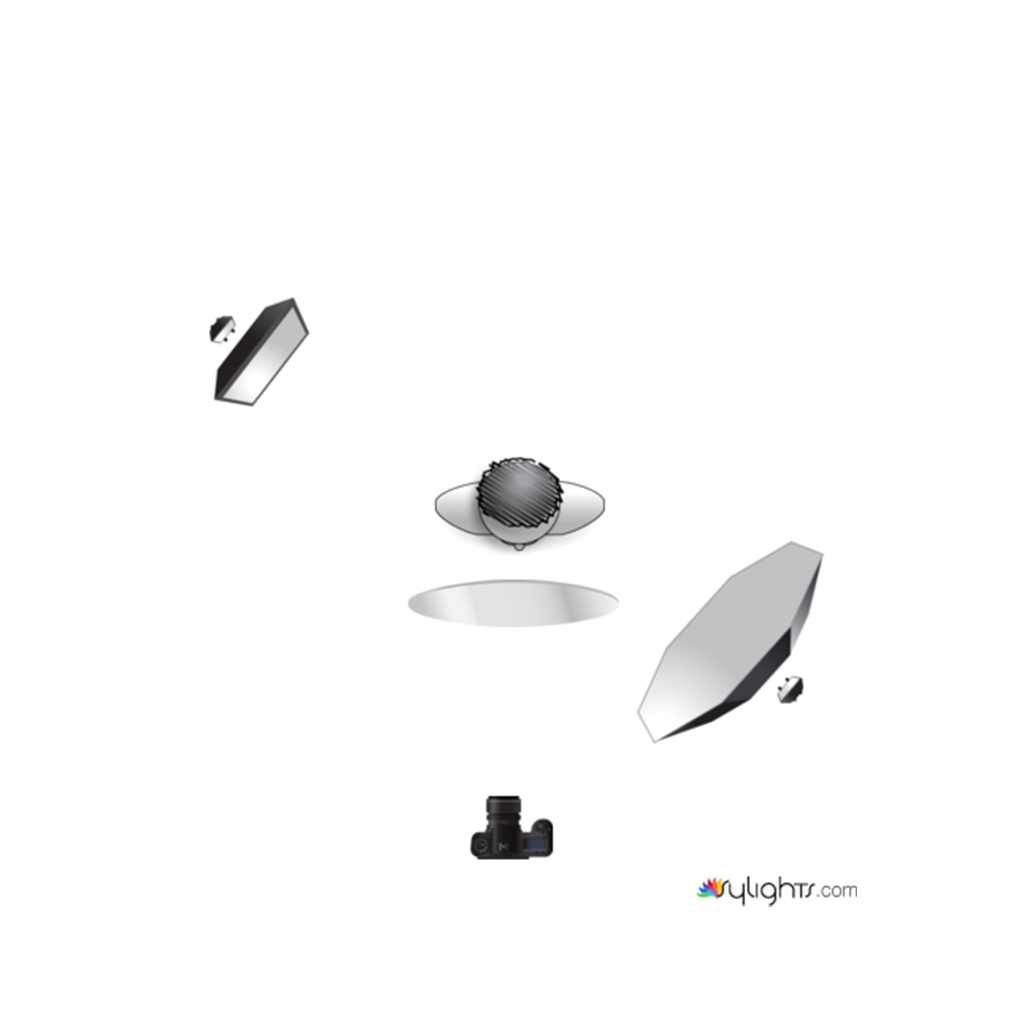
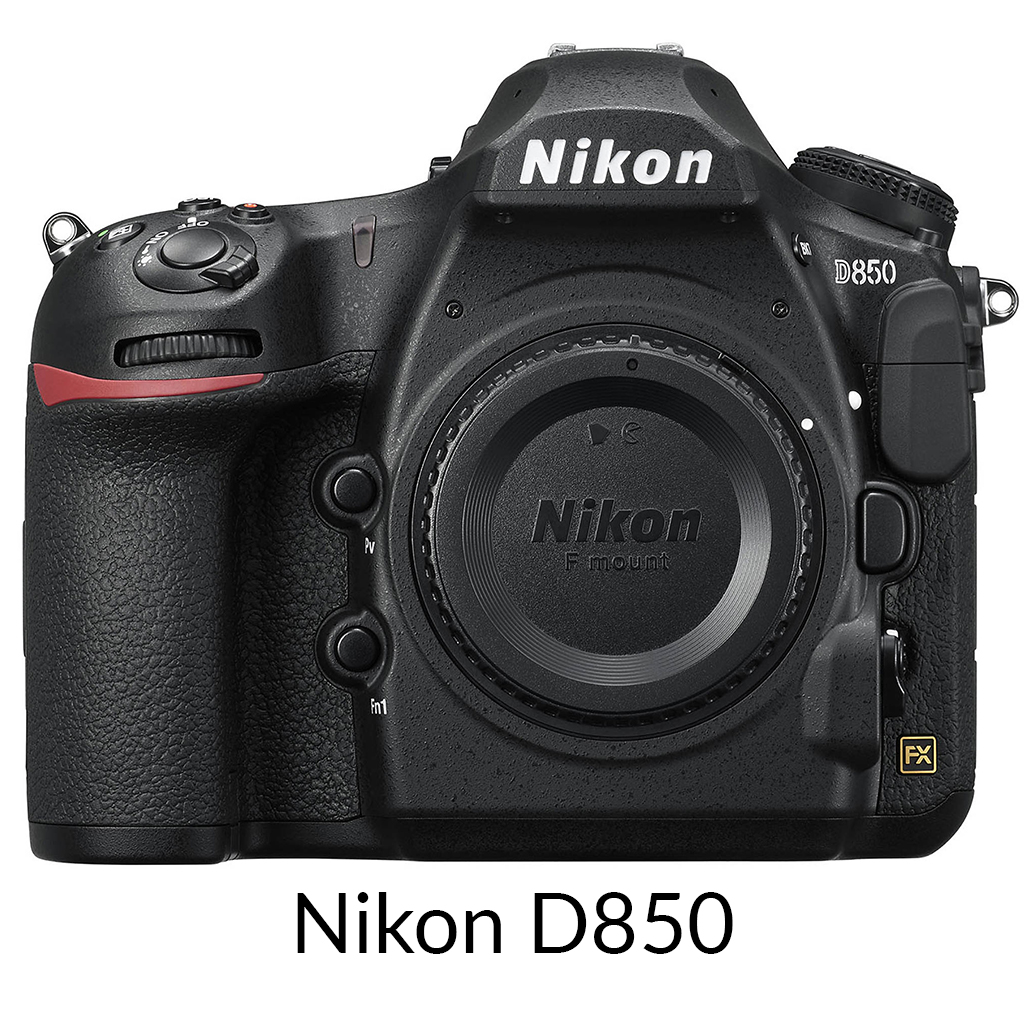
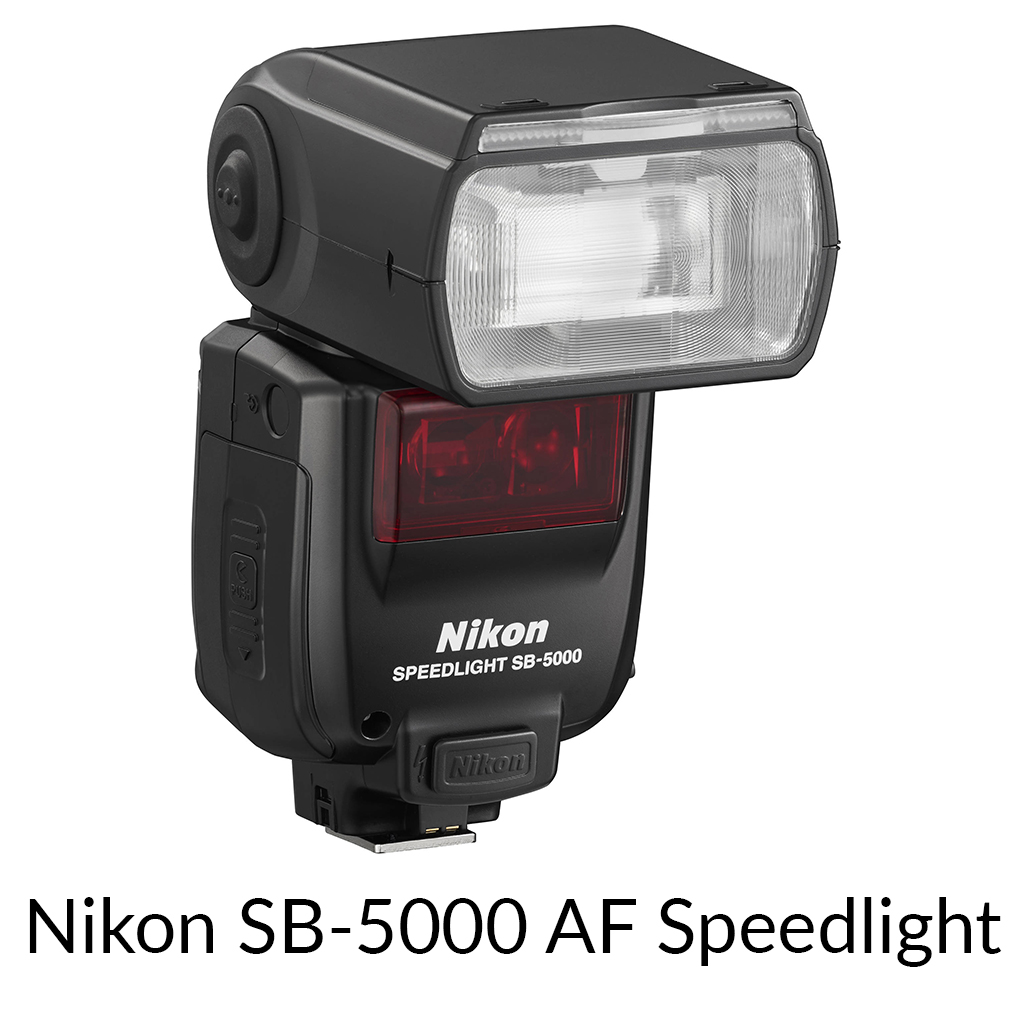
The Gear I Used


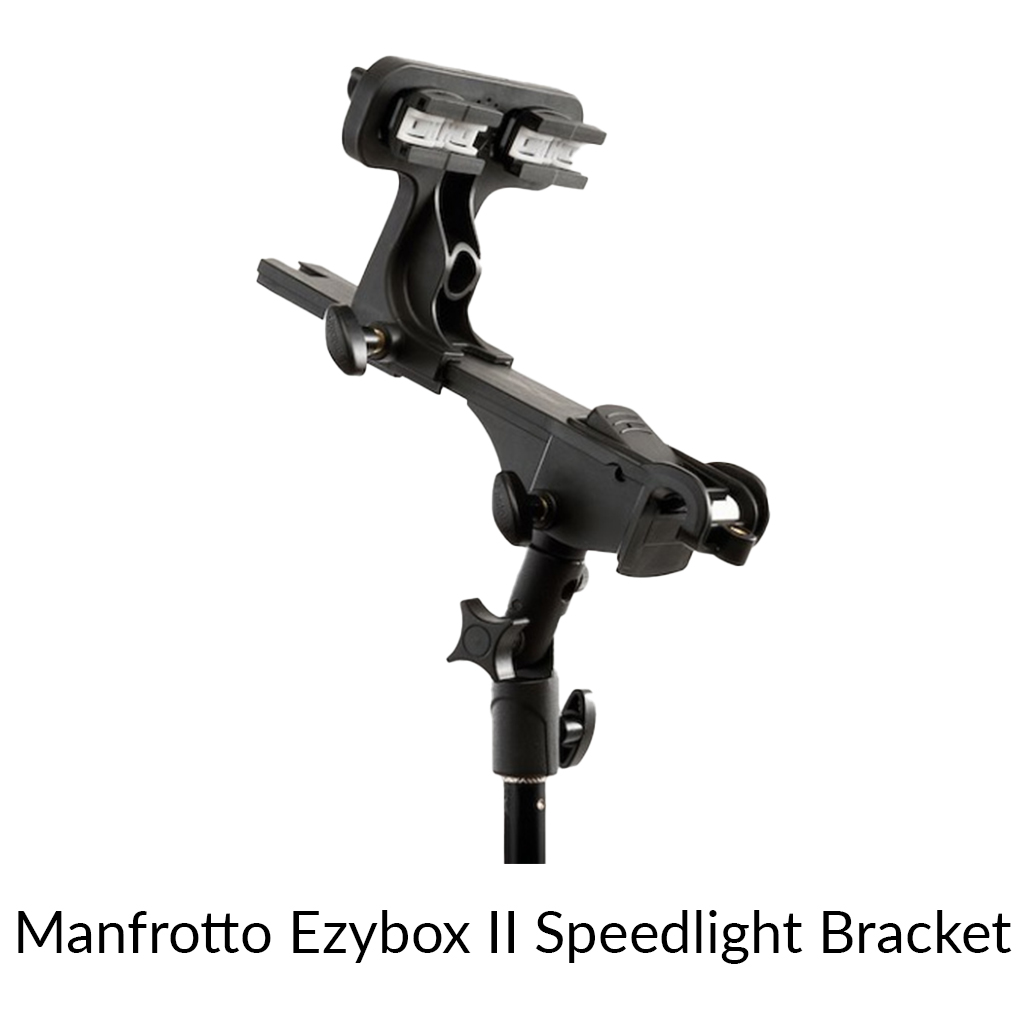


Here are the lighting setups for these images: