Nighttime Cinematic Headshots
My First Nighttime Cinematic Headshots
Written on the 30th of July, 2022
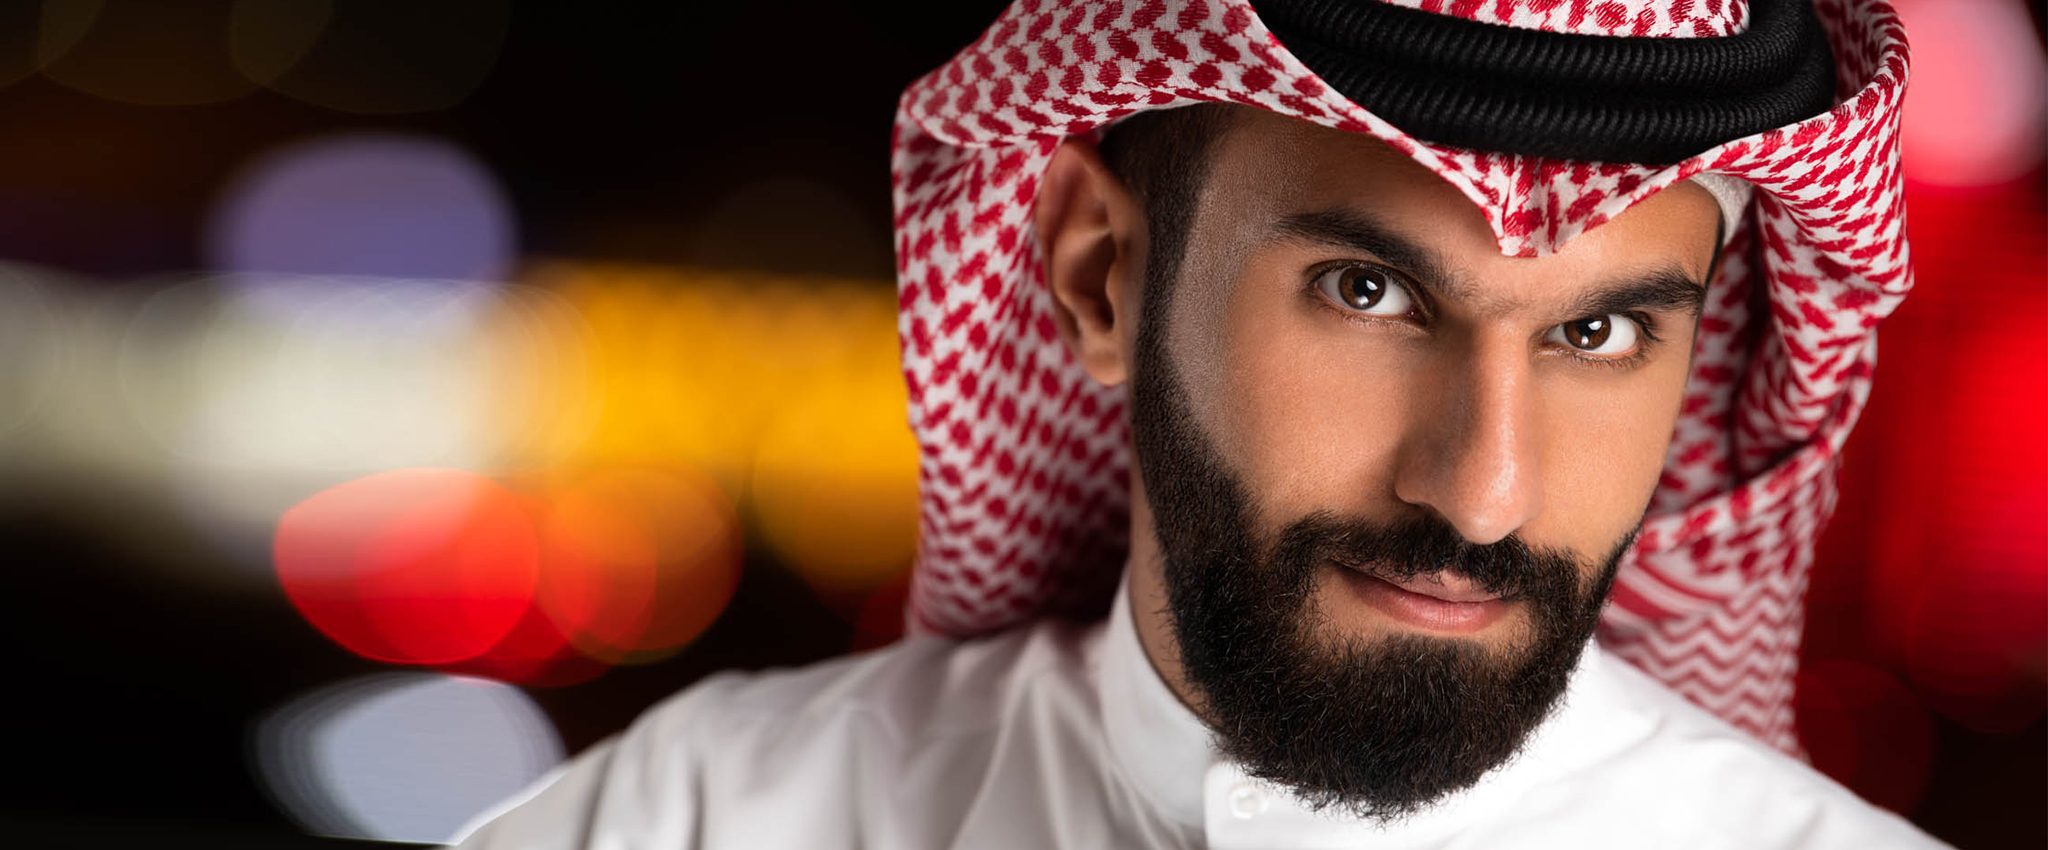
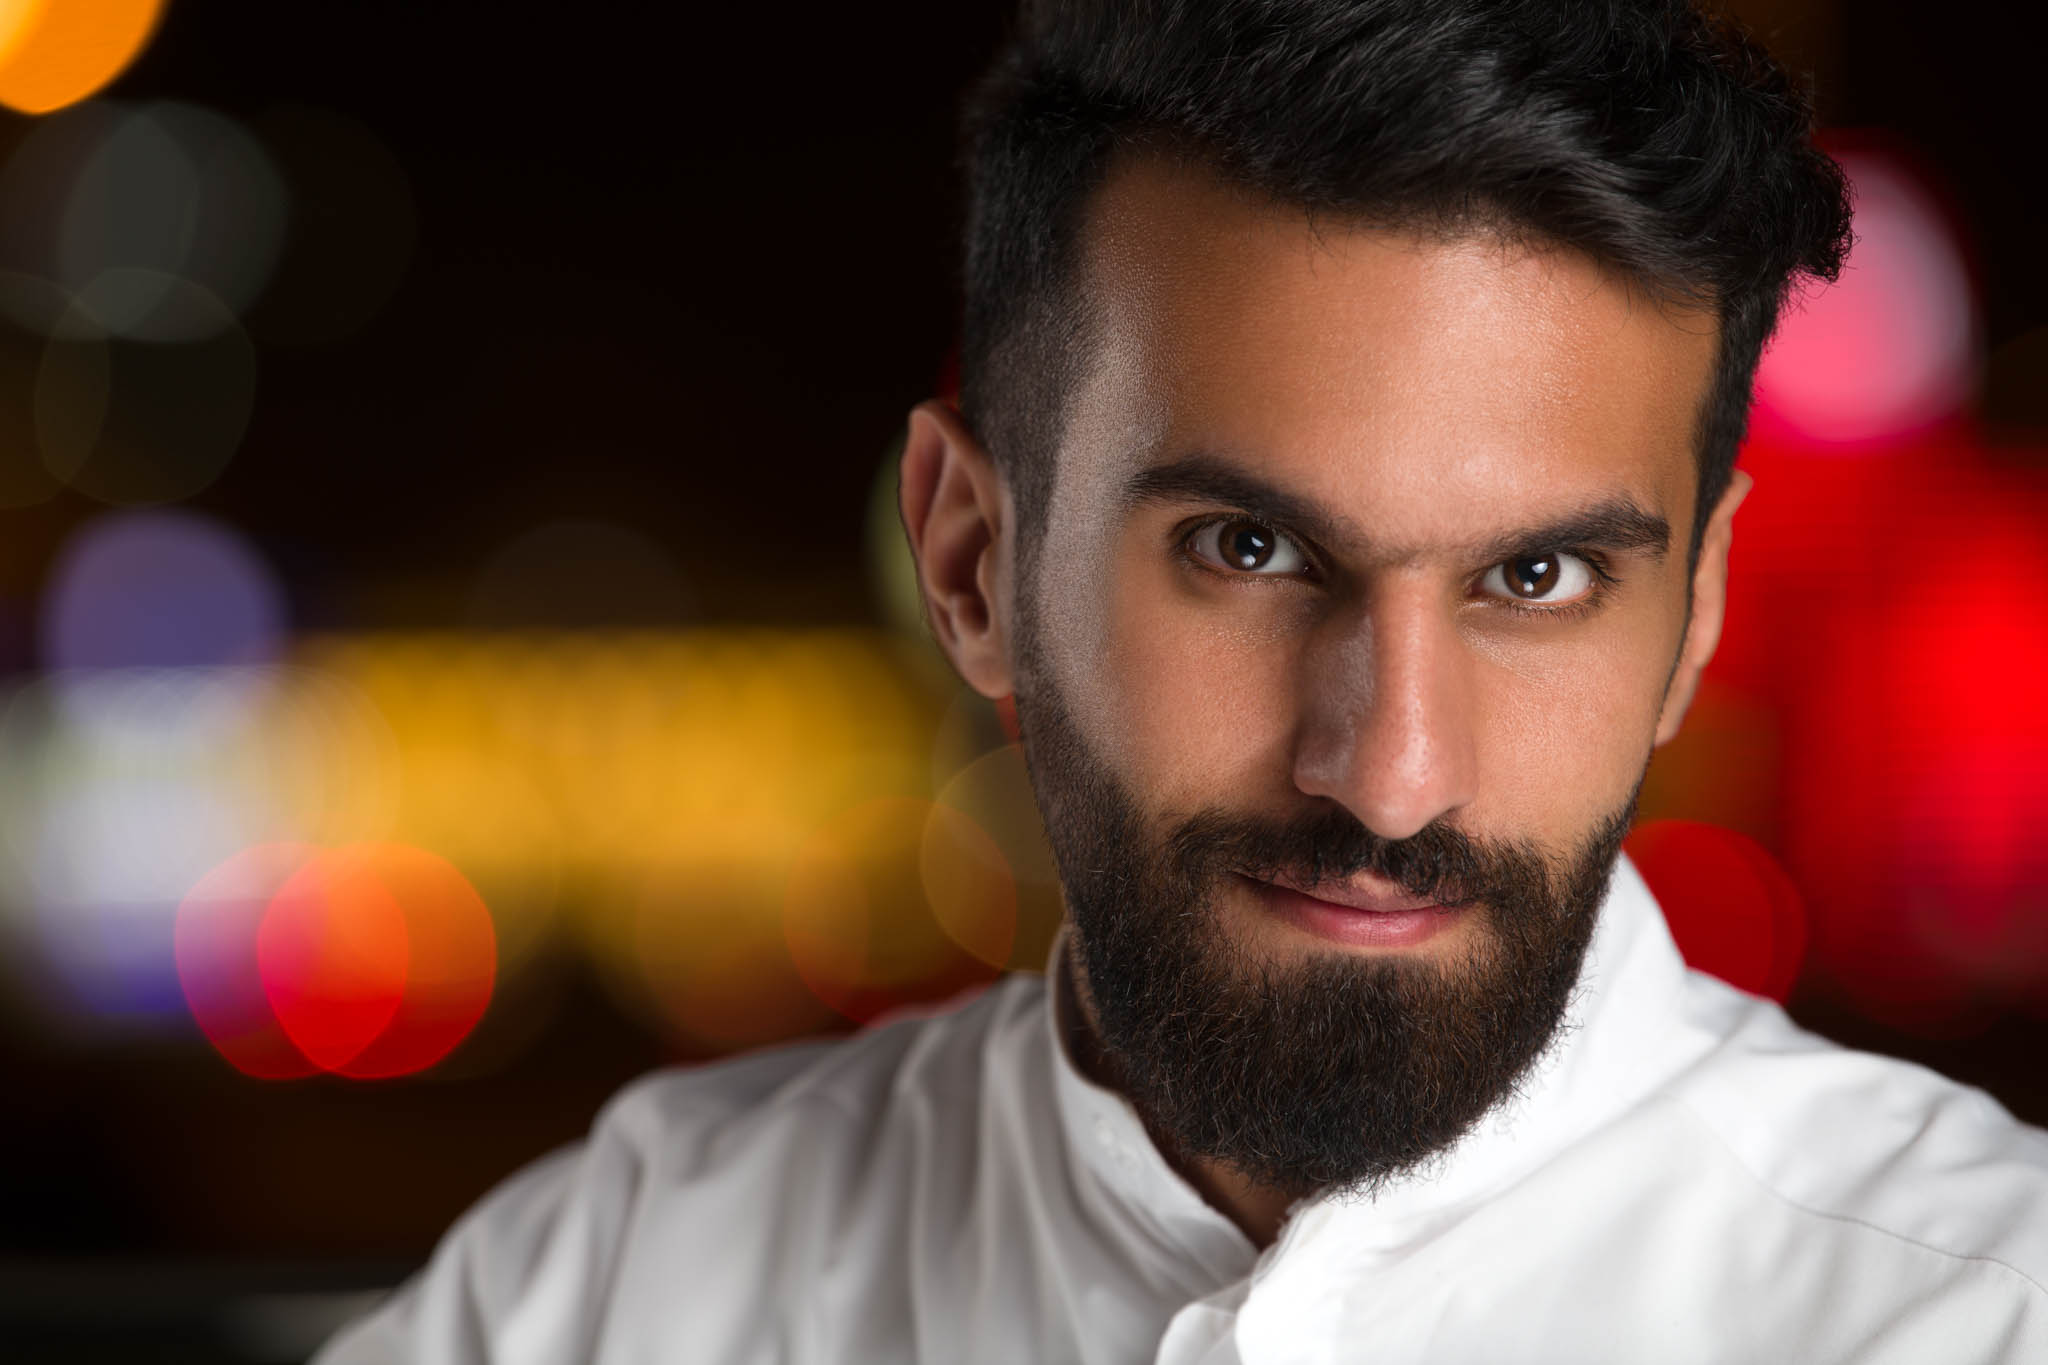
Once more, I'm back with a cinematic headshot. But this time, I got to shoot at night, so I asked my friend Khaled AlBader to be the model for this photoshoot.
Capturing nighttime cinematic headshots presents two main challenges, particularly when utilizing Speedlights. The first challenge is that the low ambient light at night causes your subject to stand out against a dark background. If that's the desired effect, feel free to proceed. However, cinematic headshots strive to produce a visually appealing blurry background. The second challenge is focusing because Speedlight lacks a modeling light to illuminate your subject in the dark, making autofocus difficult for the camera.
I was able to tackle the first challenge by blending flash with ambient lighting. Ambient light exposure can be adjusted by ISO, Aperture, and Shutter Speed. Conversely, Speedlight or strobe exposures can be adjusted by ISO, Aperture, and Flash Power. The shutter speed is the sole variable that allows the mixing of ambient light with Speedlights. A faster shutter speed results in less ambient light exposure, whereas a slower shutter speed results in more ambient light exposure. When I photographed at a shutter speed of 1/250th of a second, with a wide aperture and an ISO of 100, there wasn't enough ambient light in the image, making the background completely black. However, when I used a slower shutter speed of 1/15th of a second, I was able to capture those stunning colors in the background.
You might wonder if using a shutter speed of 1/15th of a second is too slow, particularly when shooting with a 200mm lens without a tripod, and the image is perfectly sharp. The answer is yes; it does seem slow. Nevertheless, I'll aim to clarify my explanation as simply as possible. When I'm only exposing for ambient light only and using a shutter speed of 1/15th of a second, the resulting image will appear blurry unless a tripod is utilized. However, it's essential to remember that Speedlight can freeze motion. This means that anything illuminated by my Speedlights will be sharply captured. The image may appear blurry if ambient light is exposing both my subject and the background. However, my model was lit solely by the Speedlight, ensuring that my model remained perfectly sharp. Additionally, you can observe that the background has some motion blur due to the slow shutter speed, but in this context, it enhances the vibrancy of the colors and the nighttime atmosphere.
The second challenge can be approached in several ways. You can either focus manually or use a modeling light directed at your subject to achieve focus. Since speedlights do not come with a modeling light, I had an assistant use his mobile flashlight on the model. Once I had focused the camera, I would ask my assistant to remove the flashlight from the model and then press the shutter release button.


The Gear I Used