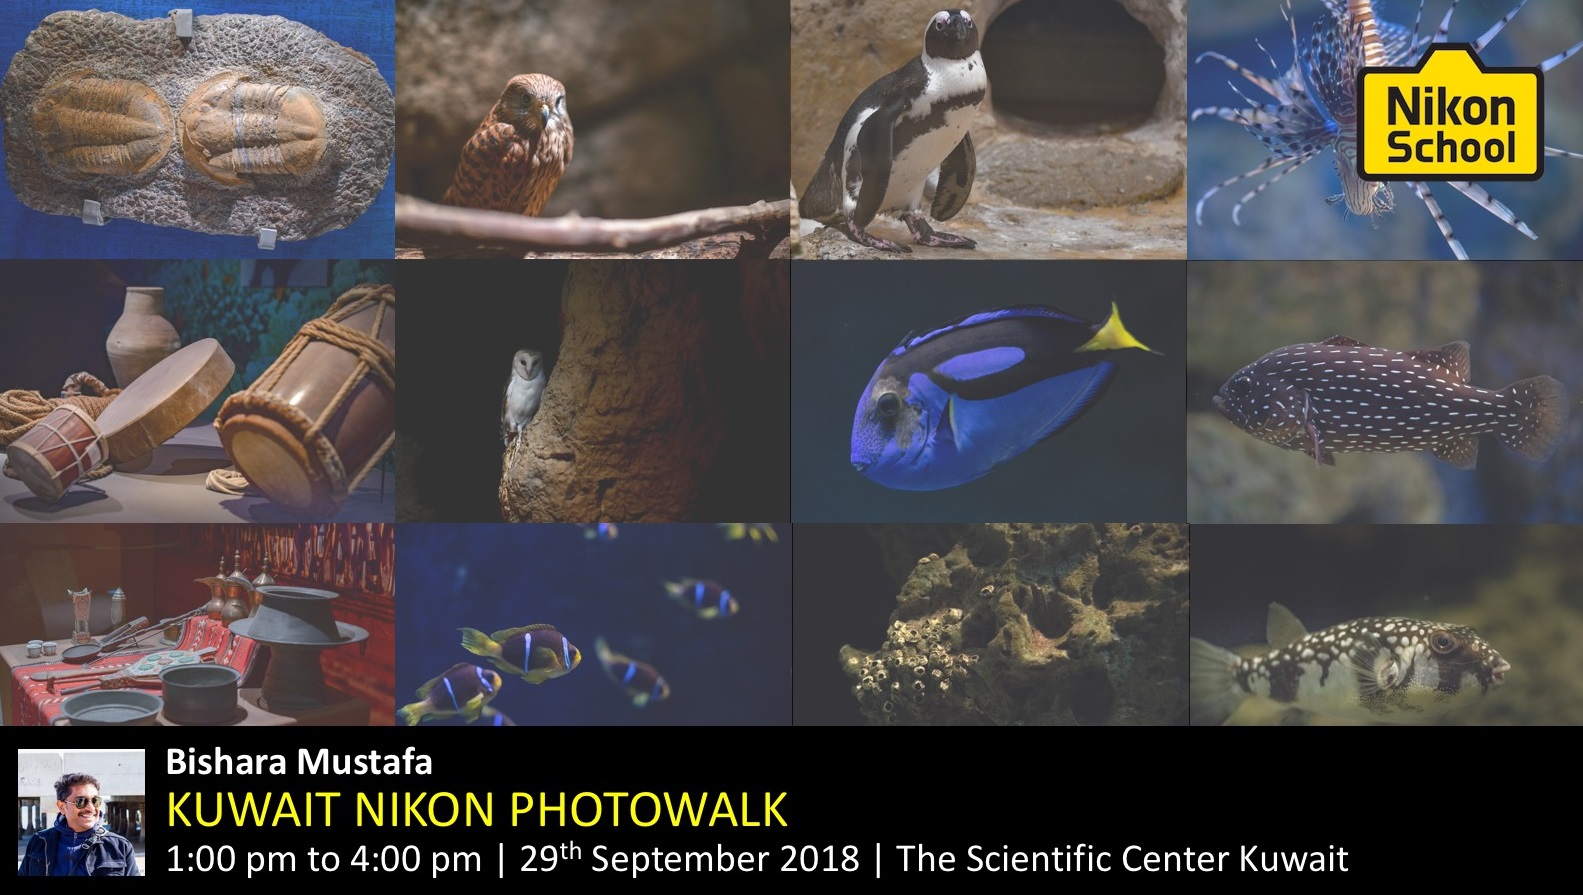
An event hosted by Nikon School and instructed by Bishara Mustafa on September 29th, 2018
Written on the 26th of March, 2022
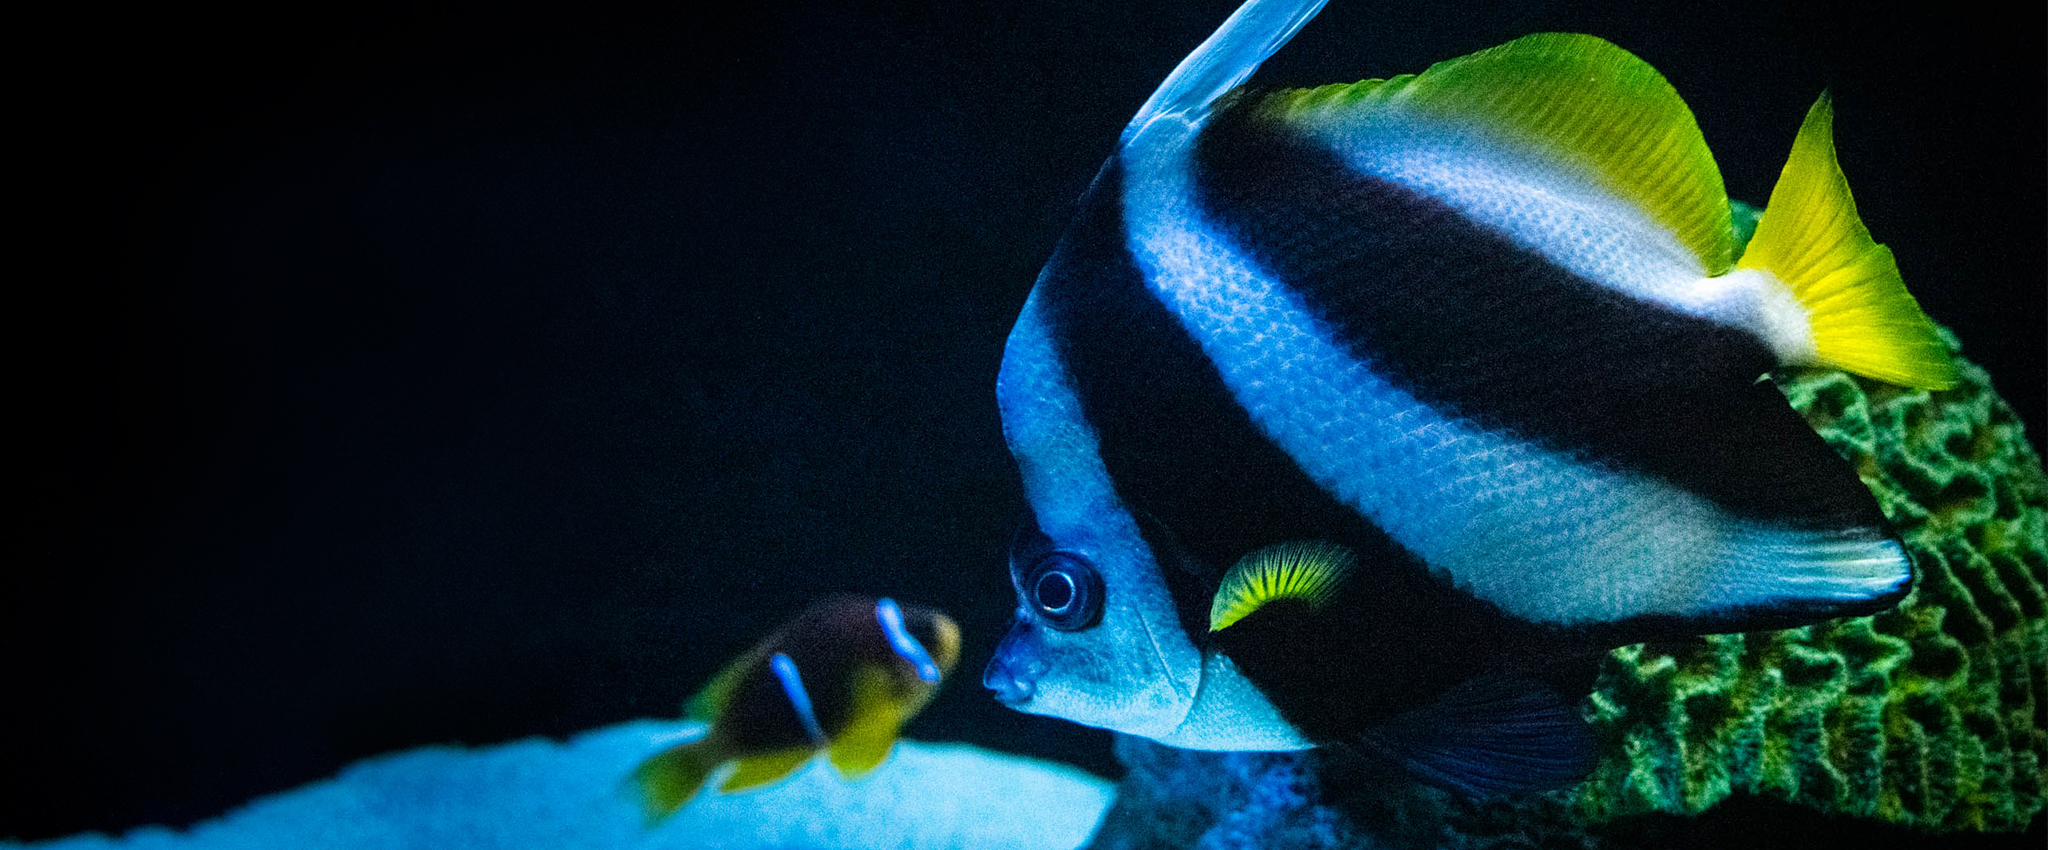
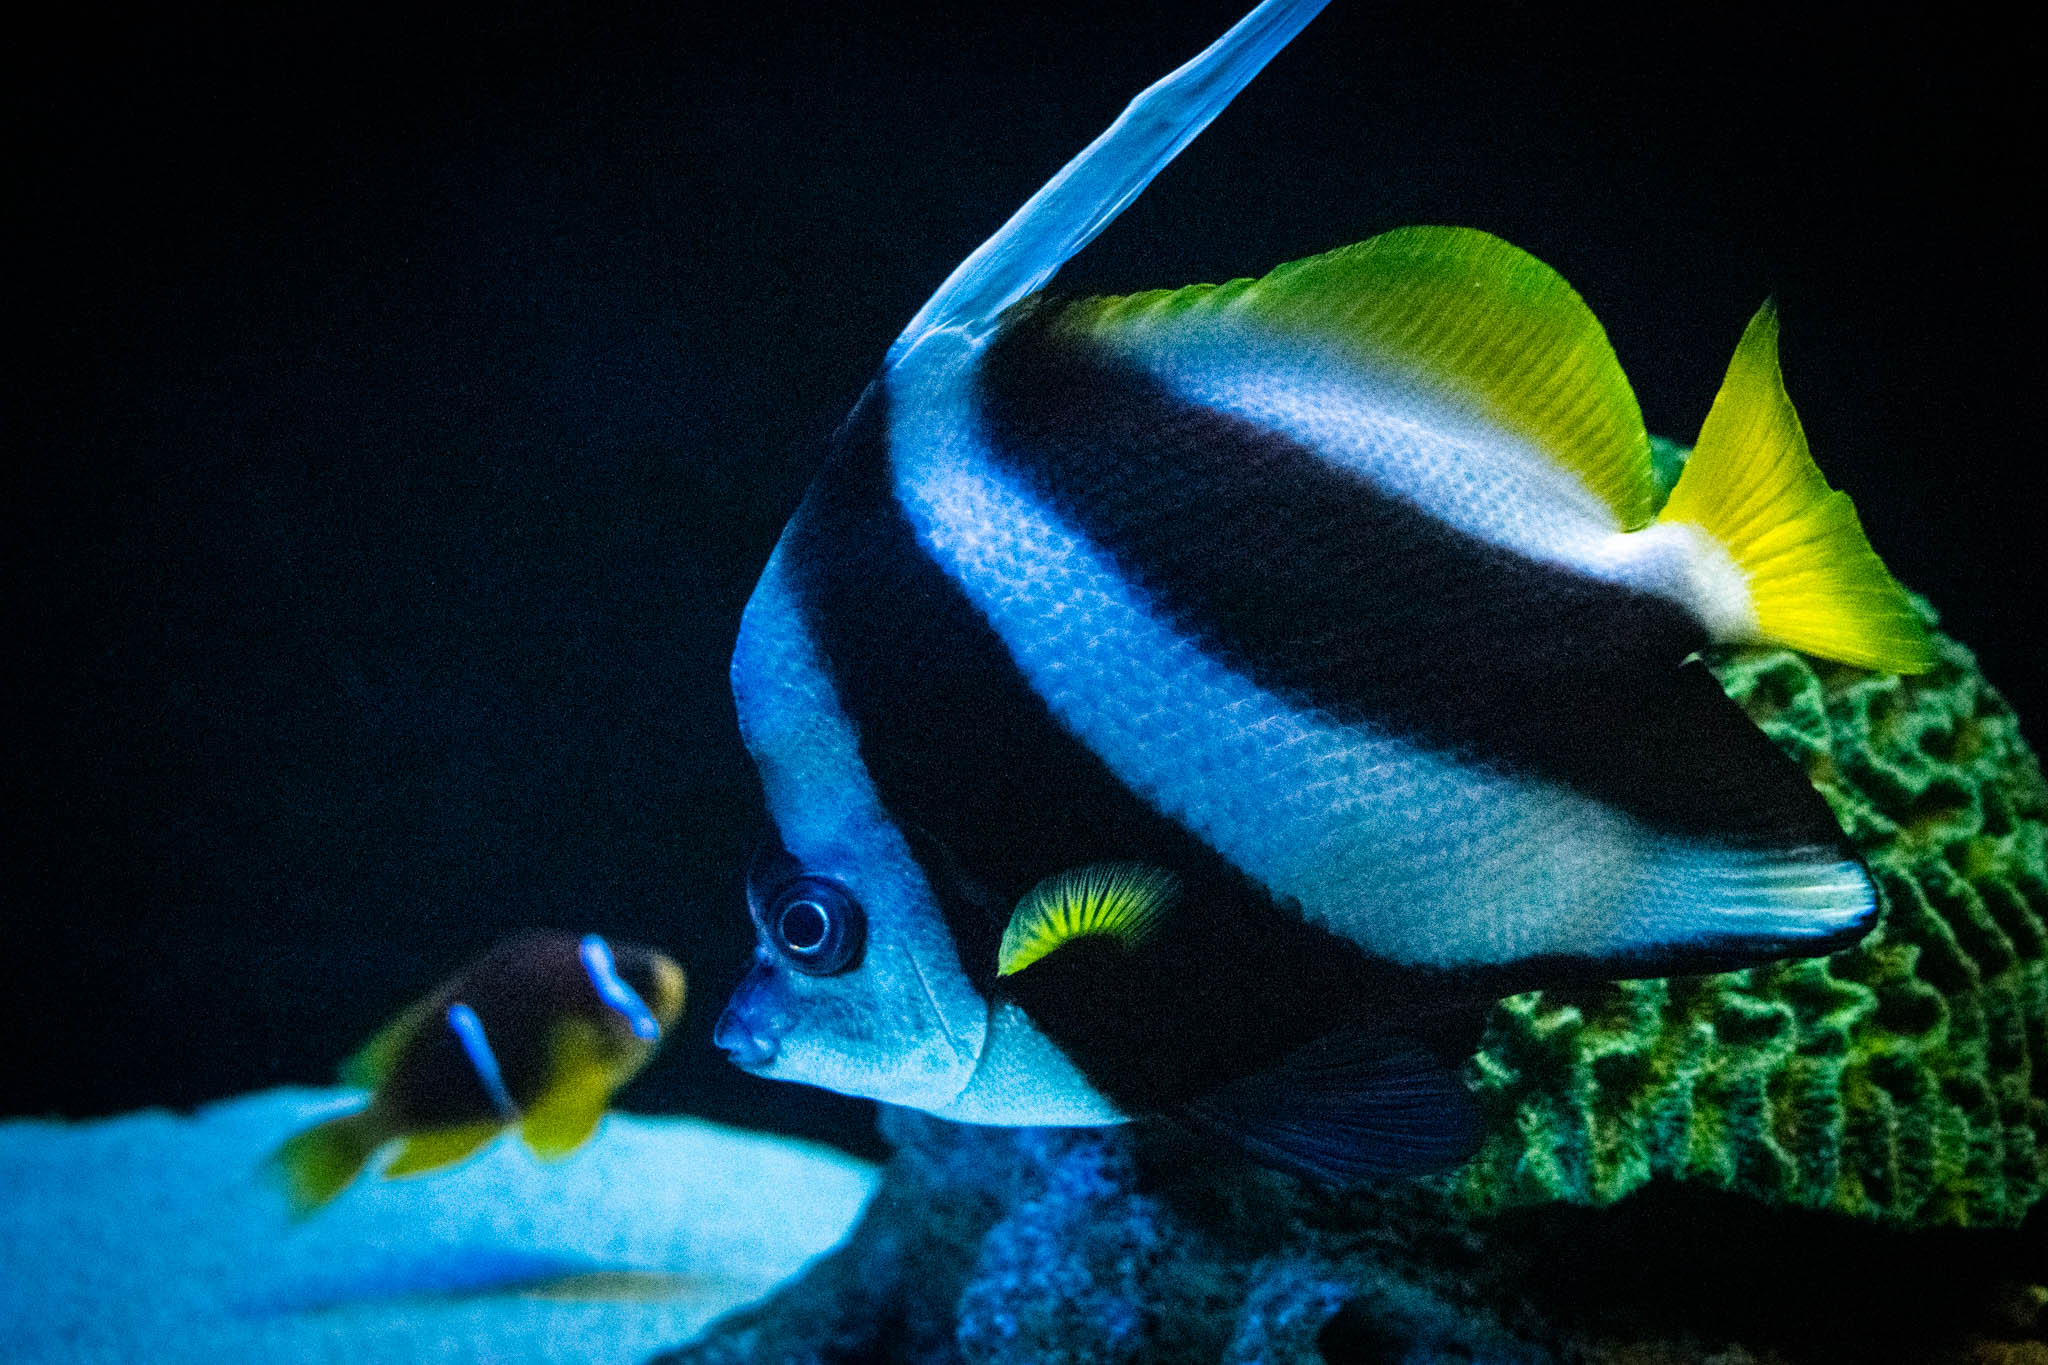
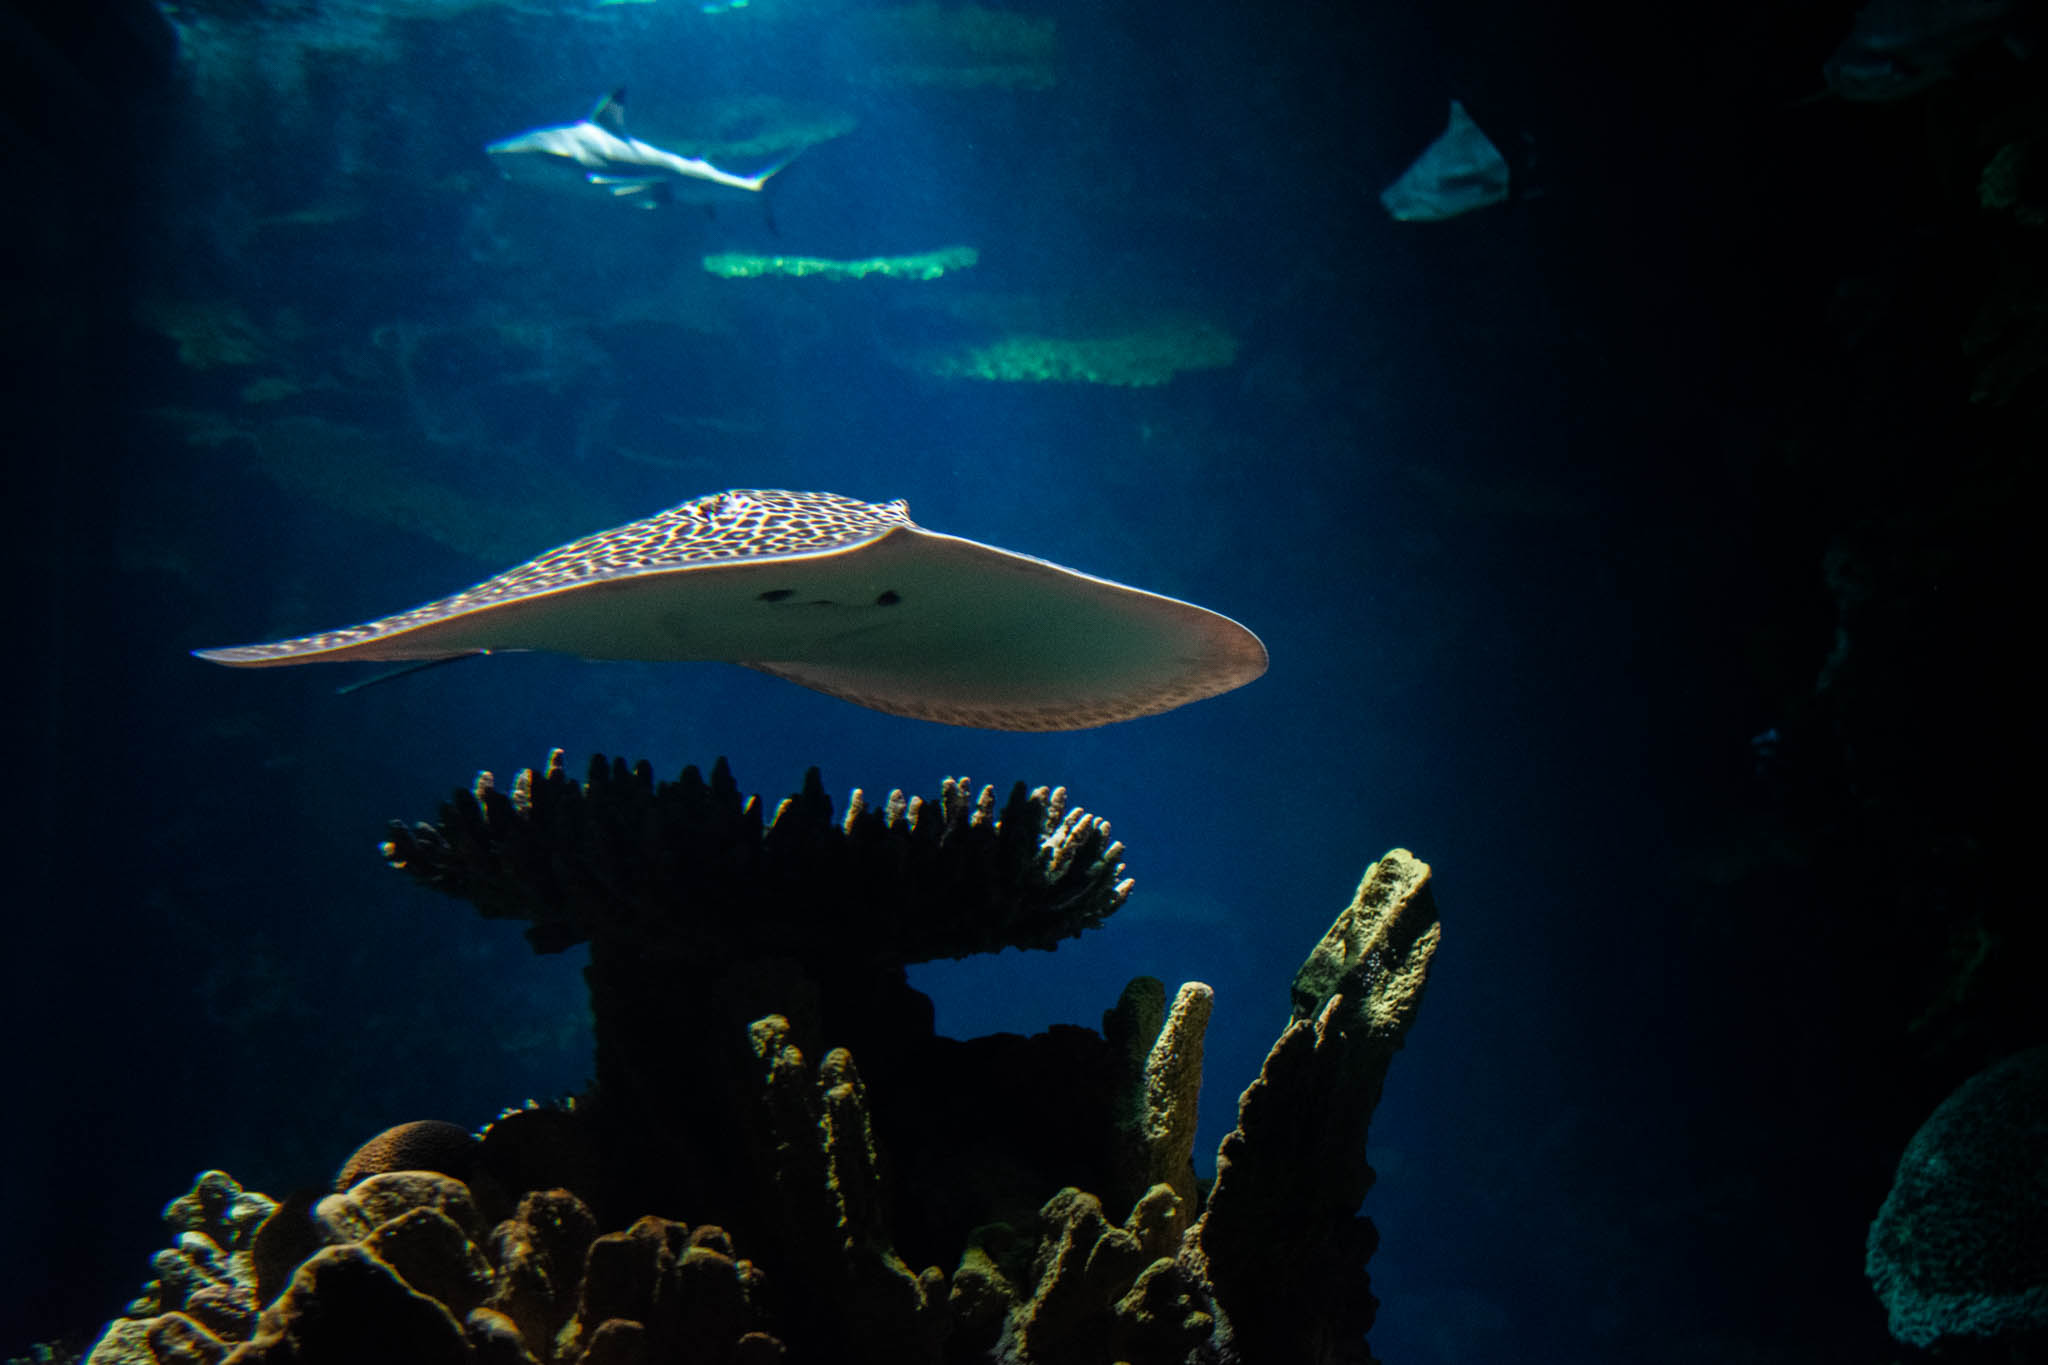
On September 29th, 2018, Nikon School organized an exciting photowalk at The Scientific Center - Aquarium in Kuwait, an event designed to enhance the photography skills of its participants. The day was led by the talented photographer Bishara Mustafa, who shared his expertise and passion for capturing the beauty of marine life.
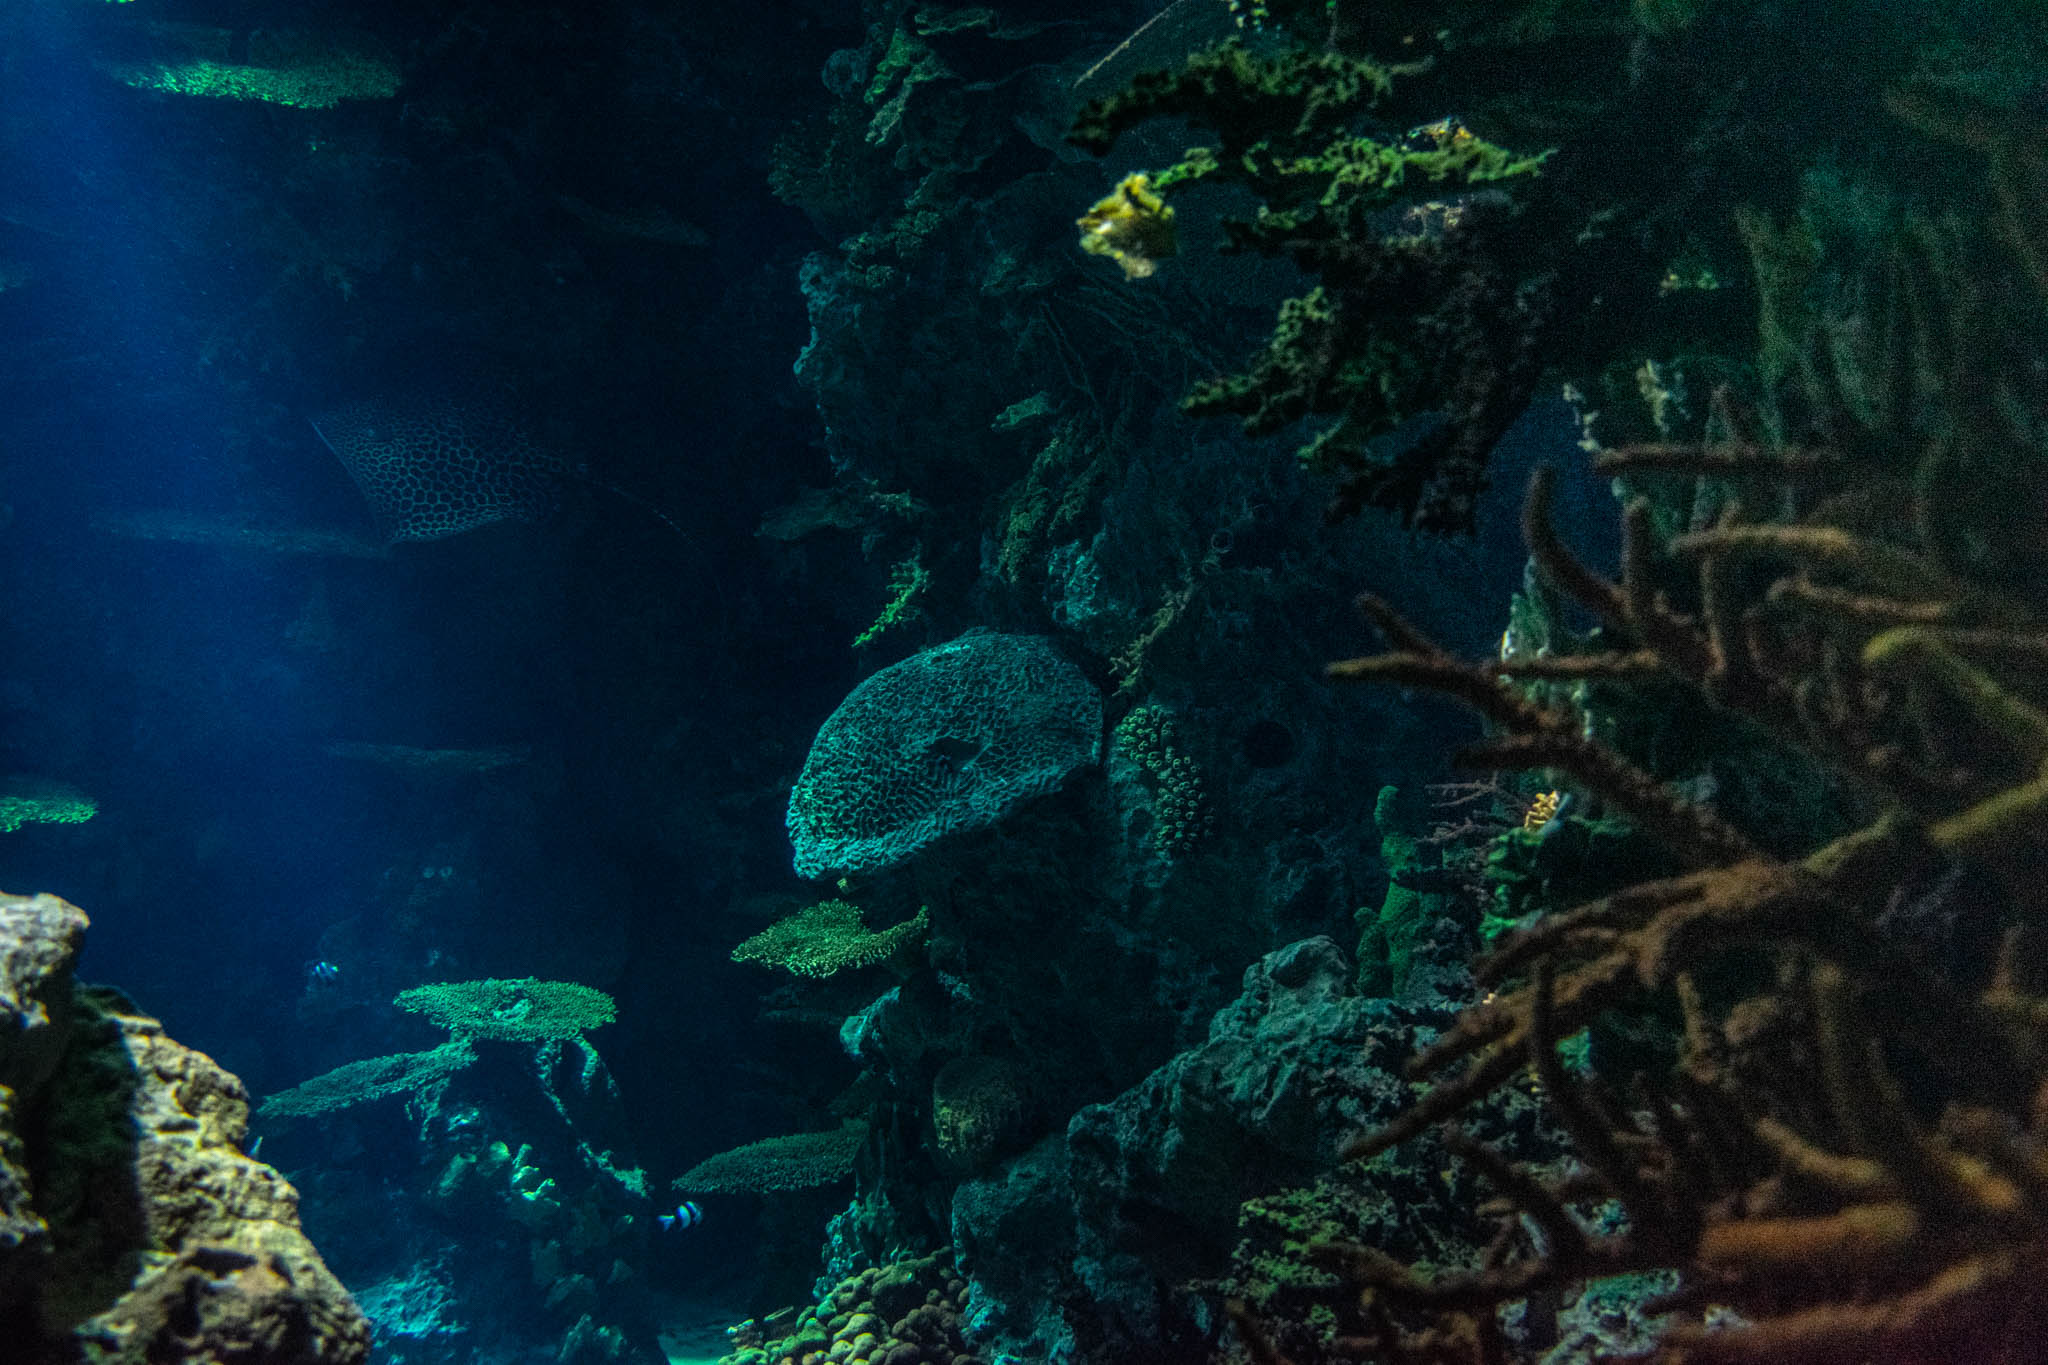
It was a wonderful day filled with learning, friendship, and creativity. While marine life photography typically requires specialized cameras or expensive housing, which may not be feasible for everyone, aquariums provide an excellent alternative for capturing images of marine life without the need for costly equipment.
Reflections
Aquarium lights are ubiquitous and can help you navigate your surroundings. While these lights are helpful, they can pose a significant challenge for photographers due to external reflections on the tank glass caused by your clothing, camera gear, and even other visitors. To minimize these reflections, consider the following strategies.
First, wear black clothing that does not reflect light when visiting aquariums. Avoid clothes with buttons, as they can also create unwanted reflections.
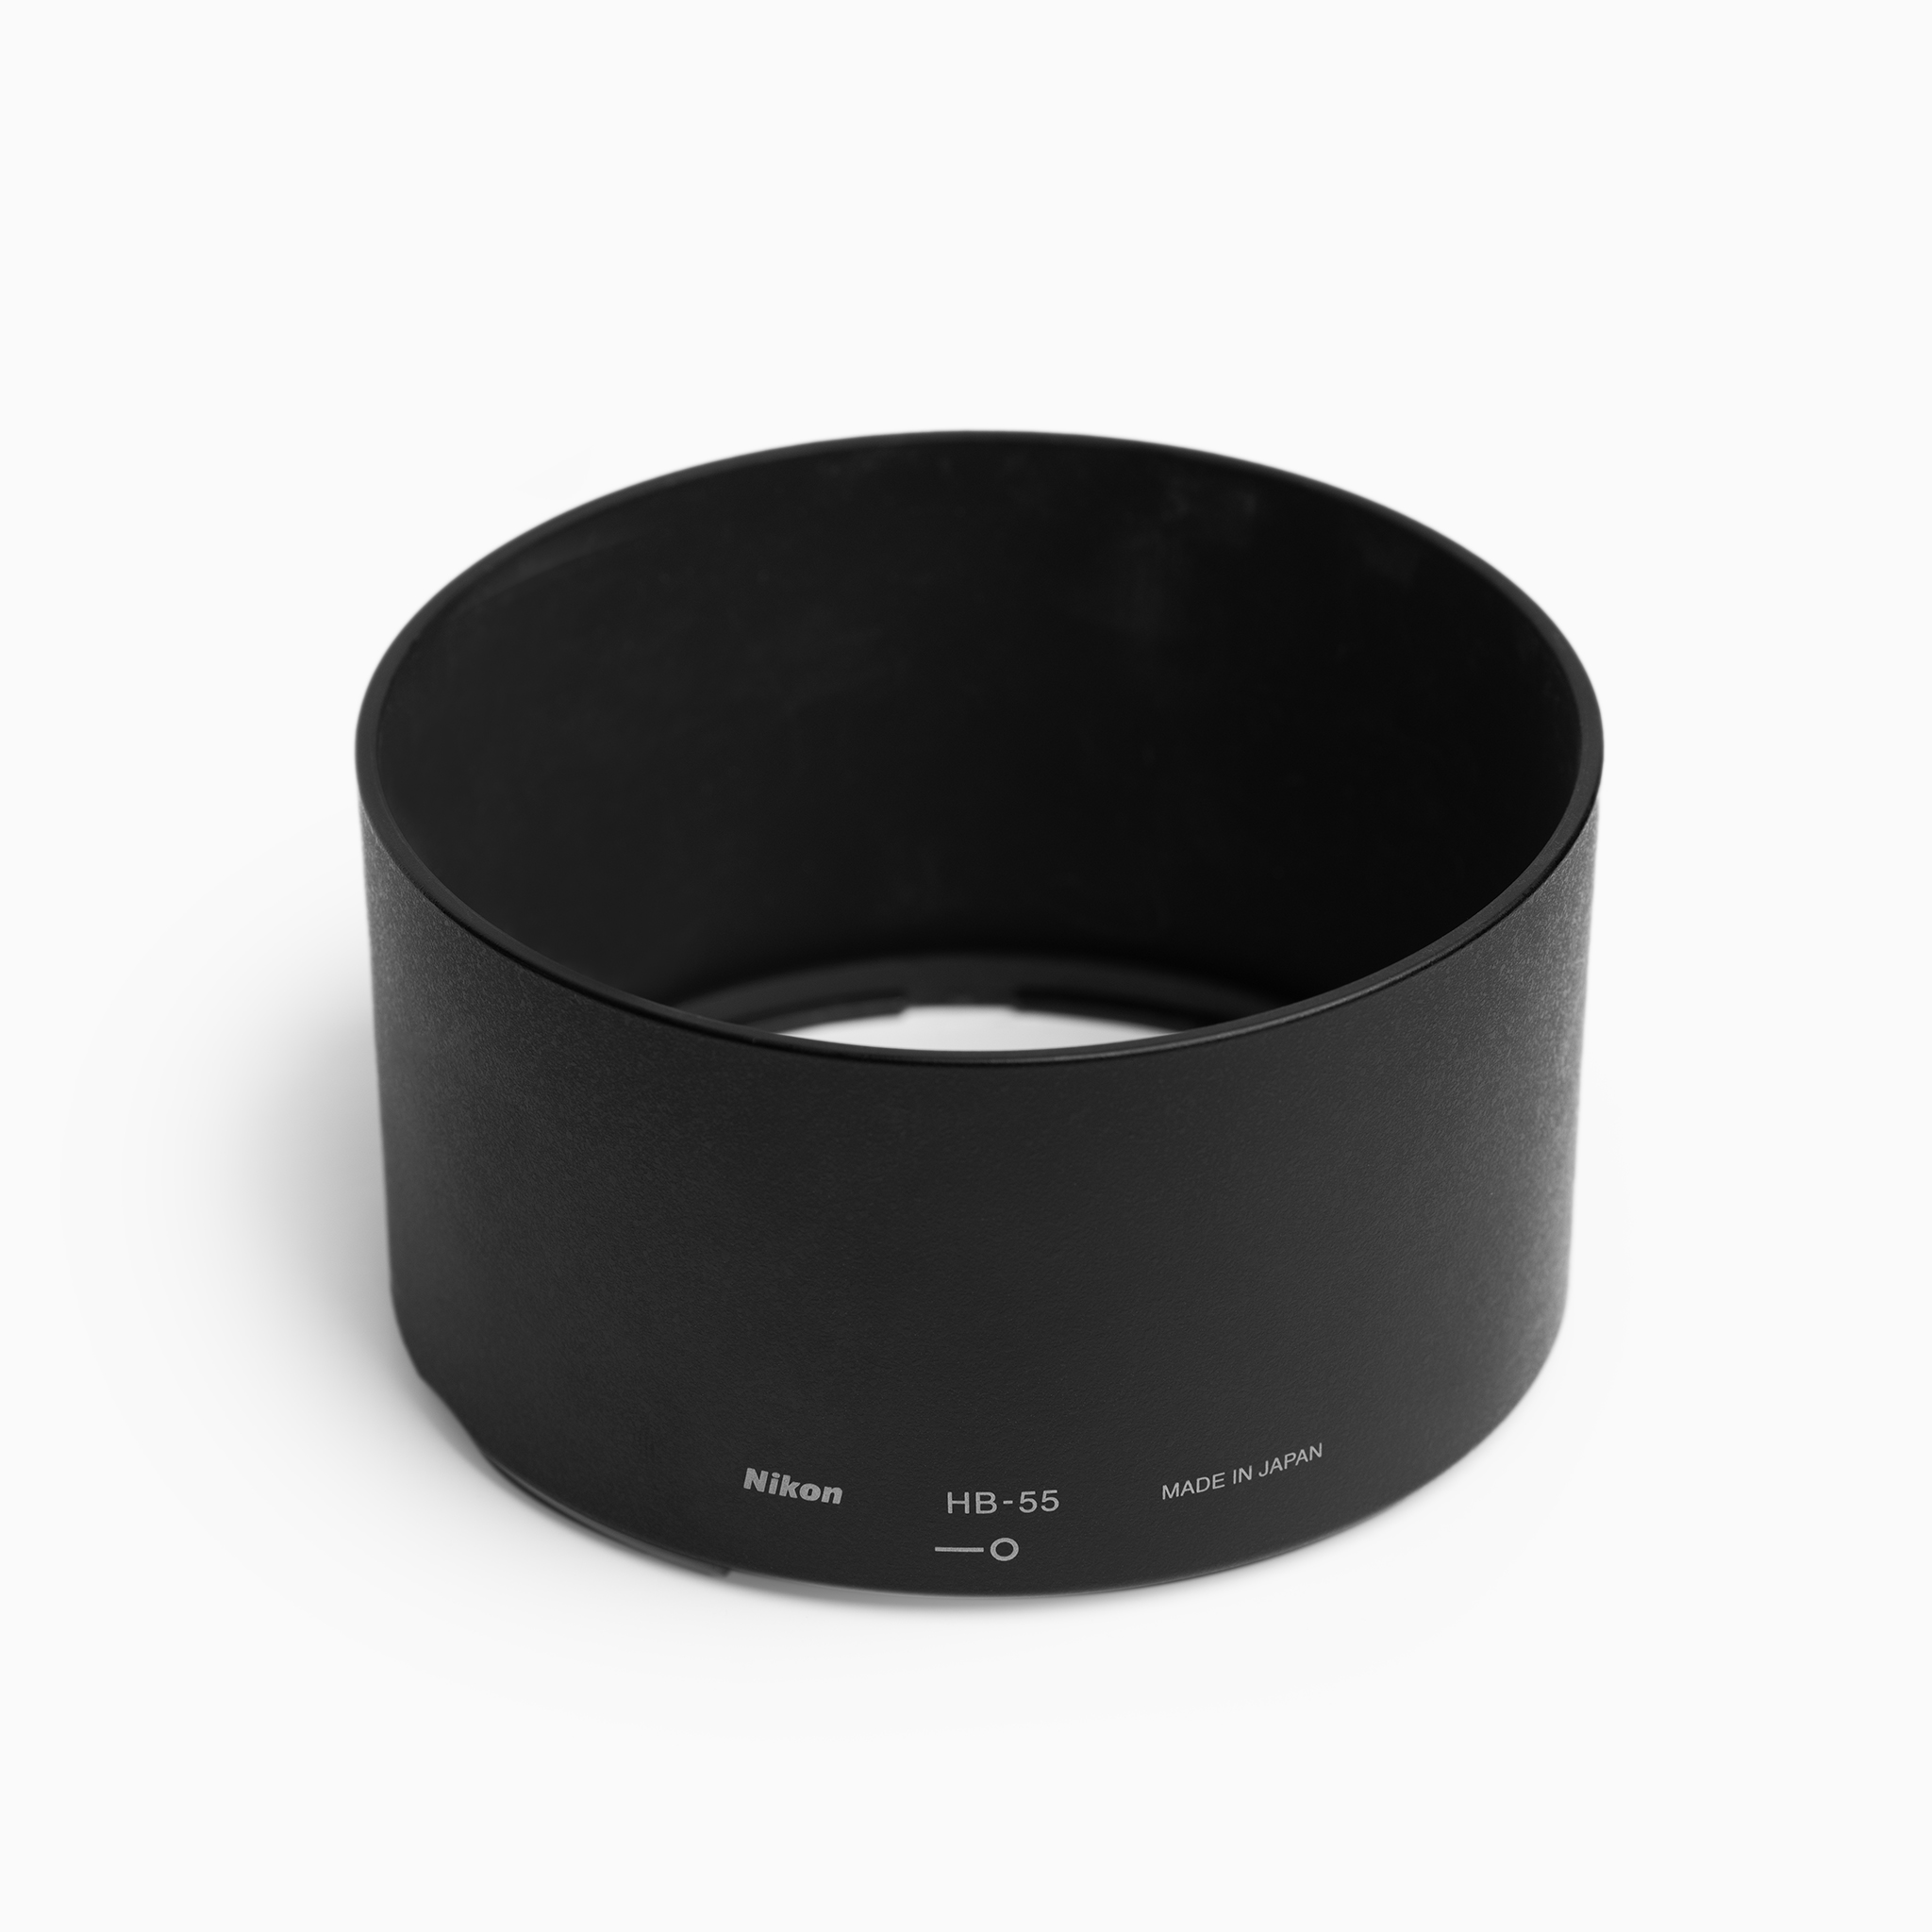
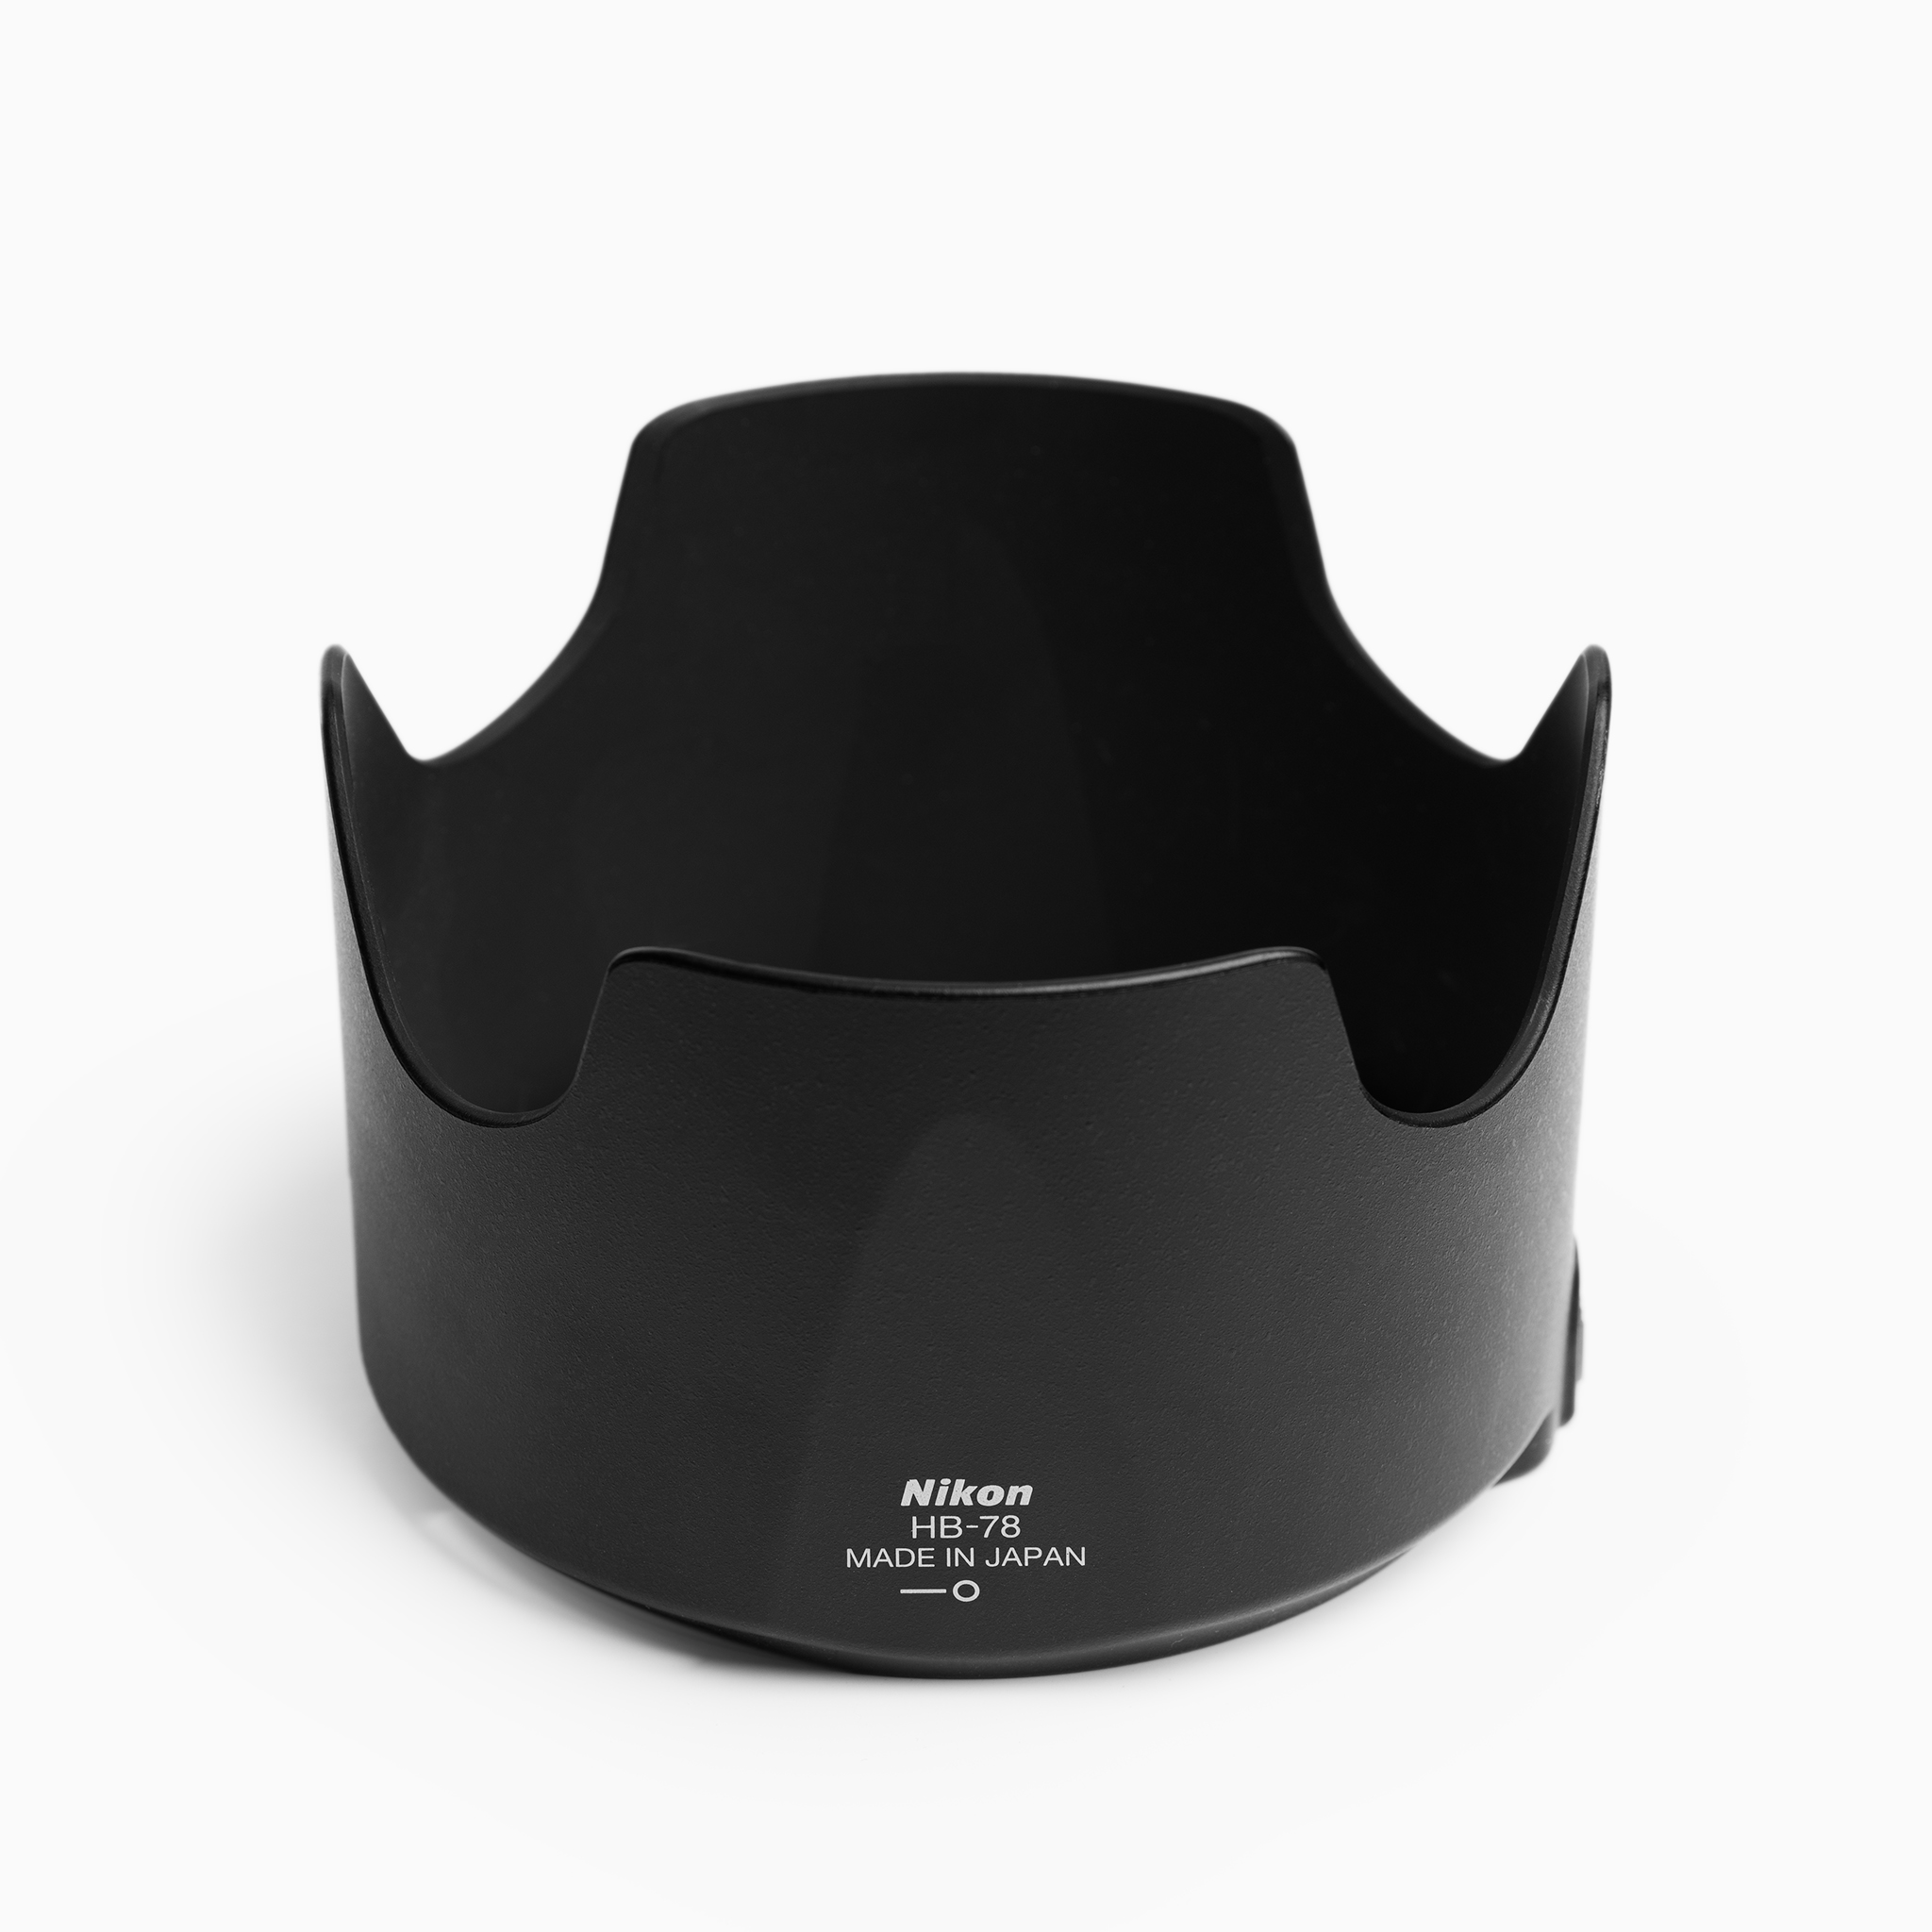
Second, utilize a lens hood. A lens hood can create a cone-shaped dark area that helps eliminate reflections. However, be cautious, as lens hoods may scratch the tank's glass or acrylic surface, which can obscure the view for you and other visitors enjoying the aquarium experience. Note that scalloped lens hoods allow some light in and may not be effective for reducing reflections.
Lens HoodScalloped Lens Hood
The best option is a rubber lens hood, which creates a reflection-free cone of darkness around the lens. Its main advantage is that it allows you to move freely and compose your image before taking the shot. Rubber lens hoods are affordable and will not scratch the tank glass. However, they may cause rounded black corners when used with wide-angle lenses, which can easily be resolved by cropping the image. A lens hood designed by Josh Smith, the founder of the Ultimate Lens Hood, is particularly noteworthy.
Refraction
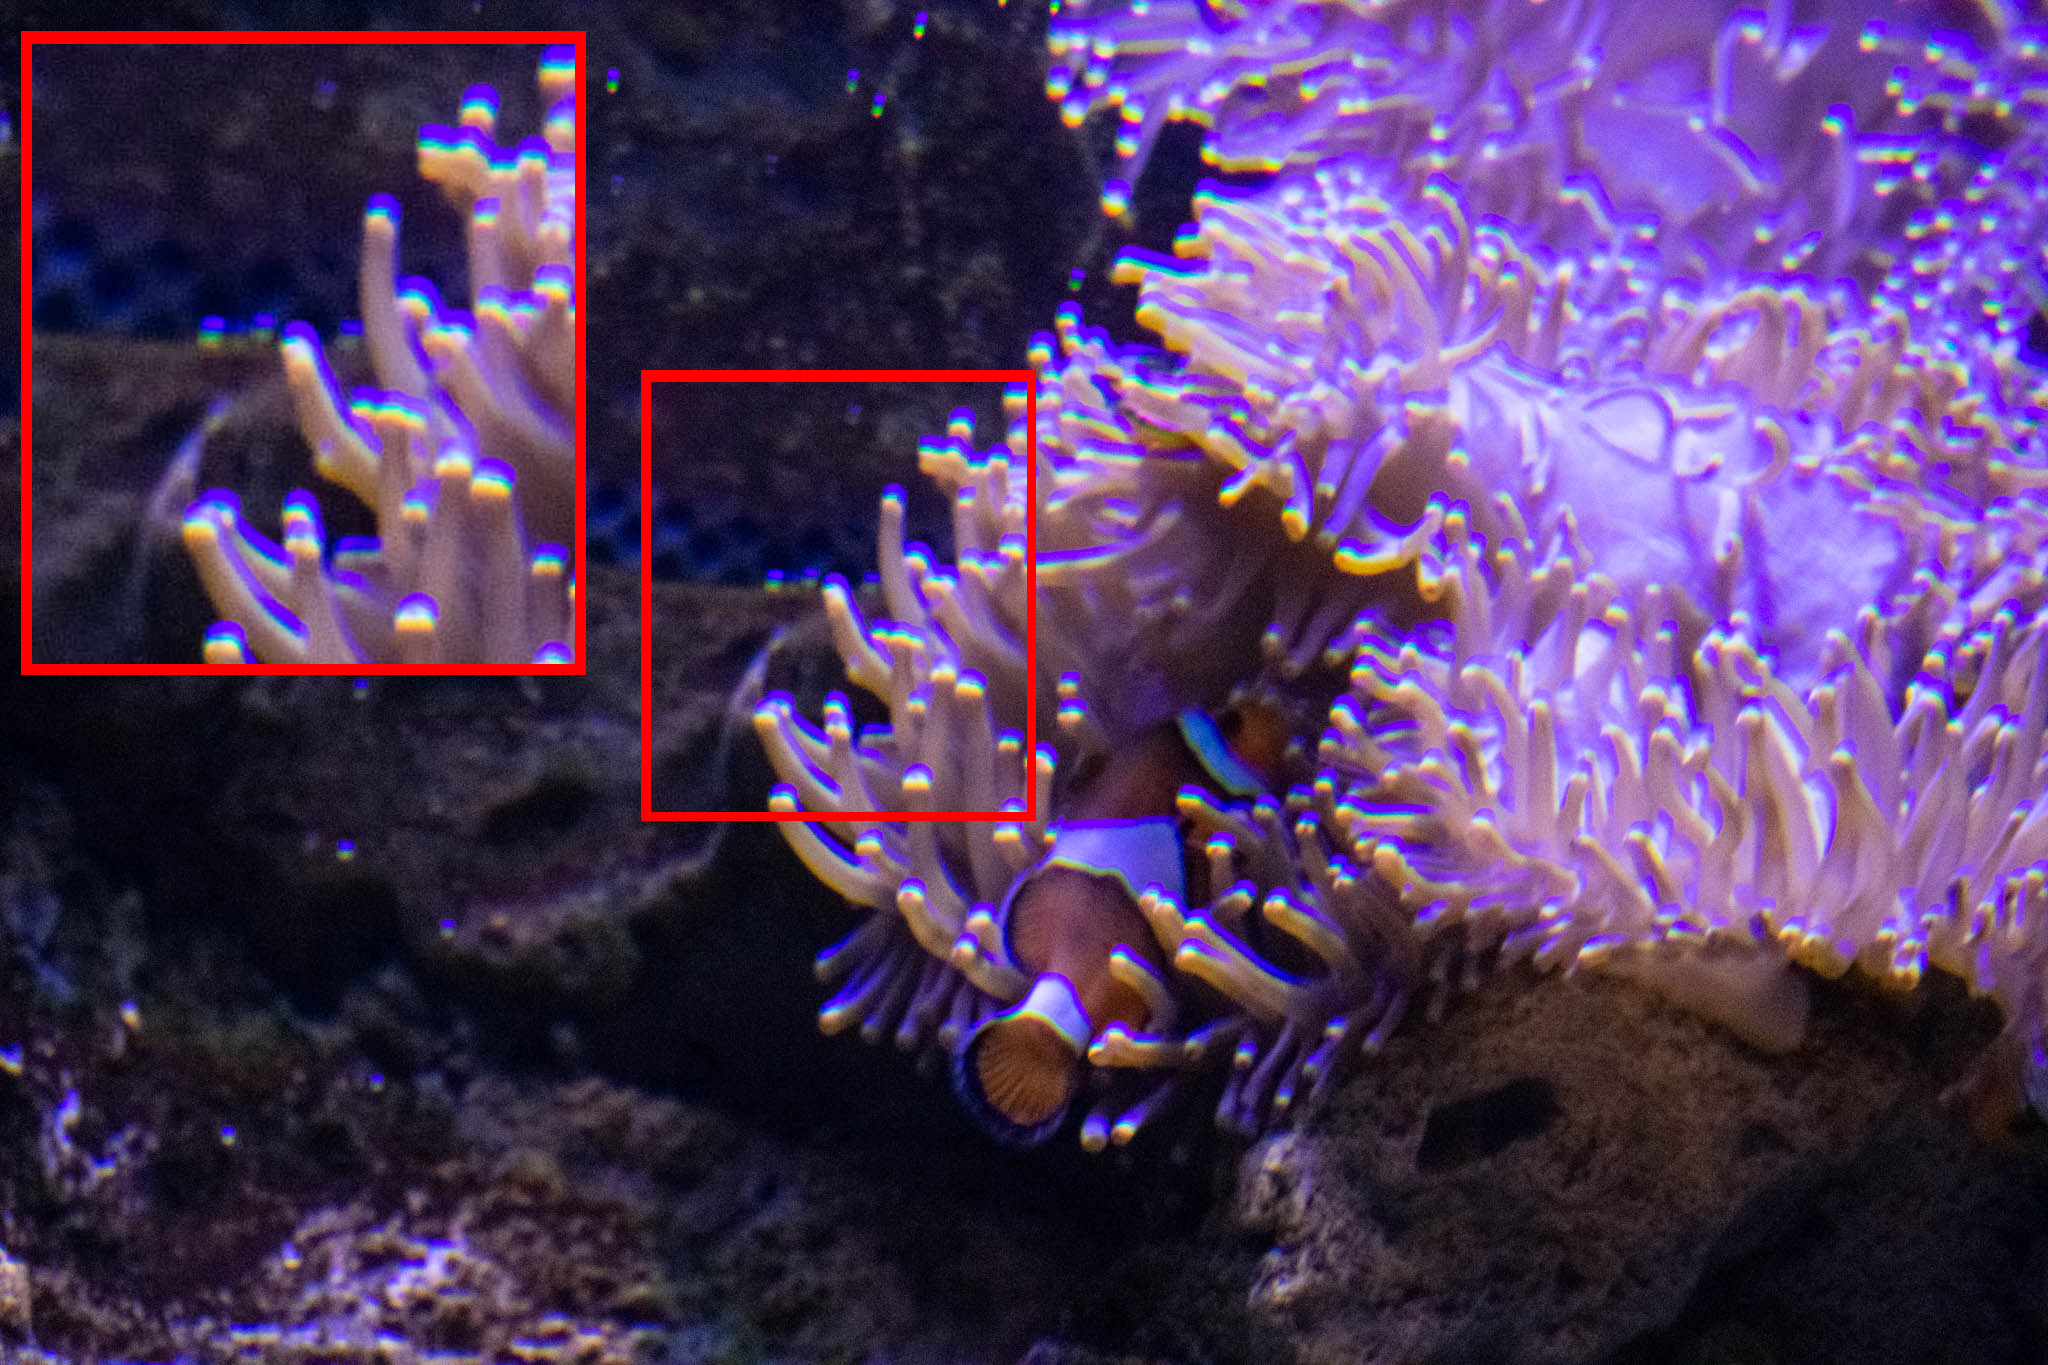
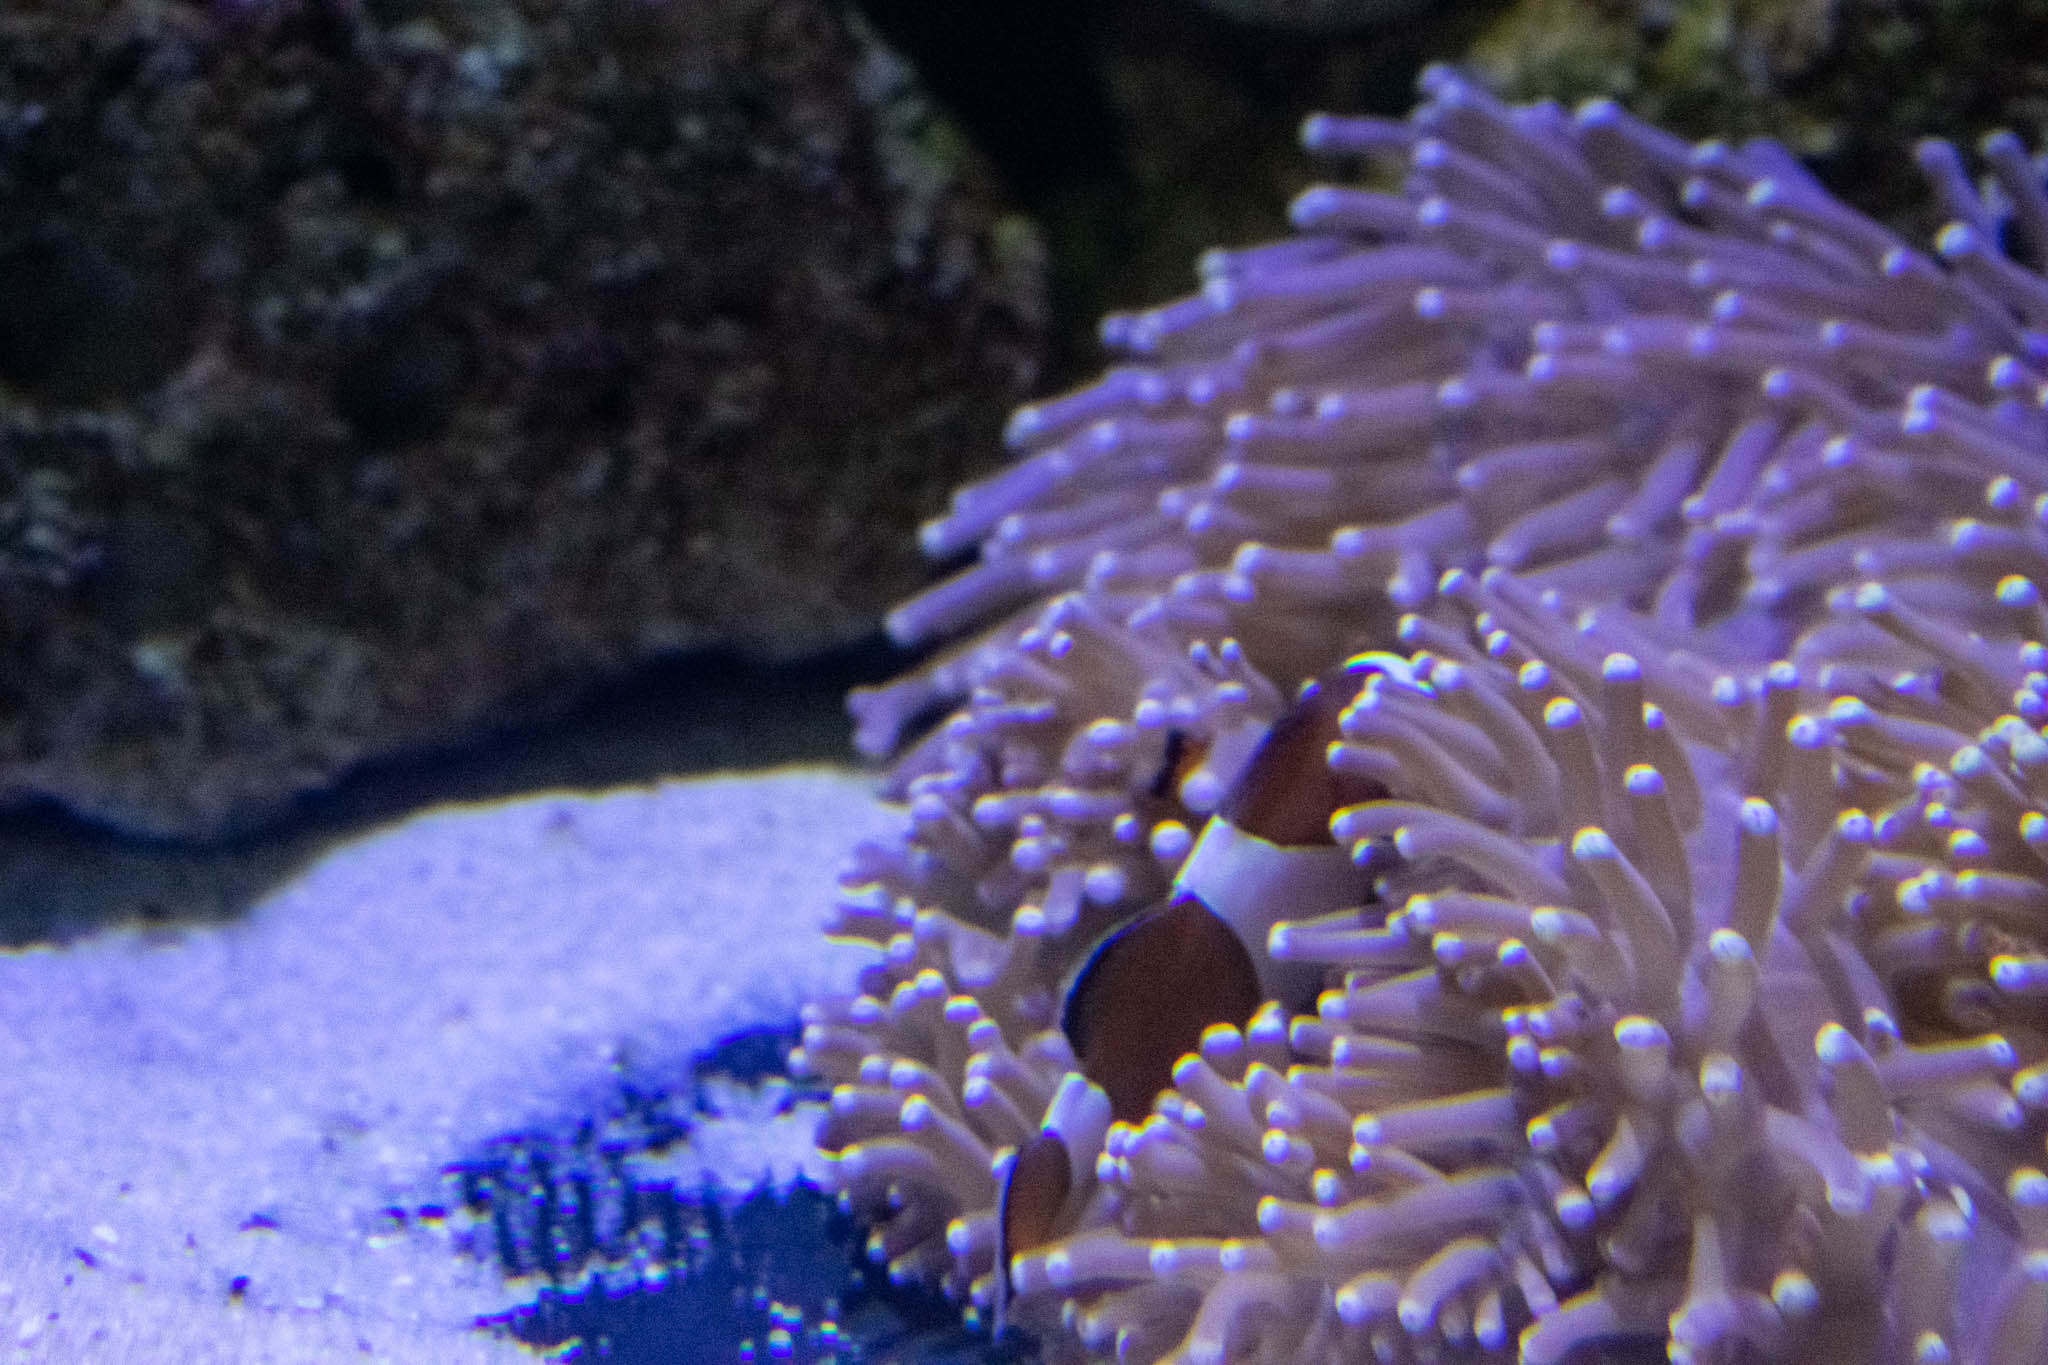
Refraction occurs when light passes through different mediums, such as from water to solid glass and from solid glass to the air outside the tank. This bending of light can distort your image, causing effects like purple fringing, which resembles a ghosting effect in the image. To minimize refraction, shoot perpendicular to the tank.
Image showing refraction seen as purple fringing (ghosting)Image without refraction shot perpendicular to the tank
Lens
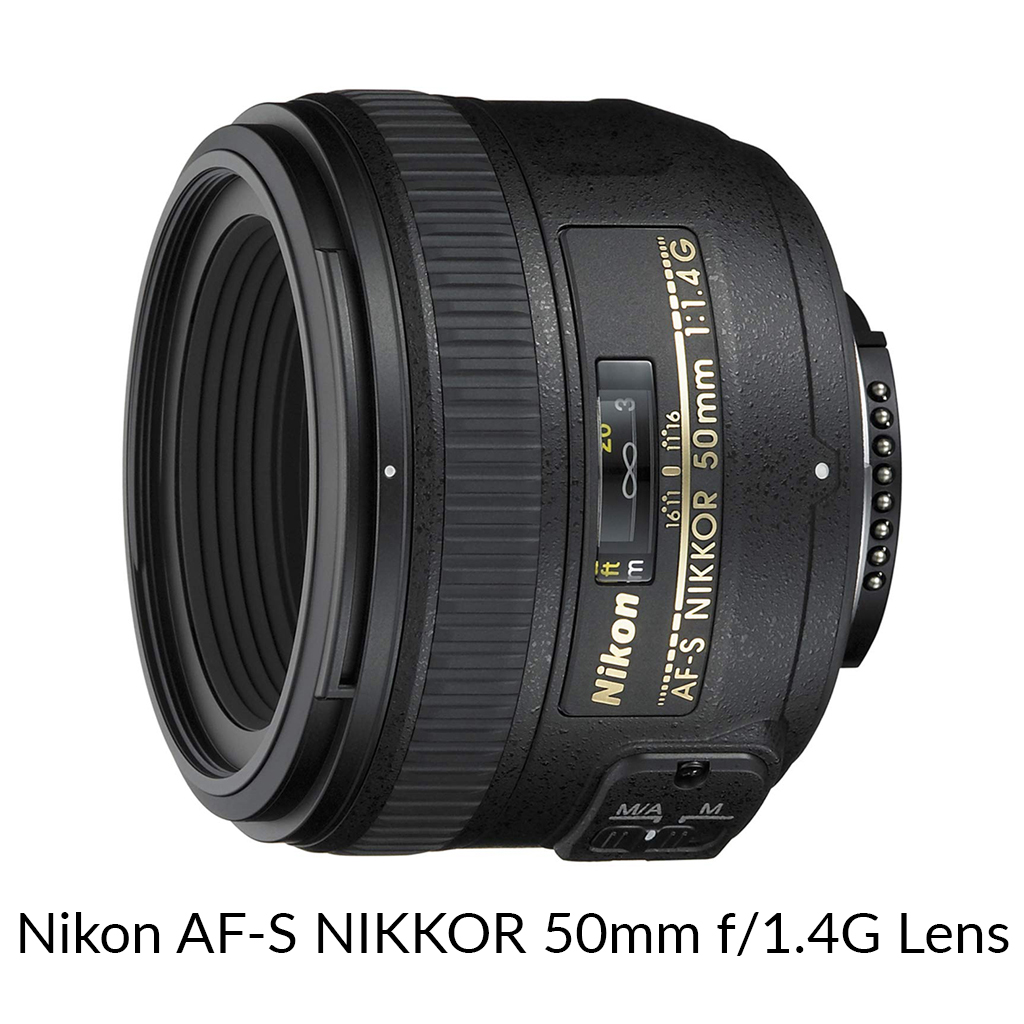
It's best to use a lens with a wide field of view and near-focusing capability for optimal results, as fish often swim close to the tank glass. Lenses with a focal length of less than 60mm are ideal, particularly those with a wide aperture.
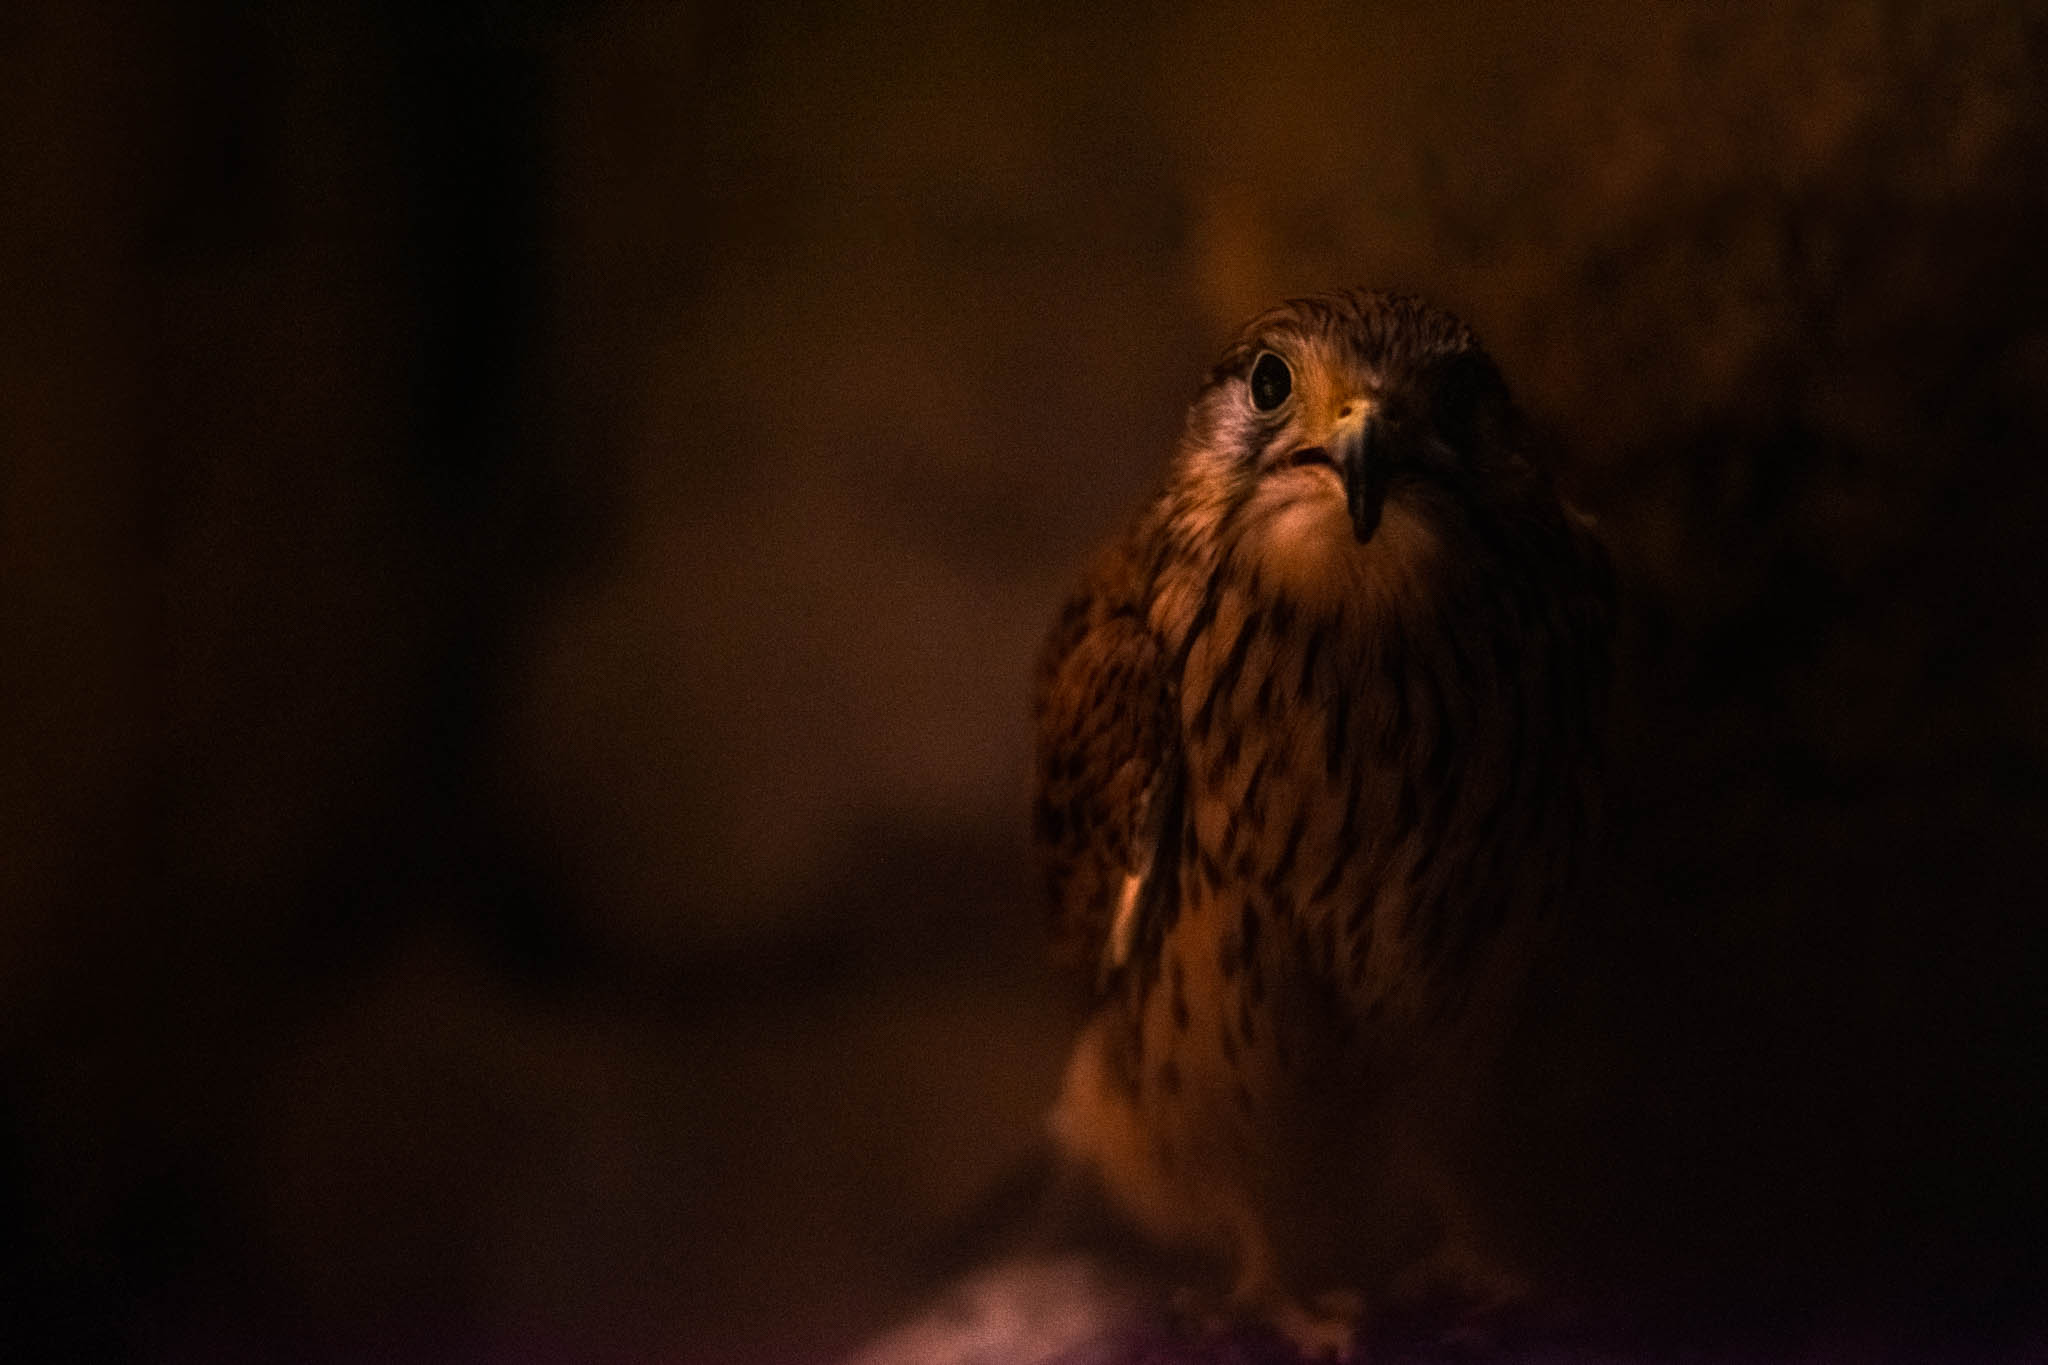
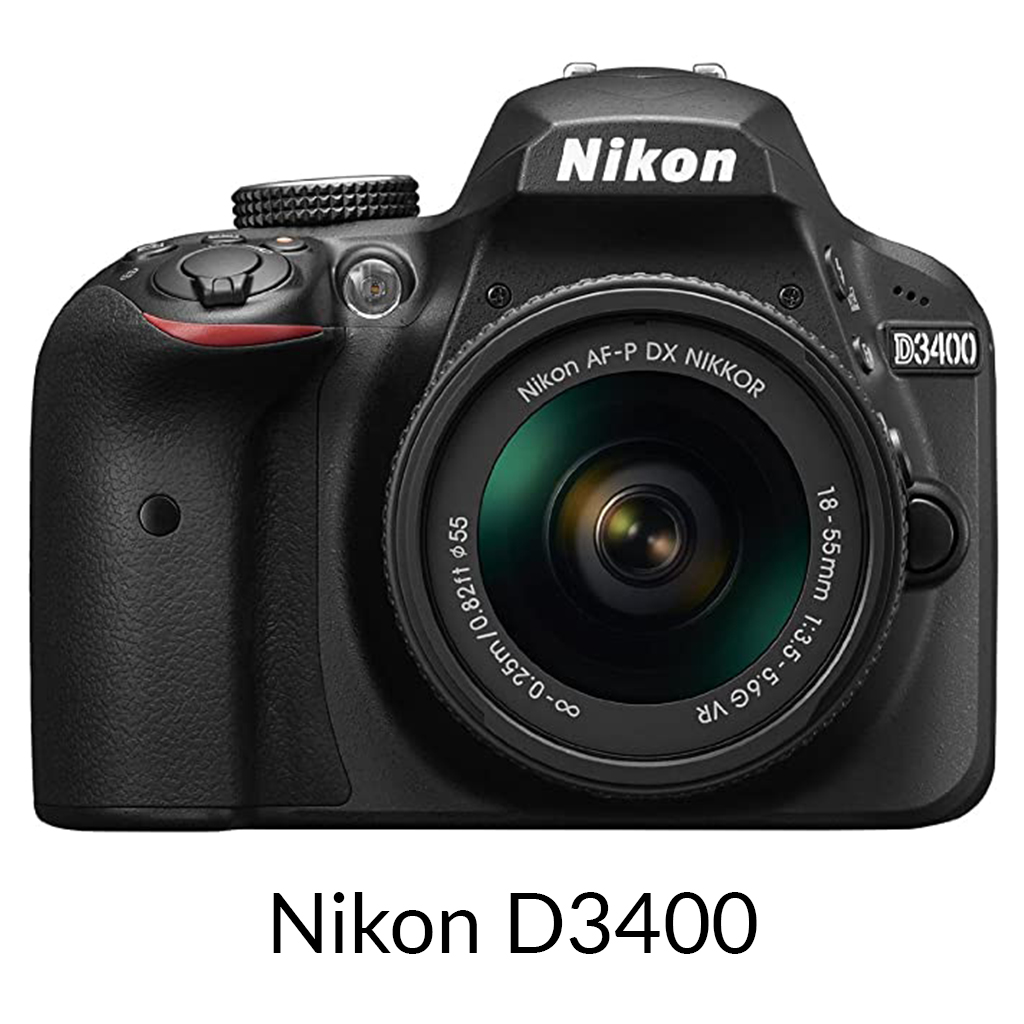
To achieve the best results in low-light environments, it's essential to have a camera that excels in such conditions. My Nikon D3400 has delivered some truly remarkable images in various settings. Still, I've encountered difficulties when photographing the low-light aquarium. The high ISO settings I relied on to capture the scene often resulted in grainy images, yet despite this compromise, many of the photos remain usable and convey the beauty of the aquatic life.To achieve the best results in low-light environments, it's essential to have a camera that excels in such conditions. My Nikon D3400 has delivered some truly remarkable images in various settings. Still, I've encountered difficulties when photographing the low-light aquarium. The high ISO settings I relied on to capture the scene often resulted in grainy images, yet despite this compromise, many of the photos remain usable and convey the beauty of the aquatic life.
White Balance
Auto White Balance can help, but shoot in RAW format to adjust the white balance in Adobe Lightroom later if needed.
Exposure
When photographing in an aquarium, you will encounter challenges such as low light and the movement of the fish. To tackle these issues effectively, I prefer to use manual mode for complete control over my settings.
Begin with a high ISO or set your camera to Auto ISO if you anticipate frequent adjustments. Use a wide aperture, ideally between f/4 and f/5.6, to keep your subject in focus and to help manage low lighting conditions. Since fish swim slowly and your camera will be positioned close to the tank, a slow shutter speed of 1/125 seconds can help capture sharp images.
If your settings result in harsh highlights on your subject, adjust the exposure using exposure compensation. Alternatively, shutter priority mode with Auto ISO can also yield good results.
Flash
Use manual mode because "auto" mode will trigger your flash, and the rule is "No Flash Photography in Aquariums." There are several reasons for this restriction:
It can be unpleasant for other visitors.
The flash creates external reflections on the tank.
Even if you manage to minimize reflections, fish scales are highly reflective, and the flash can produce harsh highlights and unnatural colors.
The impacts of photographer behaviour and photographic flashes on animals are poorly understood, and long-term continuous flashes damage on aquarium animals is unknown.
Read this study about the impact of flash photography on fish for more information. De Brauwer, M., Gordon, L.M., Shalders, T.C. et al. Behavioural and pathomorphological impacts of flash photography on benthic fishes. Sci Rep 9, 748 (2019). https://doi.org/10.1038/s41598-018-37356-2
Post-Production
The primary sliders I use in Adobe Lightroom for editing aquarium images are White Balance, Exposure, Contrast, and Clarity. I also use the Saturation slider when necessary. Occasionally, I will color grade my photos if the colors appear dull.
If you have a home aquarium, practice these techniques and share your experiences with me.
The Gear I Used
I hope you learned a lot from this blog. If you are interested in a one-on-one training session, drop me a direct message on my Instagram account.