Golden Hour Gone Wrong
Golden Hour Pitfalls
Written on the 21st of June, 2022
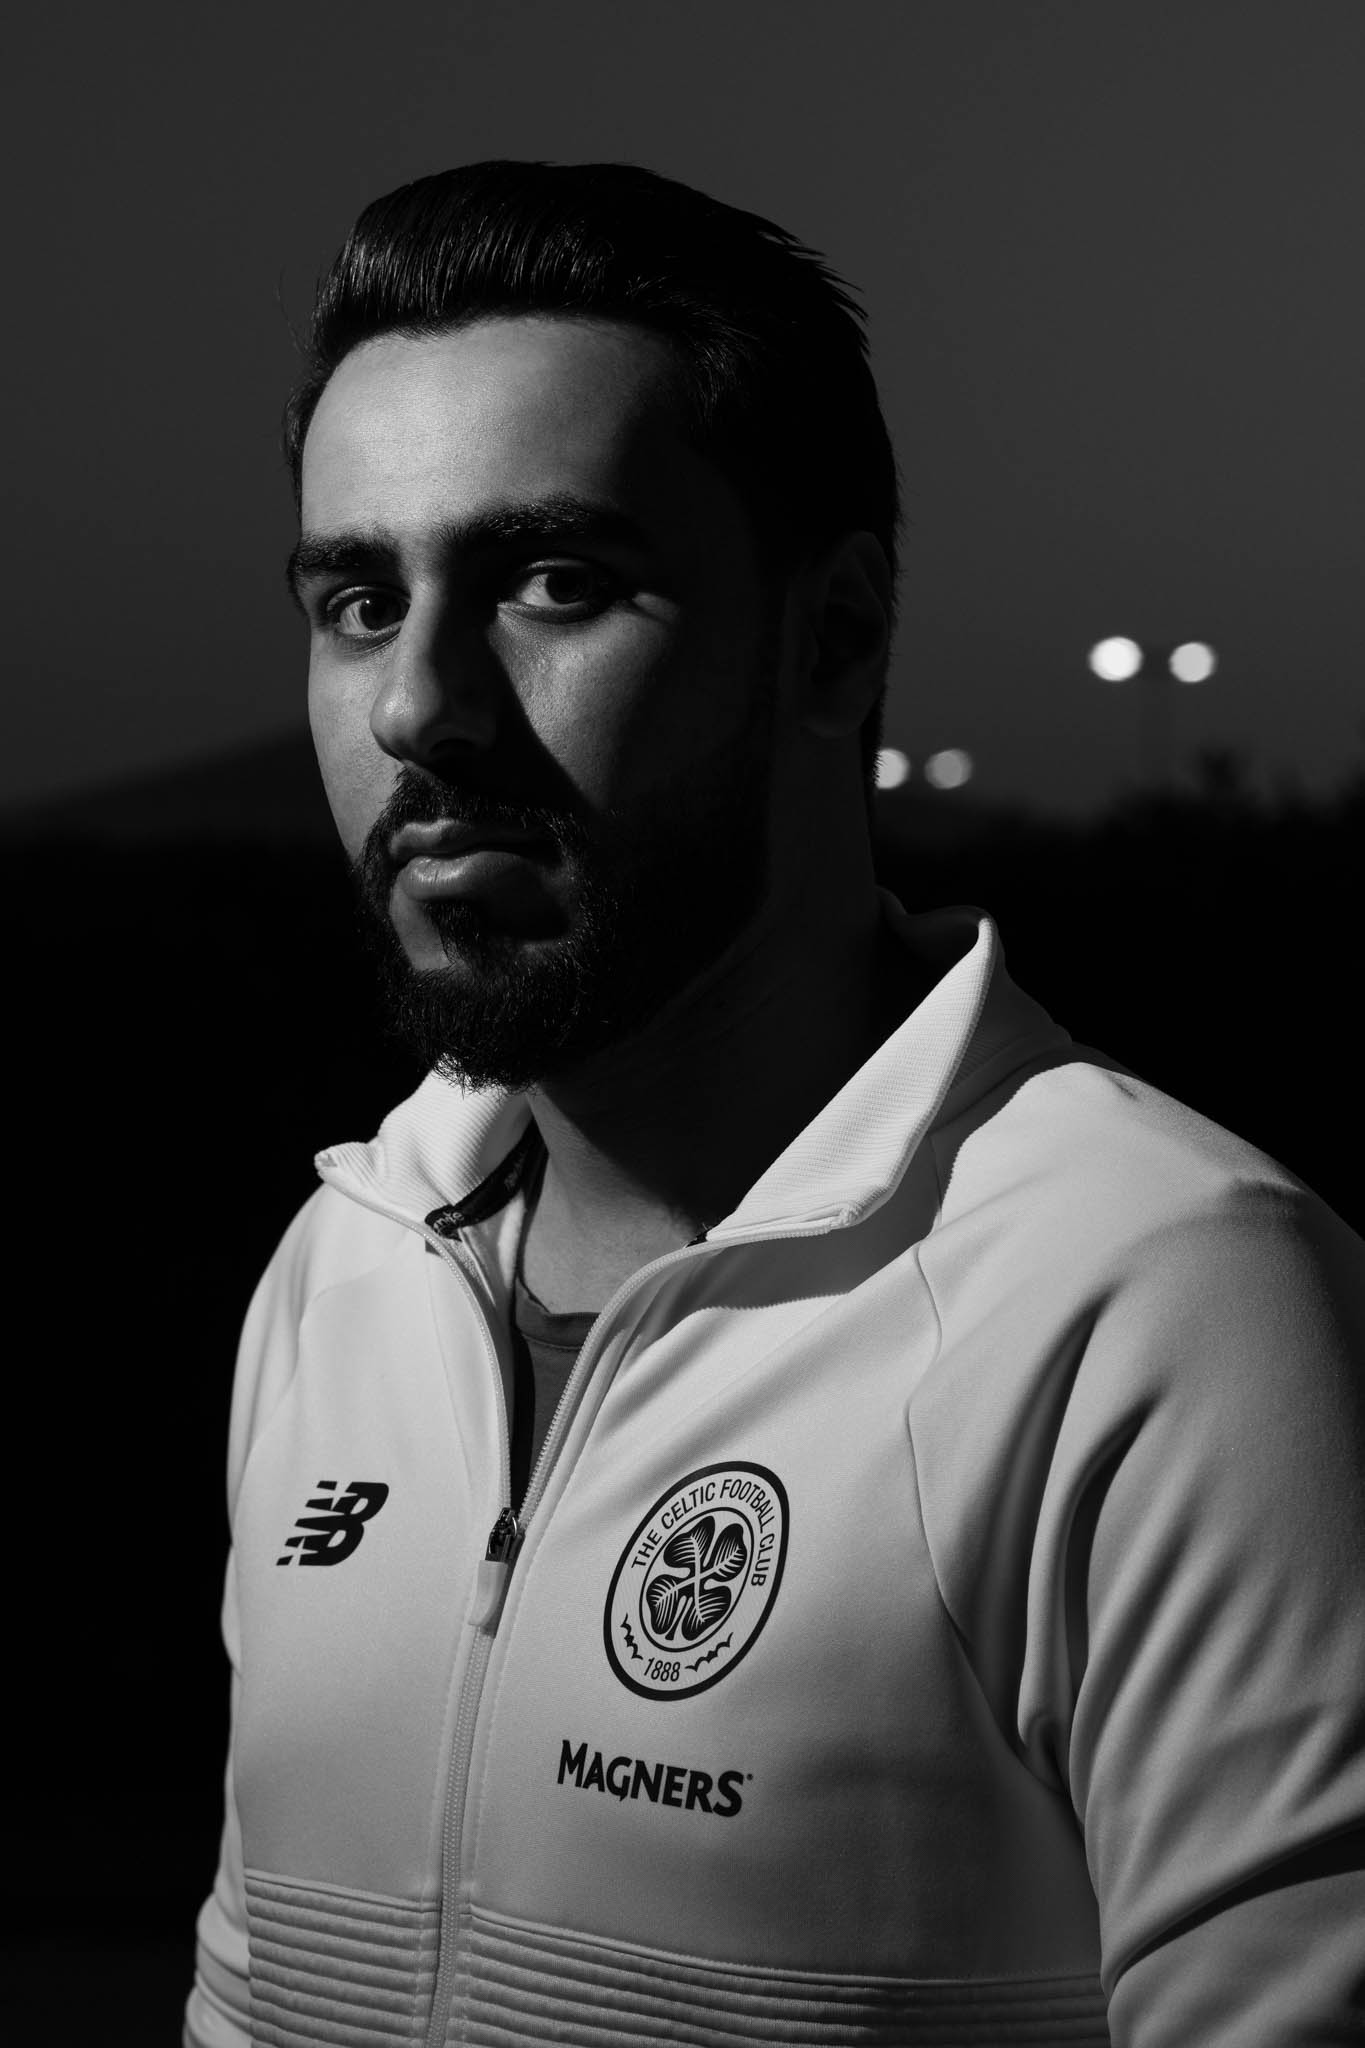
I developed a habit of taking portrait shots after each cinematic headshot photoshoot. After shooting the headshots for my friend Talal AlDuaij, I was inspired to photograph him during the enchanting golden hour, when the sun casts a warm, golden glow on everything it touches. However, the location I chose was less than ideal. Despite my attempts to blur the background, it still felt distracting.
Regrettably, the composition suffered as the horizon line of trees sliced through his head and neck, creating an awkward visual effect. In retrospect, I should have crouched down slightly to adjust my angle, ensuring that the horizon elegantly stretched beneath his shoulders or gracefully arched above his head. This small change could have transformed the shot from ordinary to extraordinary.
The sky stretched above me, a radiant expanse of blue, untouched by even a single cloud. While clouds often lend a captivating texture and dimension to photographs, my images felt flat and lacking that day. The colours fell short of the vibrant palette I had envisioned. To breathe life into my work, I decided to play with complementary colours. I cranked up the saturation on the trees, transforming them into a lush, vivid green. Meanwhile, I added a subtle touch of red to the model's skin tone, creating a striking contrast that made the image pop. Yet, when the desired hues eluded me, I embraced a different approach, converting my images to black and white, a choice that imparted a timeless quality and depth to the scenes I captured.
Most of the images I shot were medium-full shots. Yet, I took the opportunity to crop them in Adobe Lightroom, transforming each photograph into a different composition.
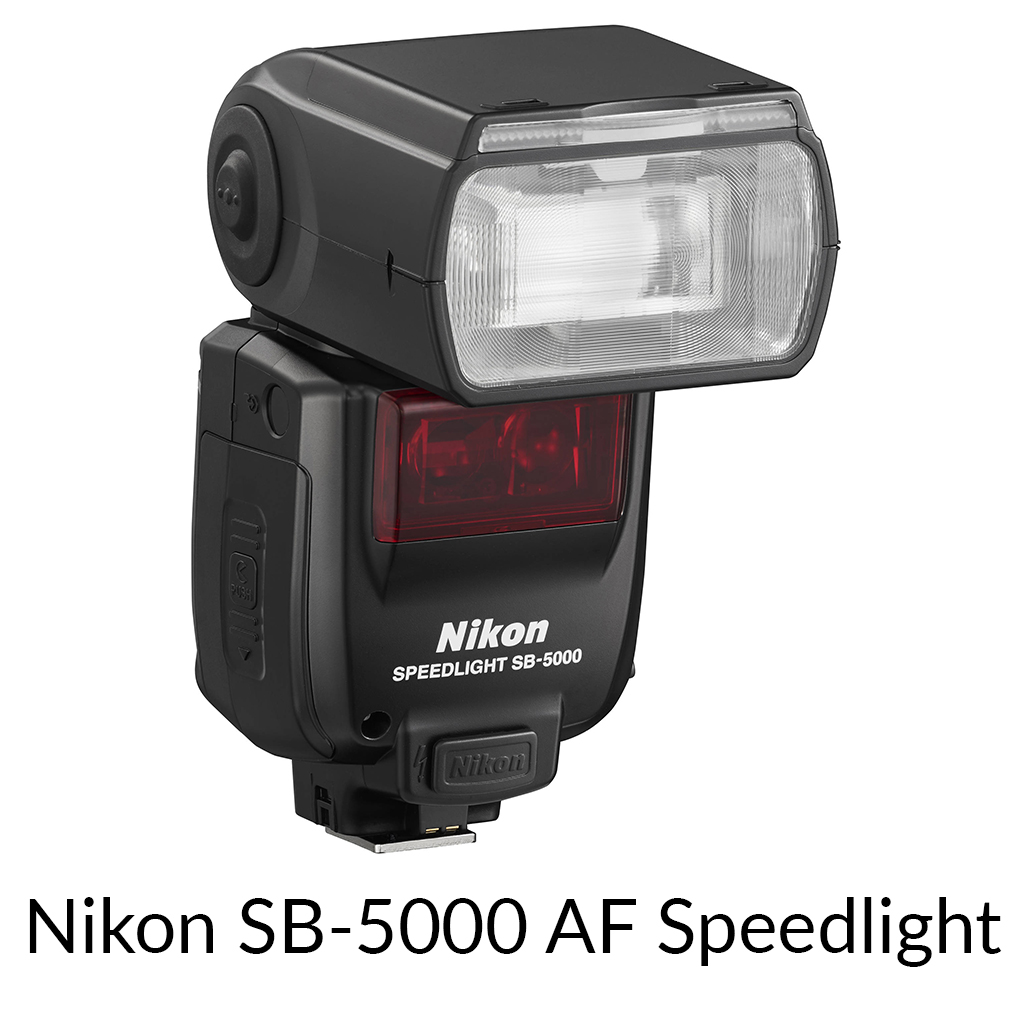
Golden hour can vanish in an instant. Because of this, it's essential to act swiftly and capture the magic while it lasts. Unfortunately, my chosen location didn't quite live up to the beauty of that radiant hour. As the sunlight faded into shadows, I turned to my flash, hoping to replicate the enchanting ambiance. Still, the results felt lackluster and far from what I had envisioned.


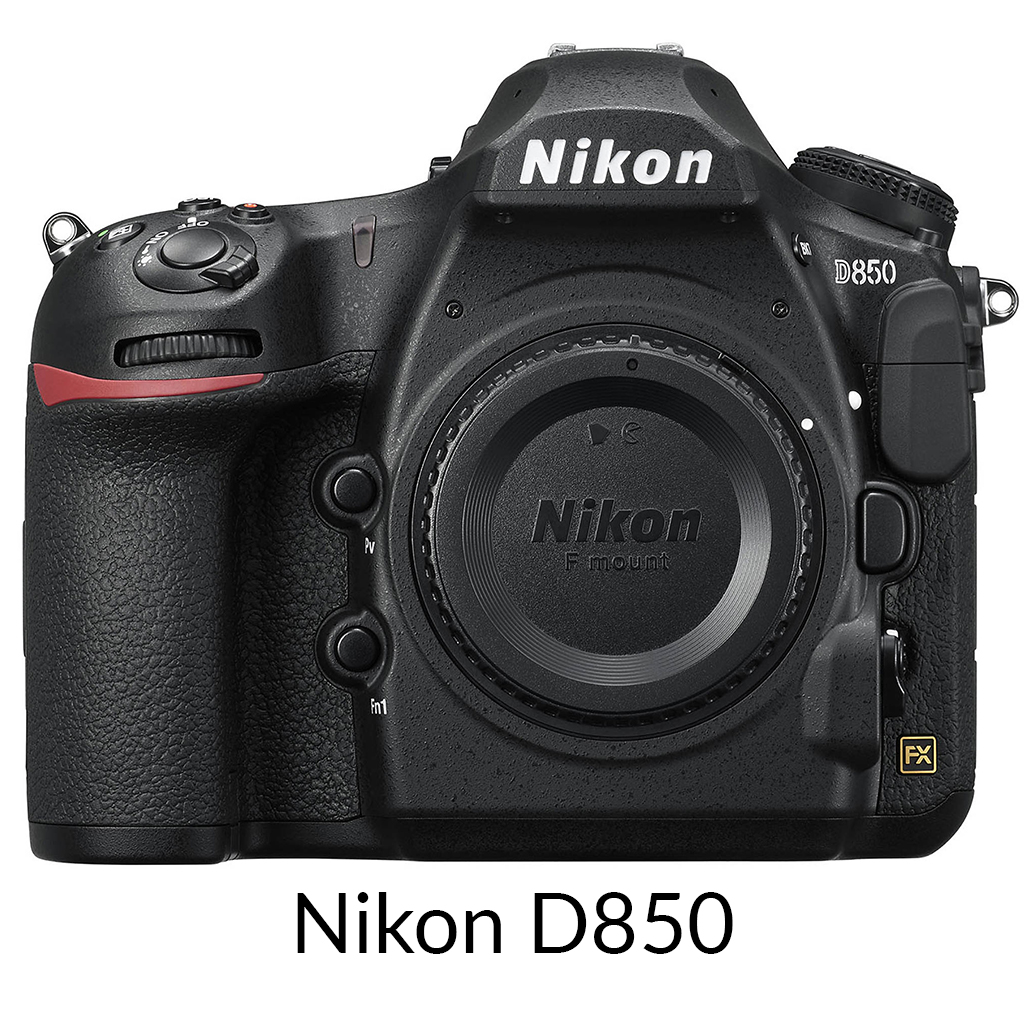
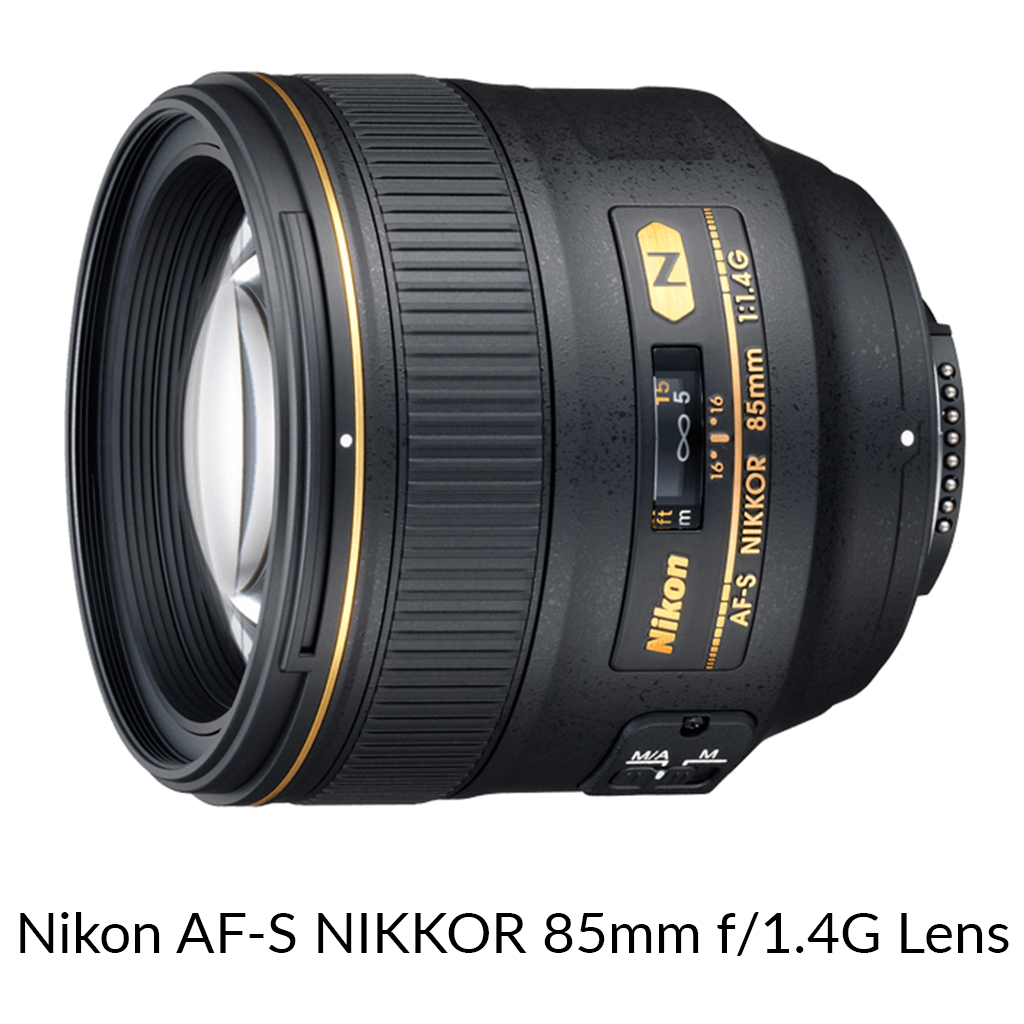
The Gear I Used