A Cat Story
The first time I used Manual Mode using my DSLR on the 27th of April, 2018
Written on the 3rd of December, 2020
My Beginning
When I first picked up a camera at the age of 13, I was confused by all the buttons involved in operating the camera. That's the main reason why I have always shot my photos in Auto Mode. Little did I know that I was missing out on a whole new level of photography. After graduating from college, my passion for photography reignited, and this time, I was determined to learn the proper way.
I began searching on YouTube and found a wealth of content. Still, I wasn't sure where to start until I discovered photographer Mike Browne. He offered many courses on his website, ranging from beginner to advanced levels. I enrolled in the Ultimate Beginners Photography Course on how to be a confident photographer.
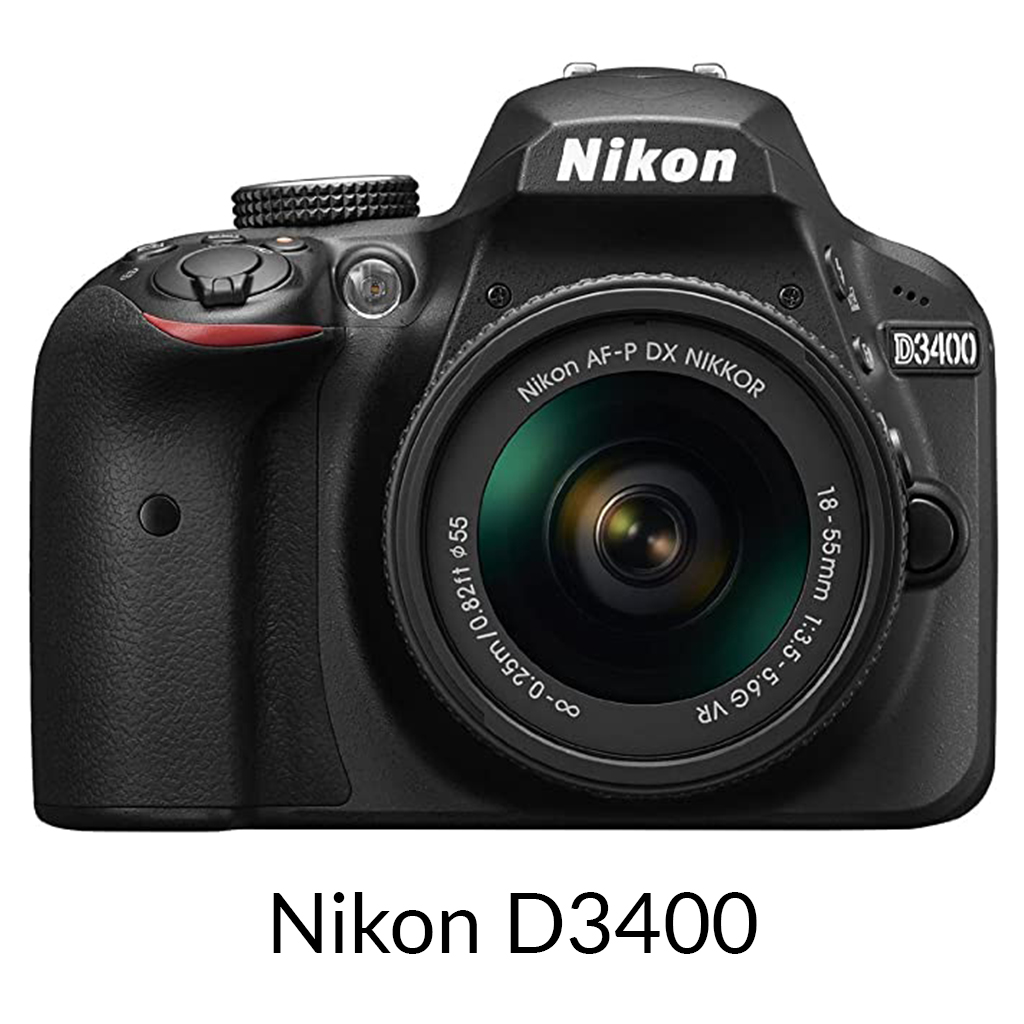
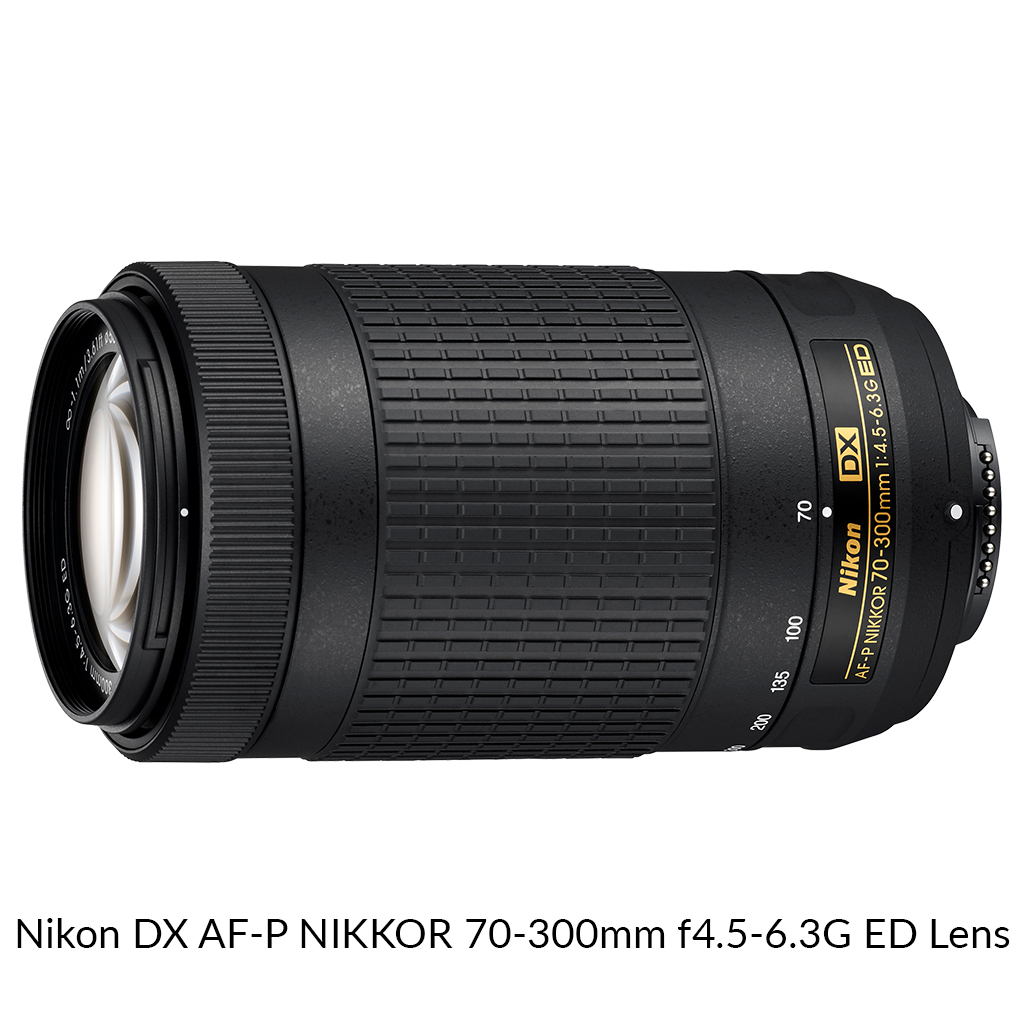
I started learning and practicing with the most beginner's camera I found on the market, which was the Nikon D3400. It came with a Nikon DX AF-P NIKKOR 18-55mm f3.5-5.6G VR Lens. Additionally, I purchased another lens, the Nikon DX AF-P NIKKOR 70-300mm f/4.5-6.3G ED Lens.
I began practicing photography by taking pictures of everything I saw. Through trial and error, I was able to enhance my skills.
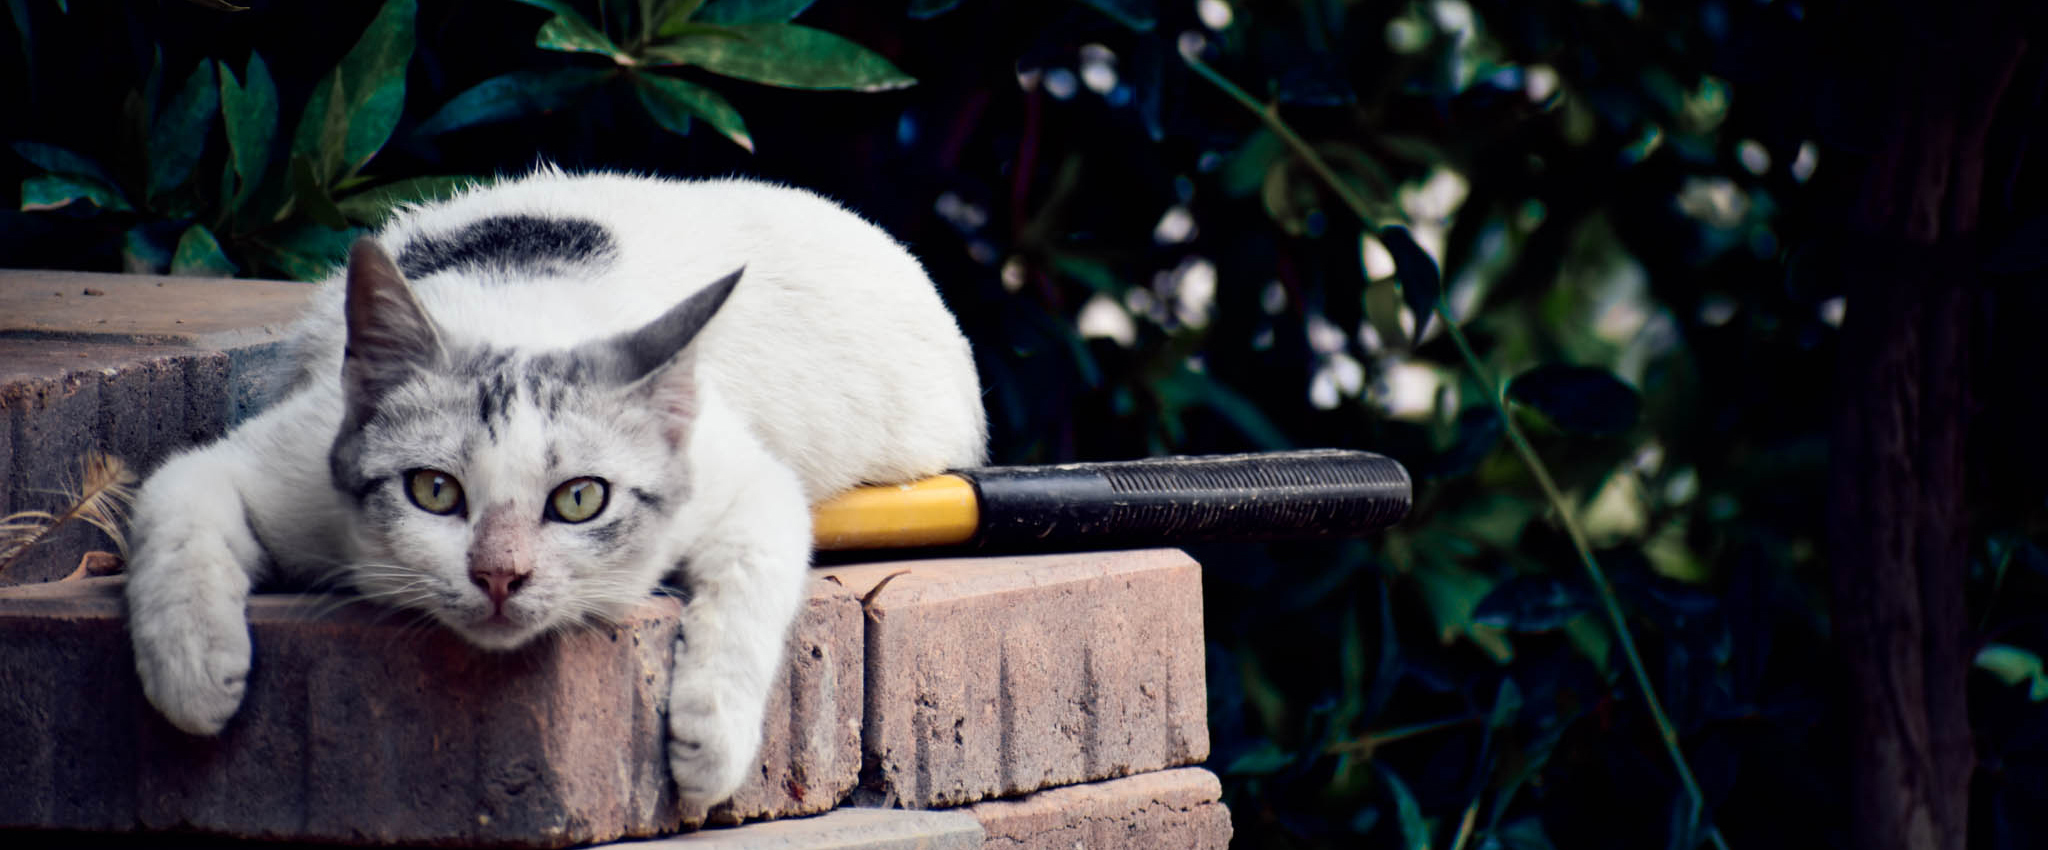
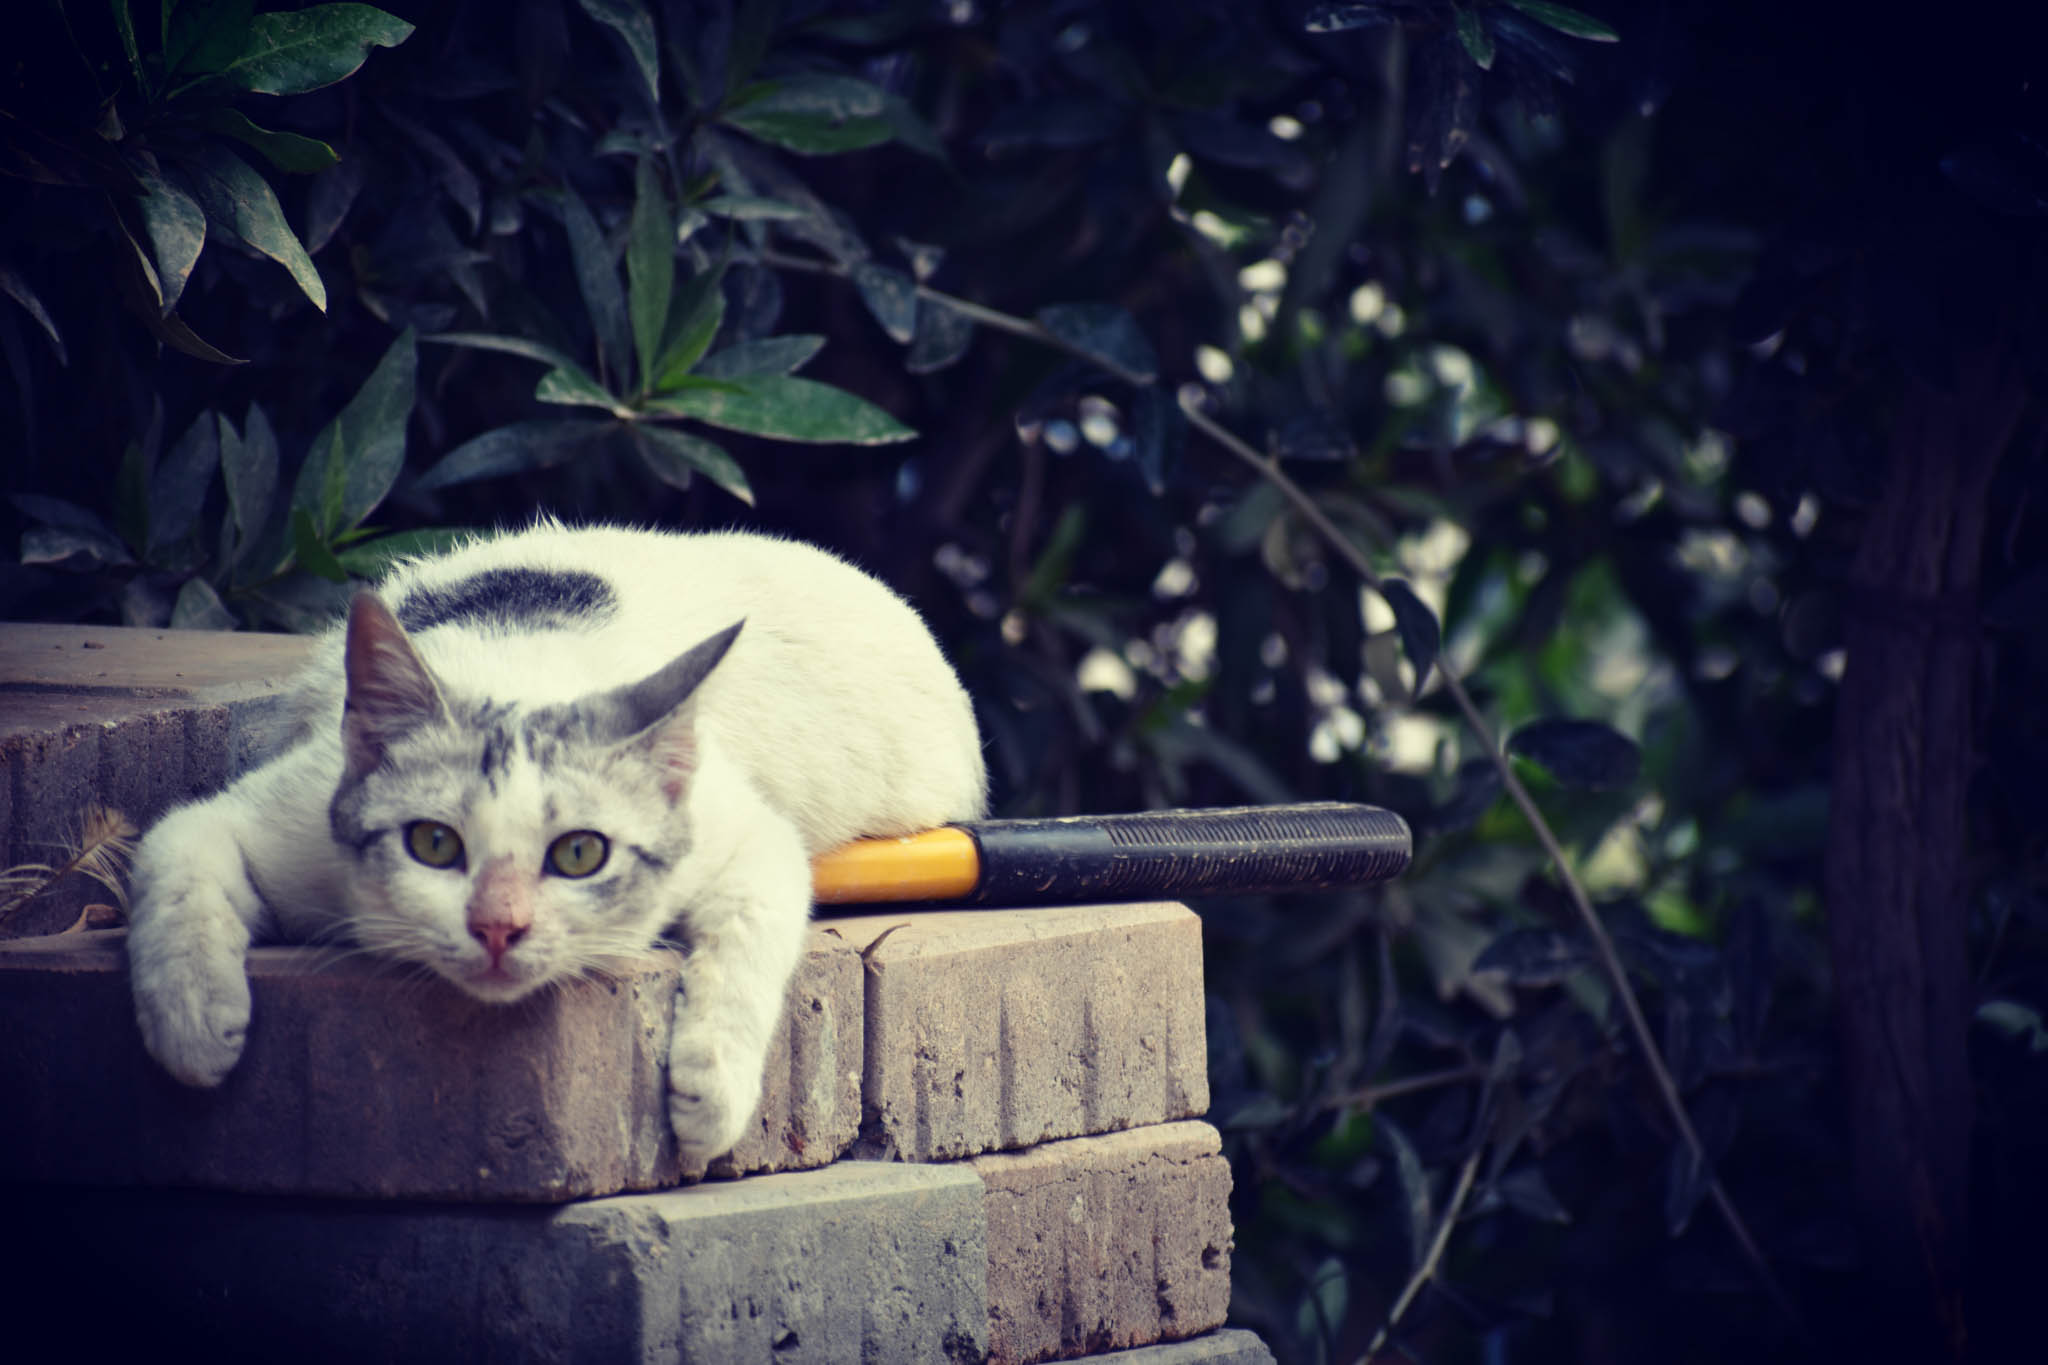
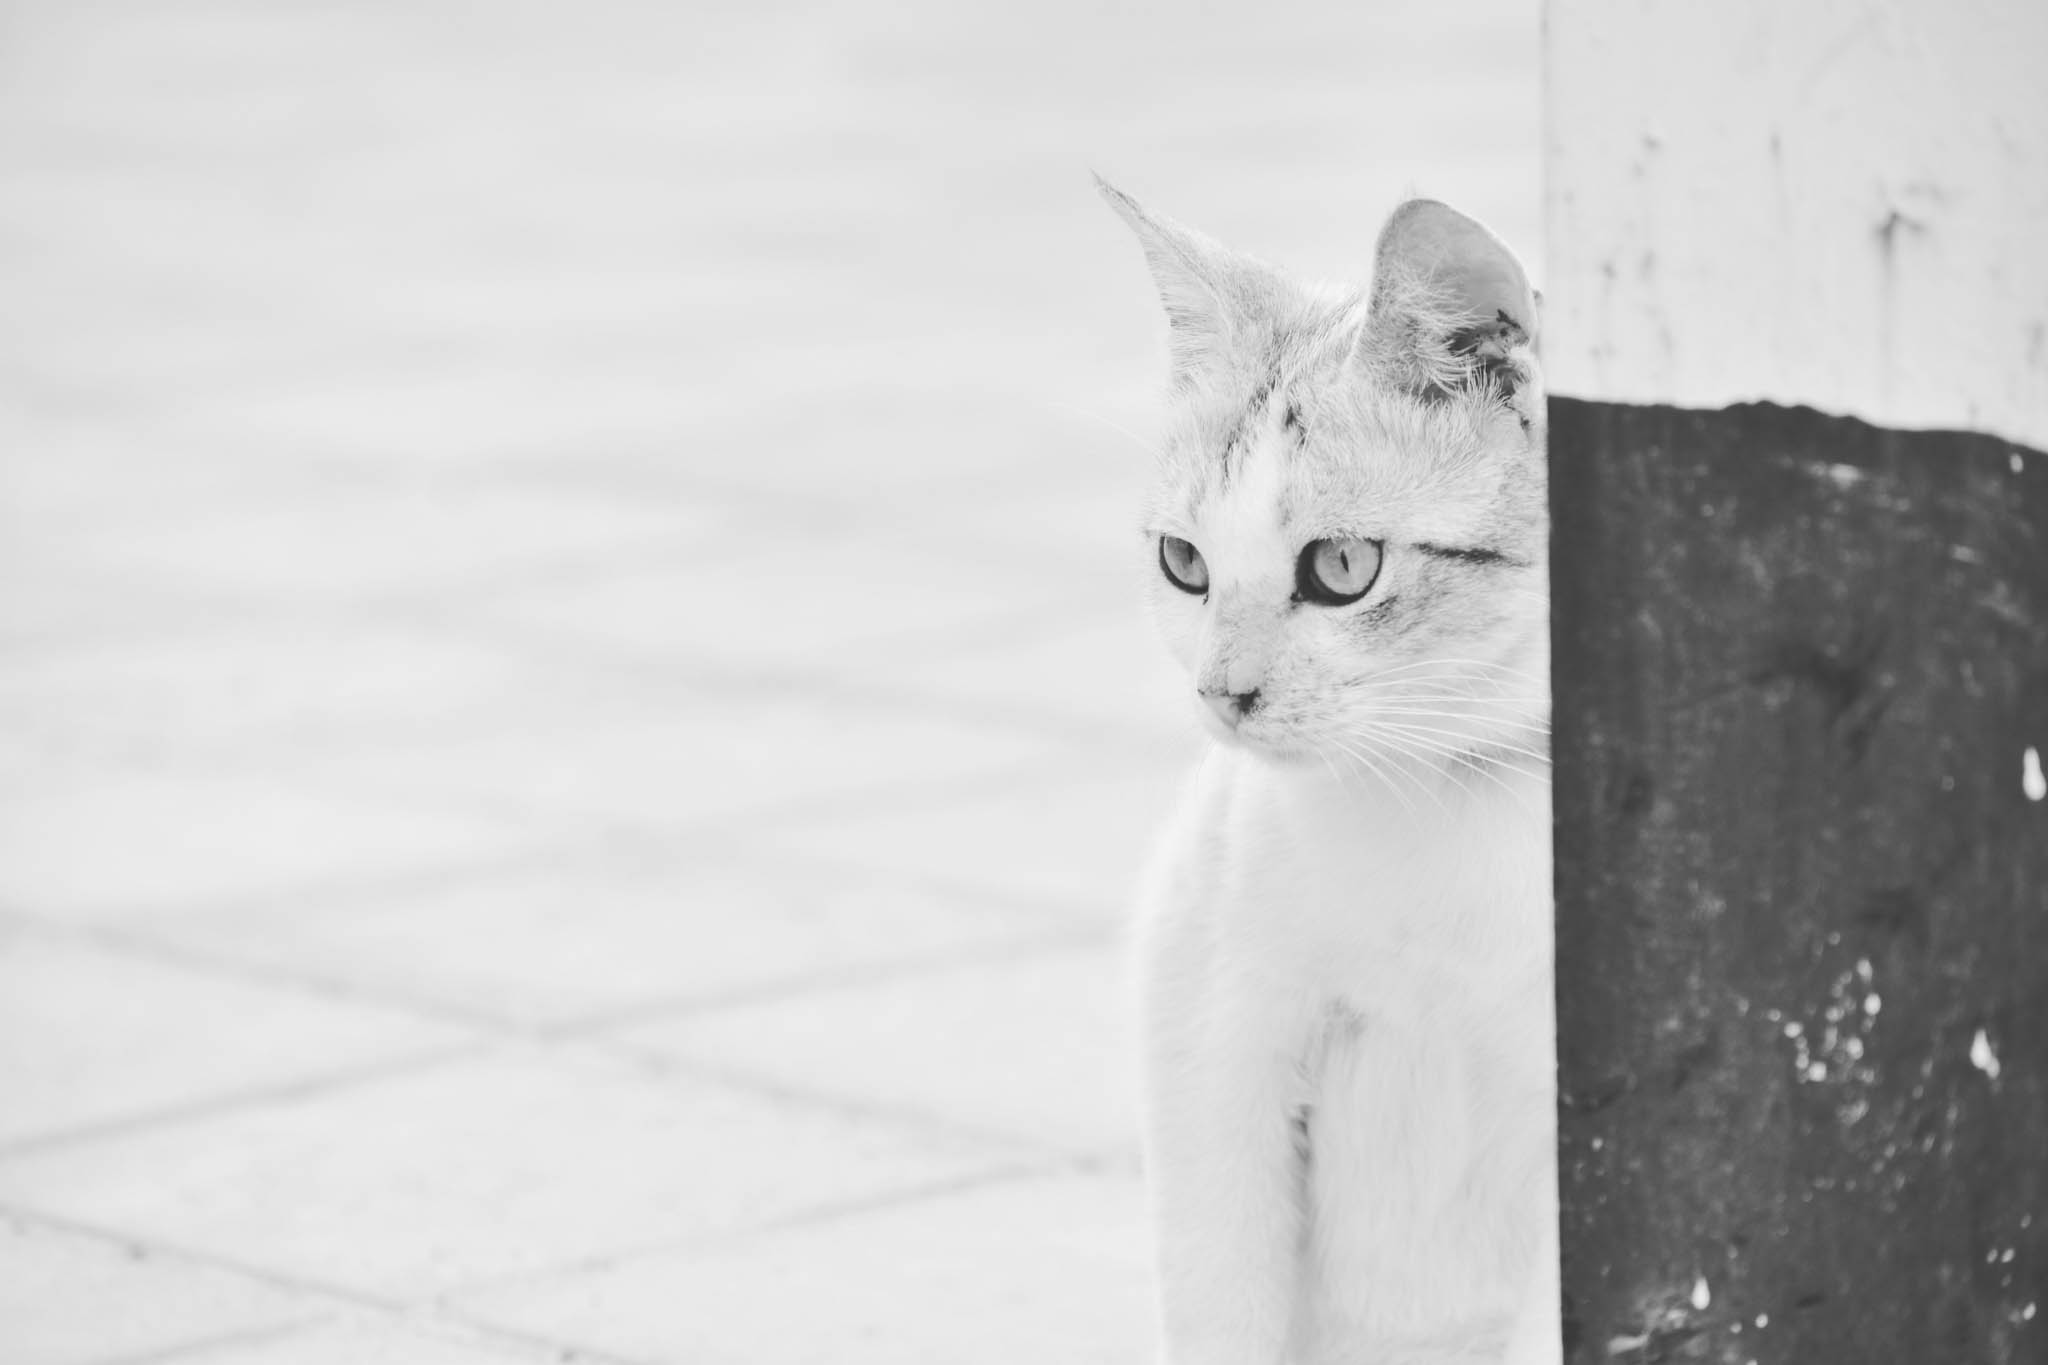
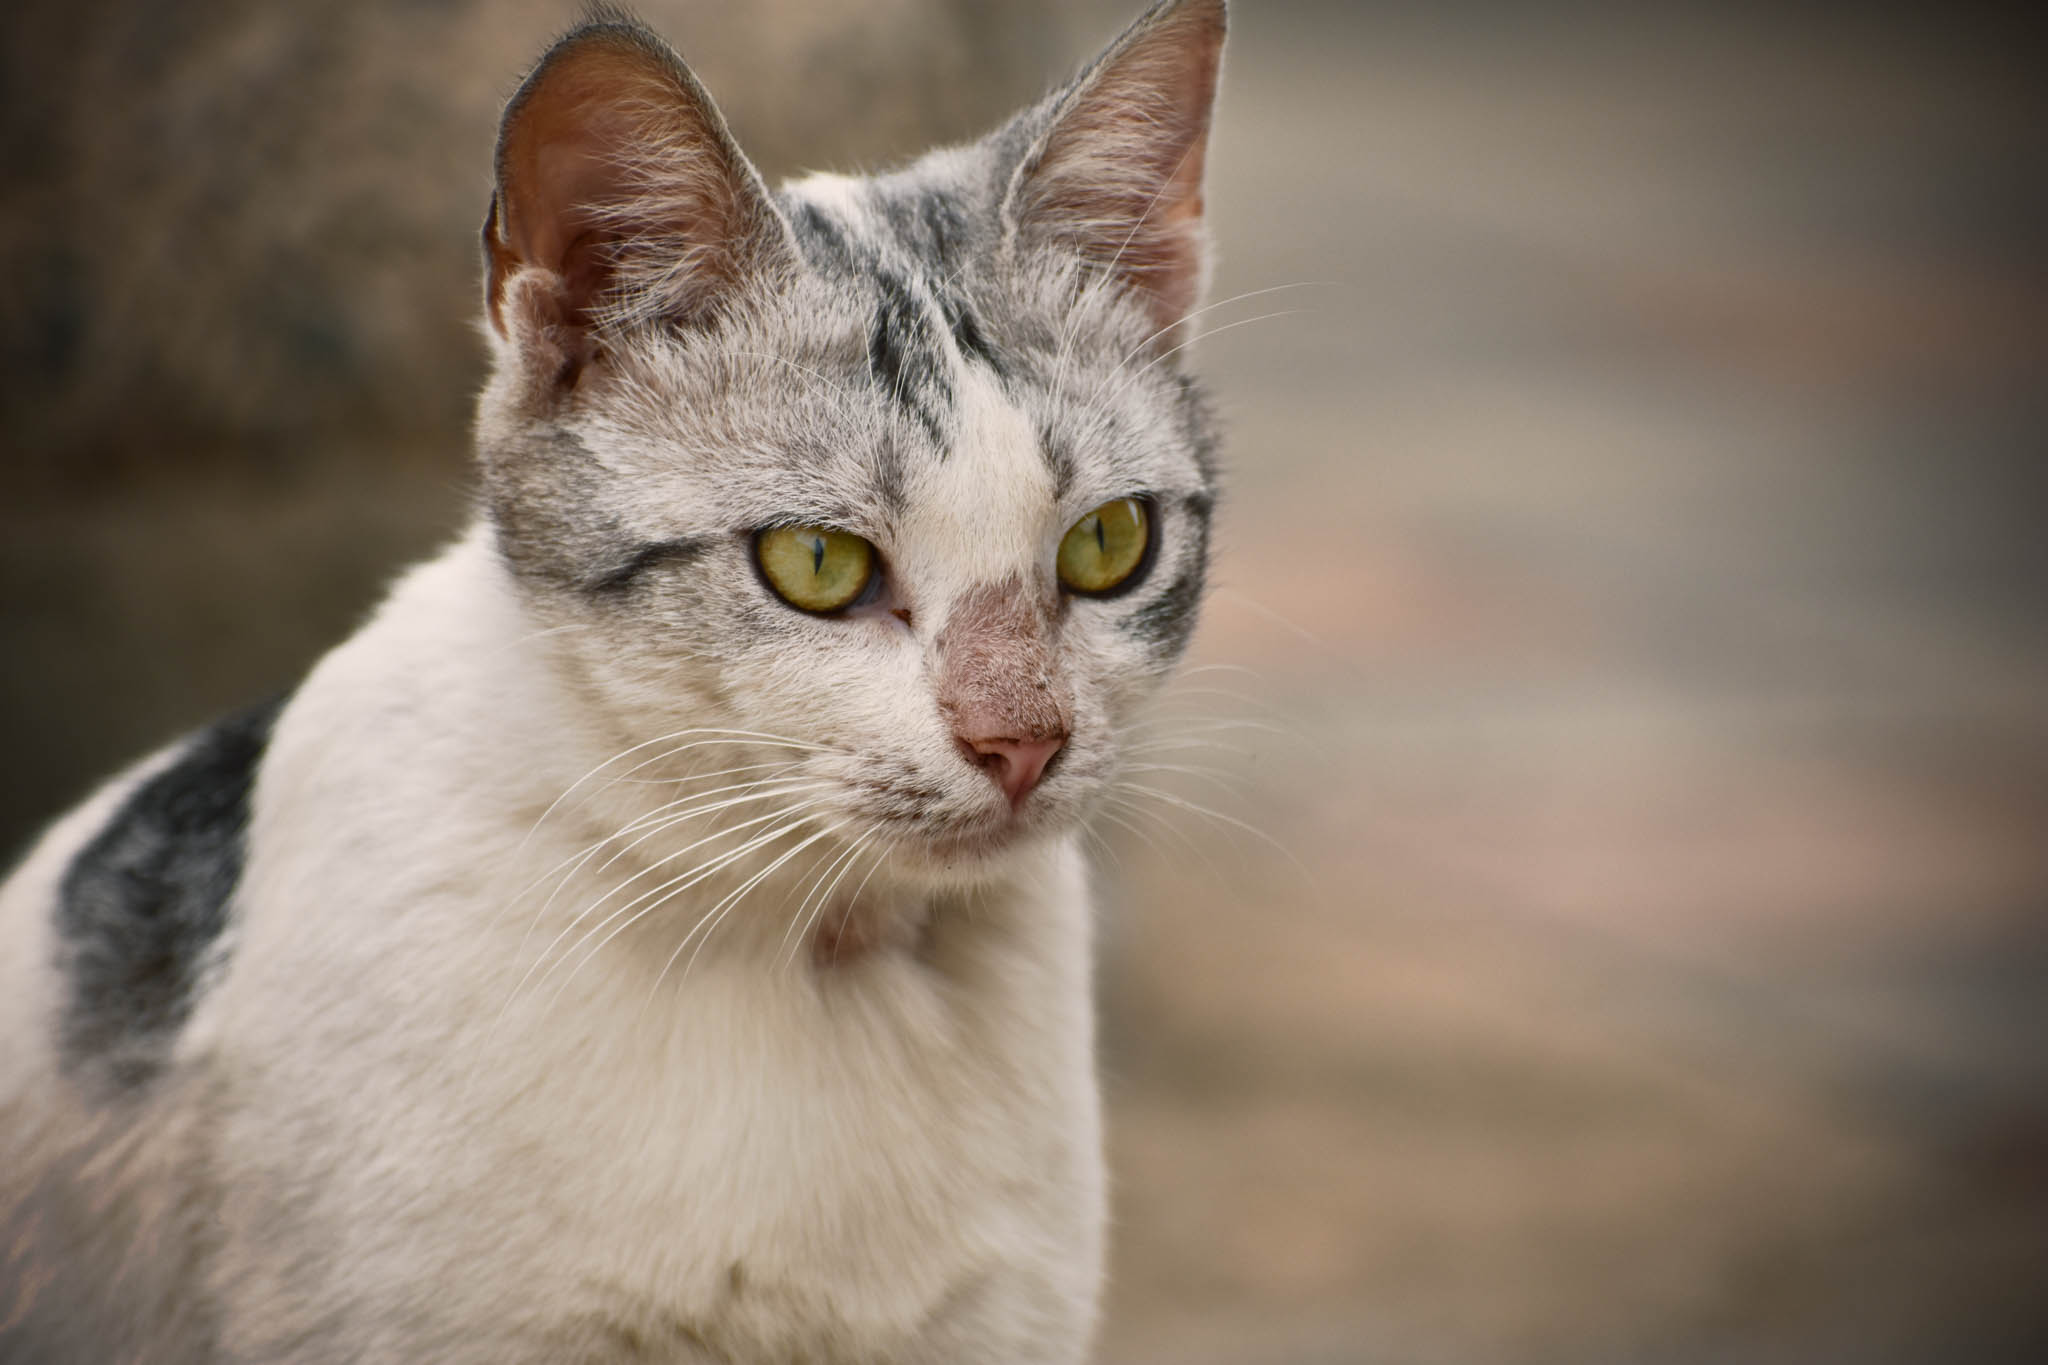
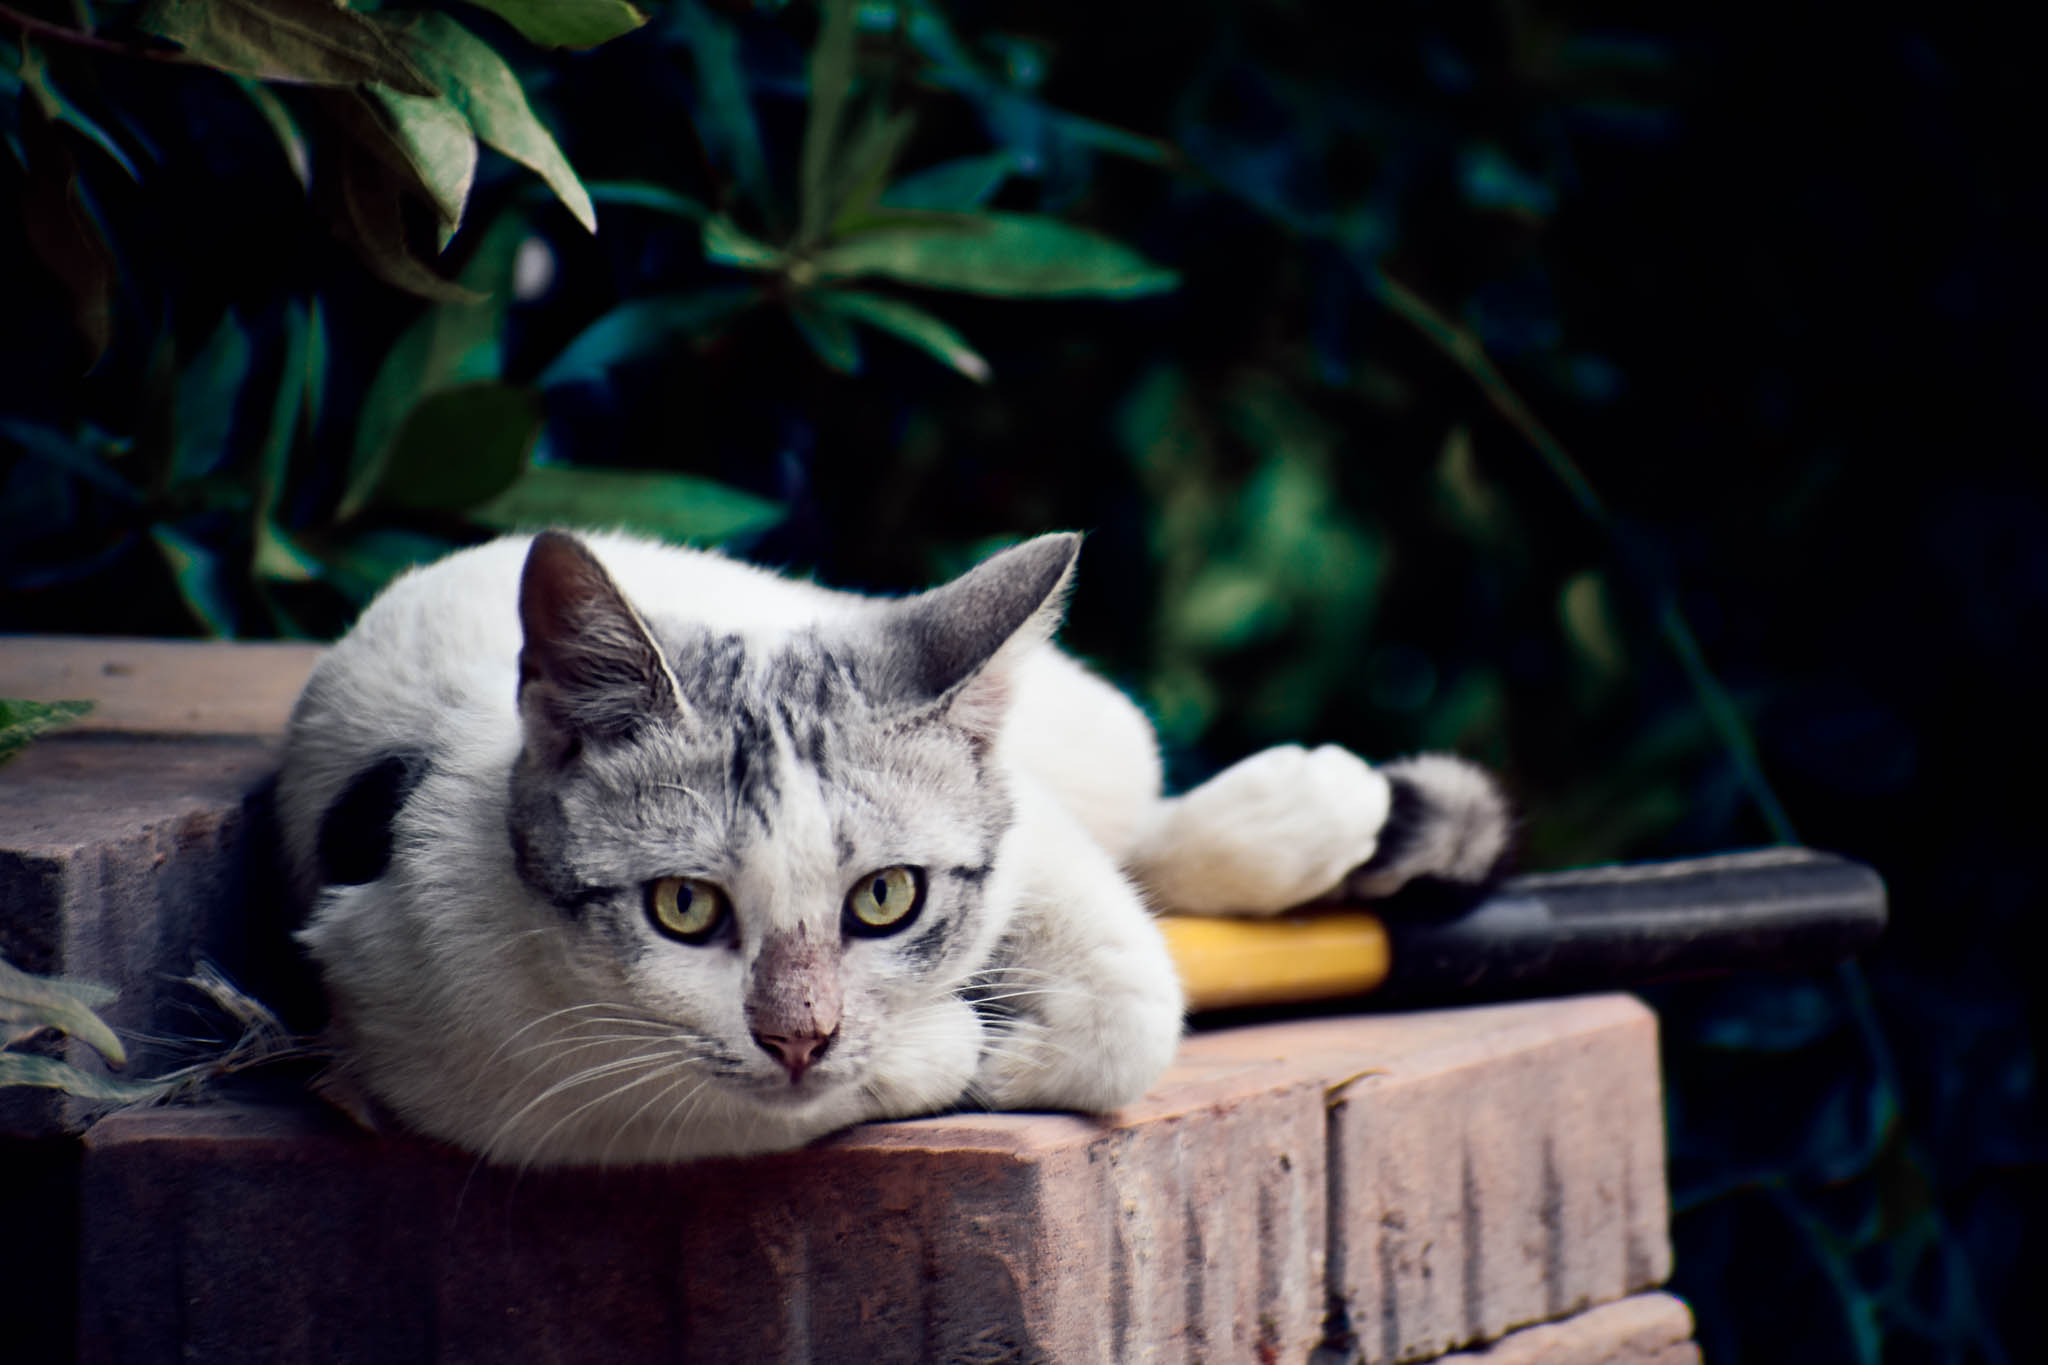
I remember having the flu one day and feeling quite down. To lift my spirits, I decided to go for a walk. As I strolled down the street, I spotted a beautiful cat in a faraway garden, striking lovely poses. Excited, I rushed home to grab my camera, zoom lens, and tripod. Keeping my distance to avoid scaring it away, I used my 300mm zoom lens to capture the cat's varied poses as I began taking photos.
I didn't know how to use Lightroom or Photoshop back then, so I couldn't edit my images. However, I noticed that Instagram offers various filters that can be applied to photos. I imported the pictures to my laptop and transferred them to my mobile device. After culling the images, I kept the four best shots from that day. I learned that applying a filter on Instagram can reduce the image quality due to its downscaling algorithm. However, I discovered a trick to get the highest quality photos after applying an Instagram filter to them. Click here to learn how, or scroll down to see a YouTube video explaining the process.
The Gear I Used in this Photoshoot

Here Are The Images With Instagram Filters Applied
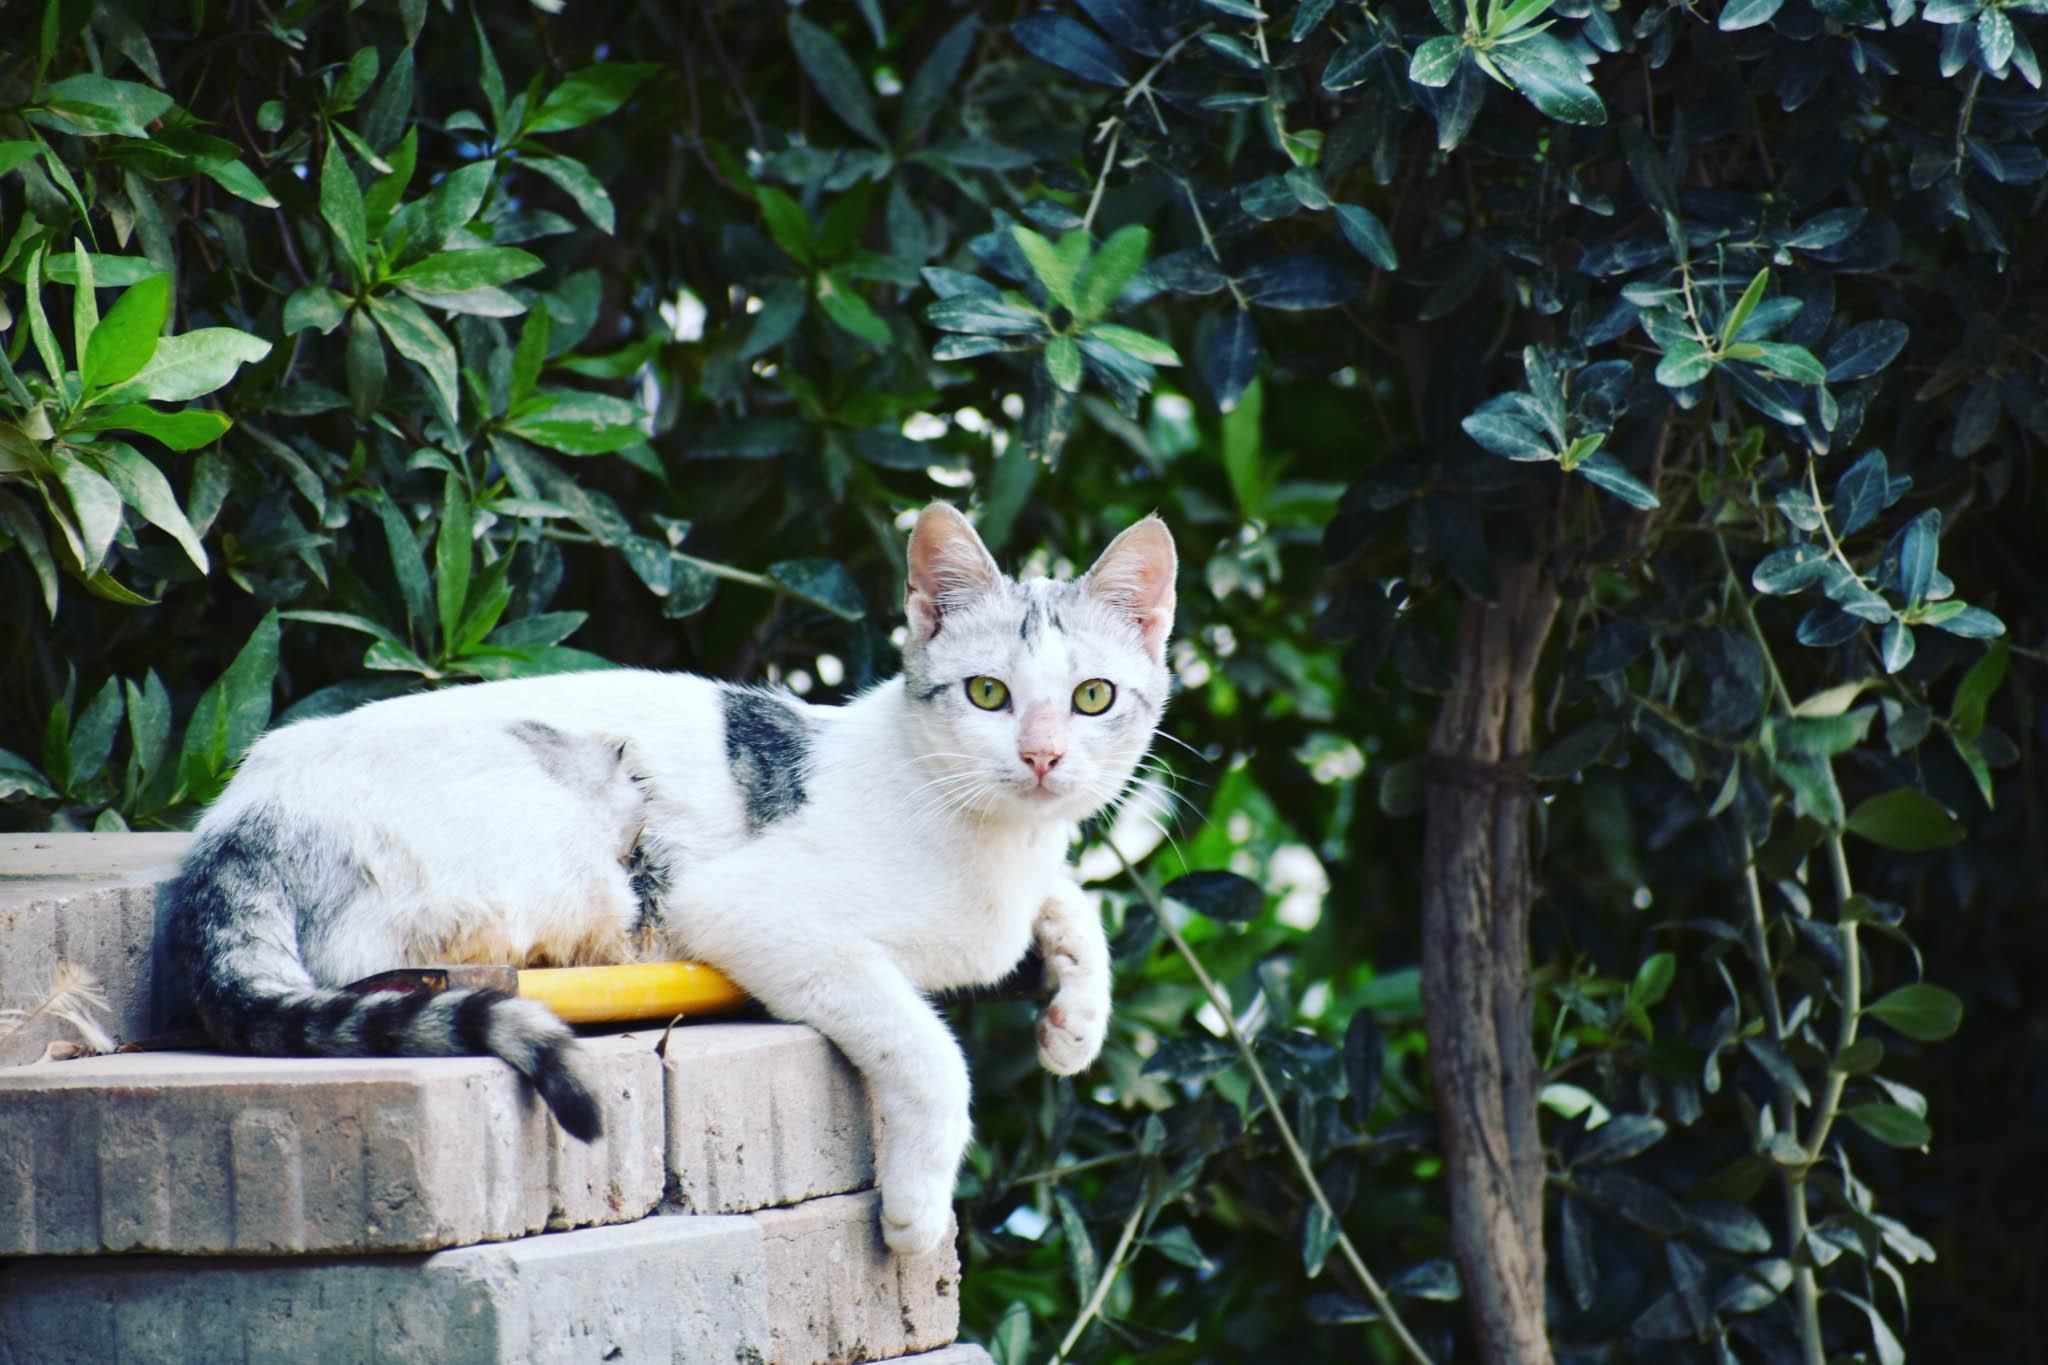

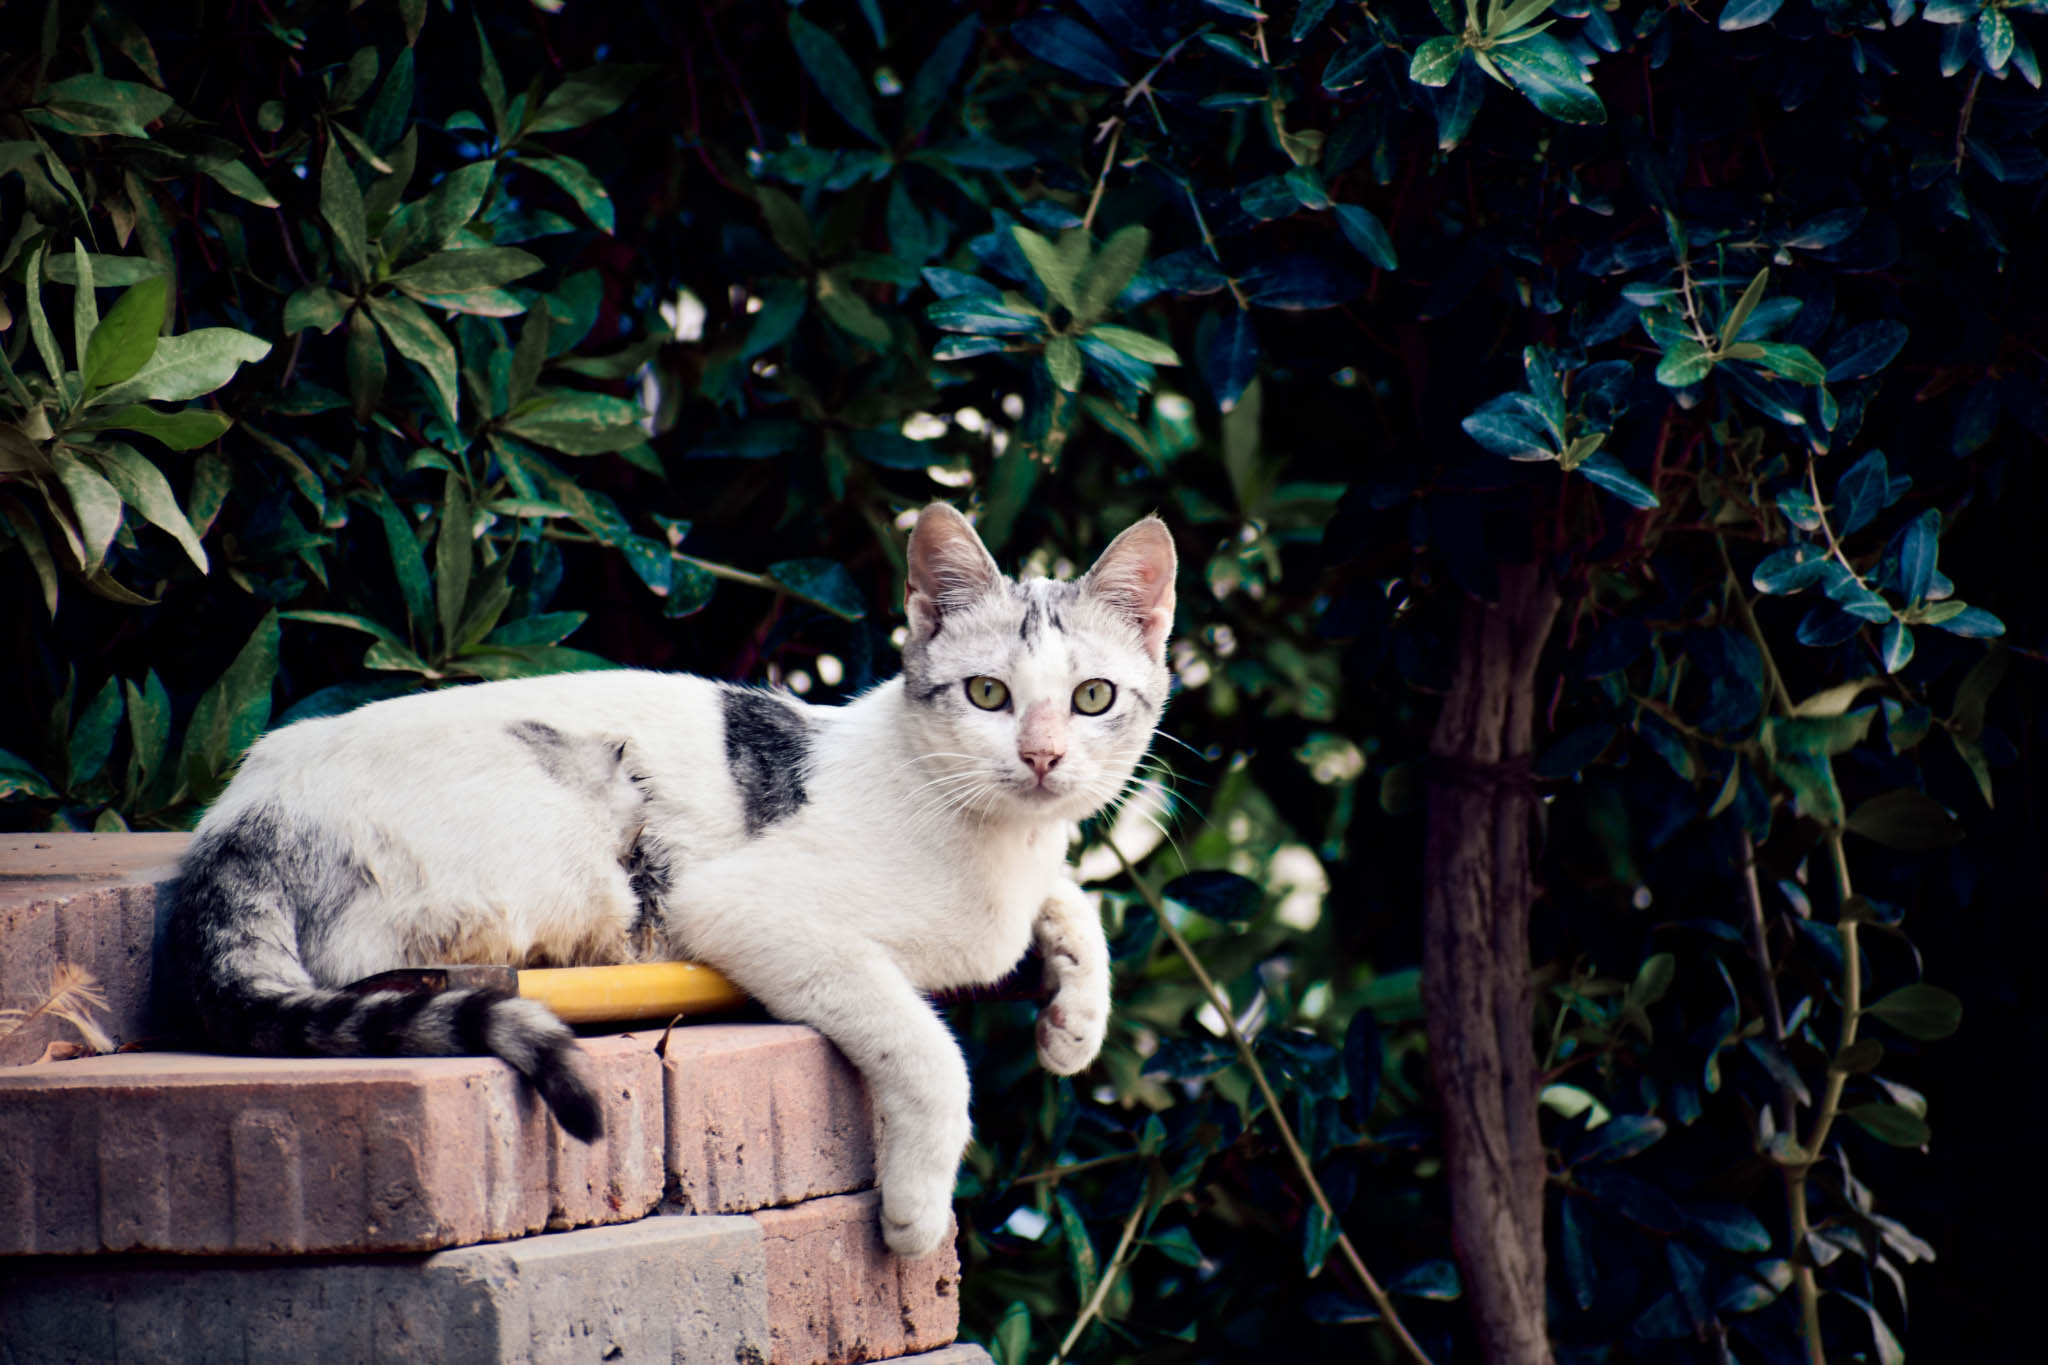
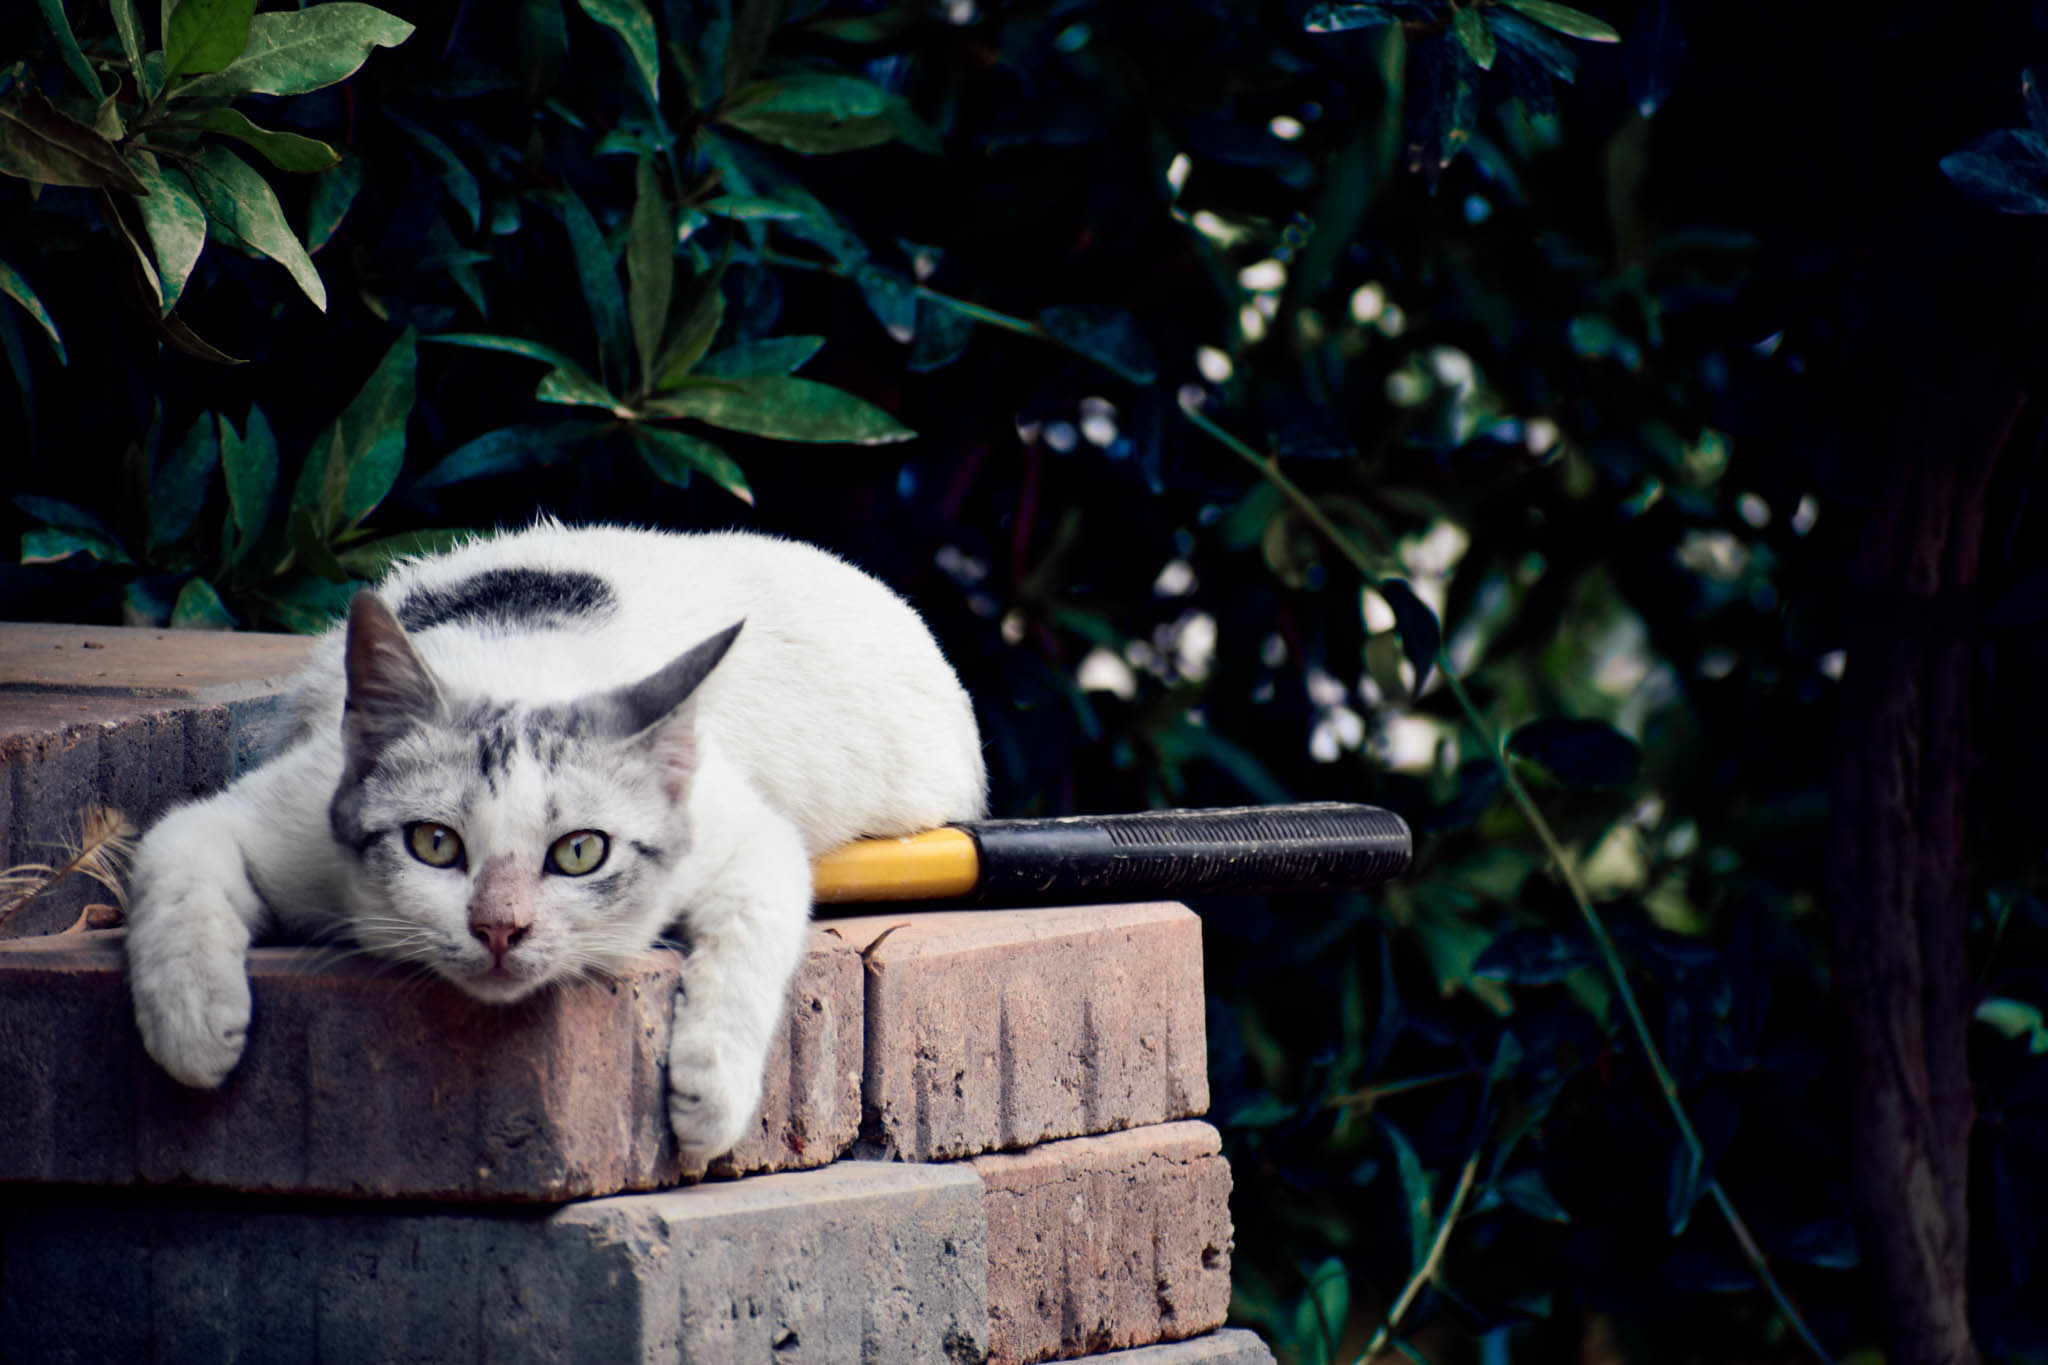
Here Are The Images With My Own Editing Style After Learning Photoshop


After two years of trial and error, I've come to realize a few essential points that I wish I had learned earlier:
- Even the simplest camera on the market can create beautiful images. The key is understanding how to properly operate your camera and think like a photographer.
- Never use ISO 100 for all your images in the photoshoot to prevent graining. For example, I used a zoom lens while shooting my cat on a cloudy day. I needed more light, so I set my shutter speed between 1/15th and 1/60th of a second for proper exposure. Unfortunately, this resulted in many blurred images, even though I used a tripod. Don’t hesitate to raise your ISO; having a grainy image is better than no image. Remember that modern digital sensors can handle higher ISO settings with minimal grain.
- Shoot multiple consecutive photos of a single pose to ensure you capture sharp images among the various shots.• Shoot multiple consecutive photos of a single pose to ensure you capture sharp images among the various shots.
- I initially shot all my pictures in JPEG format, which caused me to lose some dynamic range that could have been preserved by shooting in RAW. Always choose RAW if you plan to edit your photos.• I initially shot all my pictures in JPEG format, which caused me to lose some dynamic range that could have been preserved by shooting in RAW. Always choose RAW if you plan to edit your photos.
- Invest in a lens with a wide constant aperture. Personally, I love the Nikon AF-S NIKKOR 70-200mm f/2.8E FL ED VR Lens.
- You don’t have to travel far to capture stunning images; you can create incredible photos right in your own home.
This image was displayed in an exhibition, and I was thrilled. However, I wish I could turn back time and have waited to learn Lightroom and Photoshop beforehand. Still, it was a joyful moment for me.