An event hosted by Nikon School and instructed by Bishara Mustafa on December 22nd, 2018
Written on the 7th of May, 2022
On December 2nd, 2018, Nikon School hosted a photowalk at the Kuwait Zoo, led by photographer Bishara Mustafa. It was a delightful day filled with knowledge, friendship, and creativity. While wildlife photography ideally involves traveling to the animals' natural habitats, zoos offer a great alternative for those who face travel obstacles. However, many wildlife photography contests consider images taken in zoos unqualified and may even reject them. These contests typically require that animals be photographed in their natural environments.
Zoo Types
There are multiple zoo types that you may encounter during your visit to a zoo. One type is a safari park, where animals roam freely in an environment that resembles their natural habitat. Another type is the open exhibit, where animals are positioned at a lower level than viewers, with no bars, fences, or nets. The final type is the closed exhibit, which encloses animals using bars, nets, or fences.
Time
Time is crucial in zoo photography, as it is dictated by the zoo's opening and closing hours. Arriving early at the zoo allows you to avoid crowds, giving you the opportunity to enjoy and photograph the entire zoo with minimal distractions.
In the early morning, the light is soft, resulting in excellent photo quality. In contrast, the afternoon light is often harsh and less flattering for photography.
Additionally, animals tend to be more active during certain times of the day. Many rest in the middle of the day, so visiting early increases your chances of capturing them in action.
Lastly, always check the weather before planning your trip to the zoo.
Camera
Zoo photography can be done with any camera, but it is recommended to use a camera with a detachable lens system that allows you to attach a telephoto lens. While it's not a requirement, having a camera that can shoot in continuous mode and capture multiple frames per second can be very helpful.
Lens
You can use any lens for shooting, but a telephoto lens can be particularly useful. It helps when you need to shoot through fences, allowing you to blur them and focus on your subject. Additionally, a telephoto lens enables you to get closer to your subject, resulting in images with a more intimate feel.
Tripod
Tripods can be of great use in zoo photography. However, it is not usually allowed for safety reasons to other visitors. It was very unfortunate that I lost my Nikon Tripod during this photowalk.
Fences
Fences at a zoo can obstruct your view when trying to shoot photos. However, a long focal length and a wide aperture can help overcome this issue.
Widening the aperture offers two main benefits. First, it isolates the animals from their surroundings, creating a more focused image. Second, it blurs the fences, making them less noticeable in the final picture.
The advantage of a long focal length is that it reduces the depth of field, narrows the field of view, and compresses the background, effectively diminishing the visibility of the fences and further isolating the animal.
It's important to remember that four factors influence depth of field:
Aperture
Focal length
Distance to the subject
Camera sensor size
Keep in mind that using this technique may affect your autofocus, so you might need to switch to manual focus.
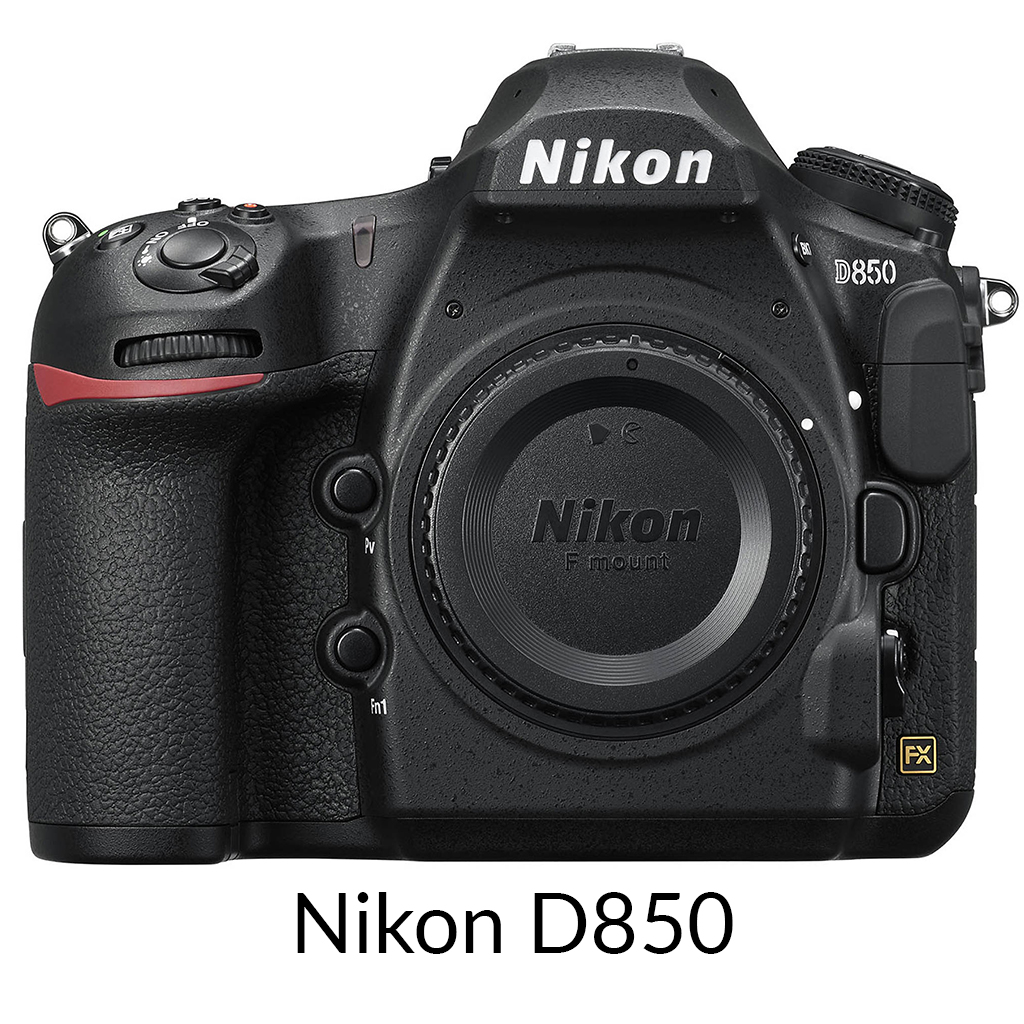
A lovely landscape was ruined by fences because I used a narrow aperture. Exif: D850 | Nikon AF-S NIKKOR 70-200mm f/2.8E FL ED VR | 160mm | f/20 | 1/60th | ISO 400
Reflections
Some zoos have glass enclosures for their animals. While this glass is essential for the zoo, it poses a challenge for photographers due to reflections. A lens hood can be used to minimize these reflections. Lens hoods create a cone-shaped barrier that helps eliminate reflections. However, one drawback is that they can scratch the viewing glass, which may obstruct the view for you and other visitors enjoying the zoo experience. Scalloped lens hoods allow light in and are ineffective in reducing reflections.
Lens HoodScalloped Lens Hood
The best choice, in my opinion, is a rubber lens hood, which can create a reflection-free cone of darkness. The main advantage of a rubber lens hood is the ability to move freely and compose your image before taking the shot. They are also inexpensive and will not damage the lens glass. However, using a rubber lens hood with wide lenses may result in rounded black corners, but this can easily be fixed by cropping the image. A lens hood made by Josh Smith, the founder of the Ultimate Lens Hood, is particularly noteworthy.
Another solution I've come across is the polarizing filter, which can help reduce unwanted reflections.
Shooting angles
It's uncommon to find a 360-degree viewing area in a zoo. However, you can still capture impressive photos by varying your shooting angles. Start by taking pictures from the right side of the cage, then move to the left side, and finally shoot from the middle.
Focus
Moving animals can be a challenge. You can solve this issue via shutter priority mode, continuous shooting mode, and autofocus.
White Balance
Auto White Balance can be effective. However, ensure you shoot in RAW format to adjust the white balance in Adobe Lightroom later, just in case.
Exposure
When photographing animals in zoos, two main challenges you will encounter are capturing animal movement and minimizing the visibility of fences. To effectively capture movement, it's essential to use a high shutter speed. At the same time, a wide aperture can help reduce the appearance of fences in your shots.
On that particular day, I opted for aperture priority mode and boosted my ISO to 400 to counteract the low shutter speed that might cause image blur. This approach worked perfectly for me, and I also utilized exposure compensation to manage my exposure settings better.
Alternatively, you can experiment with manual mode and adjust the settings to your preference. Shutter priority mode combined with Auto ISO or a low ISO can also be effective, but be cautious, as this may result in a narrower aperture that could highlight the fences in your photos.
Flash
Use manual mode instead of "auto" mode, as the latter will trigger your flash, which is generally ineffective for photographing distant animals. Recently, I noticed a product by MagMod that allows your flash to reach further distances, which is particularly useful for wildlife photography. Additionally, firing your flash while shooting through glass can create external reflections and may disturb other visitors.
Post-Production
In my editing process for zoo images in Adobe Lightroom, I primarily utilize the following sliders: White Balance, Exposure, Contrast, and Clarity. Occasionally, I adjust the Saturation slider if necessary. If the colors appear dull, I perform colour grading on my pictures. I typically warm up the image using the White Balance slider to evoke a more wild and vibrant feeling.
Opportunities
Zoos are great places for photography, not just for animals. You can shoot other people, landscapes, and still images of different subjects, just like I did in this photowalk.
Be patient
Zoos are excellent venues for photography, not limited to animals. You can capture images of other people, landscapes, and various subjects, just as I did during this photowalk.
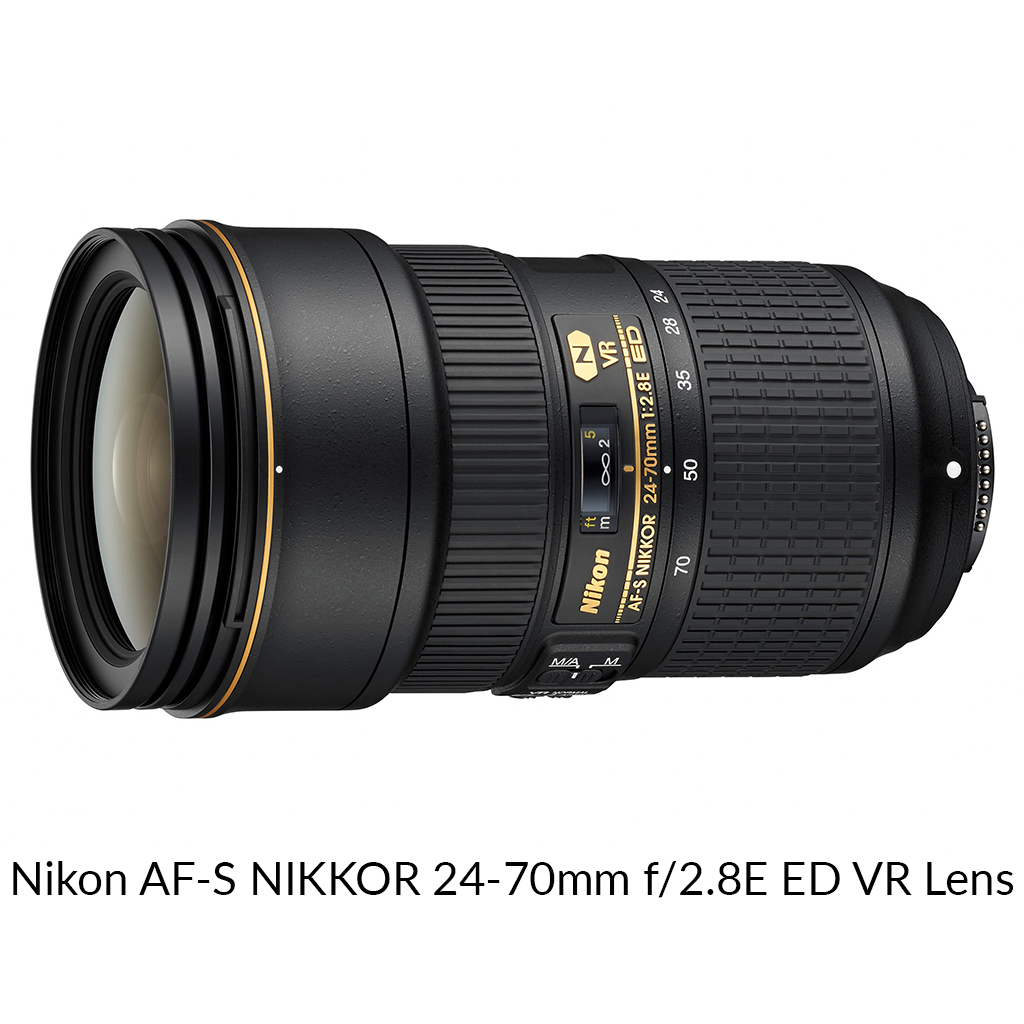
The Gear I Used
I hope you learned a lot from this blog. If you are interested in a one-on-one training session, drop me a direct message on my Instagram account.